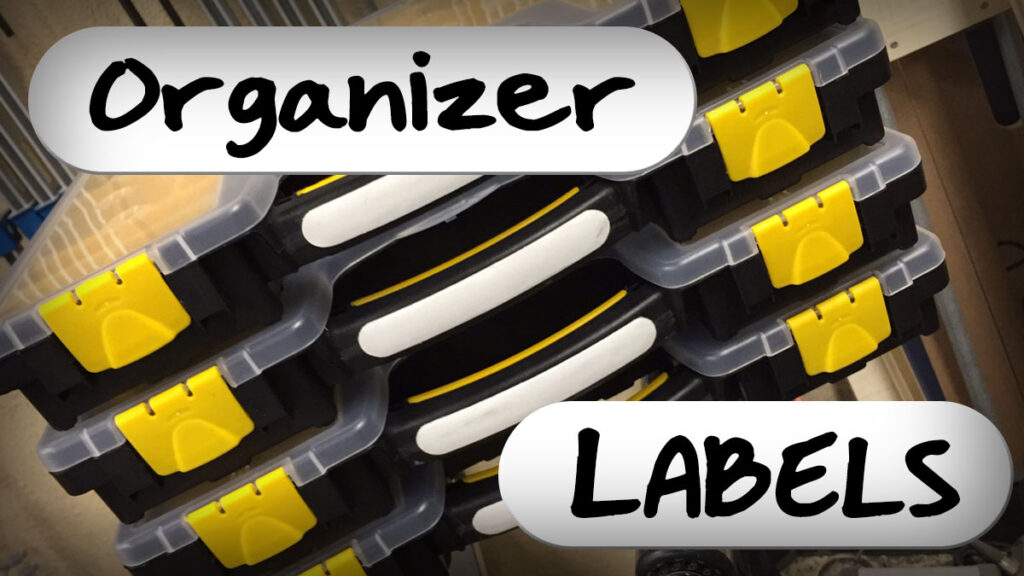
I am in the process of making a Harbor Freight hardware organizer to house their 20 Bin Parts Storage Cases (Item#93928) and the large 8 bin organizers (Item#93927). I was having trouble finding a good way of labeling the organizers. I tried riveting material to the handle and have even resorted to using masking tape and duct tape in the past. None of those options looked good to me. My original plan was to rivet melamine to the handles but this alone was too brittle. Then I had thought to iron the melamine to paint sticks and rivet those on. The paint sticks ended up being to thick. Finally, I figured I would try an iron the edge banding direct to the hardware organizer handles. After doing this I knew I had my answer. I tested how well it stuck to the plastic and I was pleasantly surprised on how difficult it was to remove. I rounded the corners of the banding and got to work doing all the Harbor Freight containers I had. I am really liking having everything clearly labeled and looking uniform.
This is the cabinet I am currently working on. With 40 containers, labeling everything was a must.
I finally decided on white melamine edge banding. Through my testing it actually ironed on to the organizers really well.
Using a small washer, I traced with a pencil to create rounded ends. Then you can just use a scissors to cut out the edge banding. Not only does this make it look a bit nicer but it also eliminates sharp points for the edge banding to start peeling.
And if you have time to kill and/or you are as particular as I am, go ahead and sand some of the cut edges making it nice and smooth.
Using a cabinet scraper, remove the seam where the mold halves met. This will allow the edge banding to sit nice and flat.
Above is the before and after of the card scraping.
Using an iron set on high, tack the banding in place to get it straight.
Then use a paper towel or rag and iron it completely. The towel helps protect the finish surface of the melamine.
Take care of any area not fully bonded down.

You can see it a a dramatic aesthetic improvement from the masking tape I was using before. Stayed tuned for the complete HF organizer cabinet build!




20 Responses
Great idea. I did something similar with adhesive backed foam tape and used one of my wife’s craft punches to make the rounded corners. The foam tape removes easily if you need to replace it.
interesting – what kind of foam tape exactly?
Nick, Good info, put brevity in words would be greatly appreciated. Speak from a script to minimize your verbiage.
you want to me to write a script to speak more succinctly?
jUST PRINT RETURN ADDRESS LABLES ON YOUR COMPUTER.
paper labels have never held up for very long for me – seem to be dirt and grime magnets
Great idea Nick. I have several of these storage containers from Harbor Freight as well. I’m constantly shuffling the containers to find the item I’m looking for all the time. I will certainly use this idea if I can sneak my wife’s iron out to the shop without her finding out. Wish me luck on that last comment. Thanks Jim.
find a good hiding spot in the shop and it’s yours, lol
Great idea. It should adhere to almost anything great for all storage containers. Im going to try it out. Thank you
let me know how it goes on other containers
Great idea Nick and thanks for the video! I have access to a laser engraver so I used 3M adhesive backed maple veneer, laser-engraved the label and had the laser cut them to shape. Perhaps a little “fancy” for shop storage but it works for me 🙂
laser engraver would be awesome – and I like “fancy”
What an awesome and creative idea!! Nick can you come organize my shop? I love your sense of organization.
~Dolly
them me think about it after I get mine done 😉
Hi Nick. I’ve had luck using hot glue to fasten an identifying fastener to the front of the bin.
I’ve done that before with individual bins but I don’t think it would be comfortable on handled organizers with multiple fasteners inside
GENIUS!
Great job!
thanks – I think it is going to work well for me
Any chance you have a video yet on the cabinet for these?
not yet as of today – it is one project I hope to get back on real soon – I need more organization!