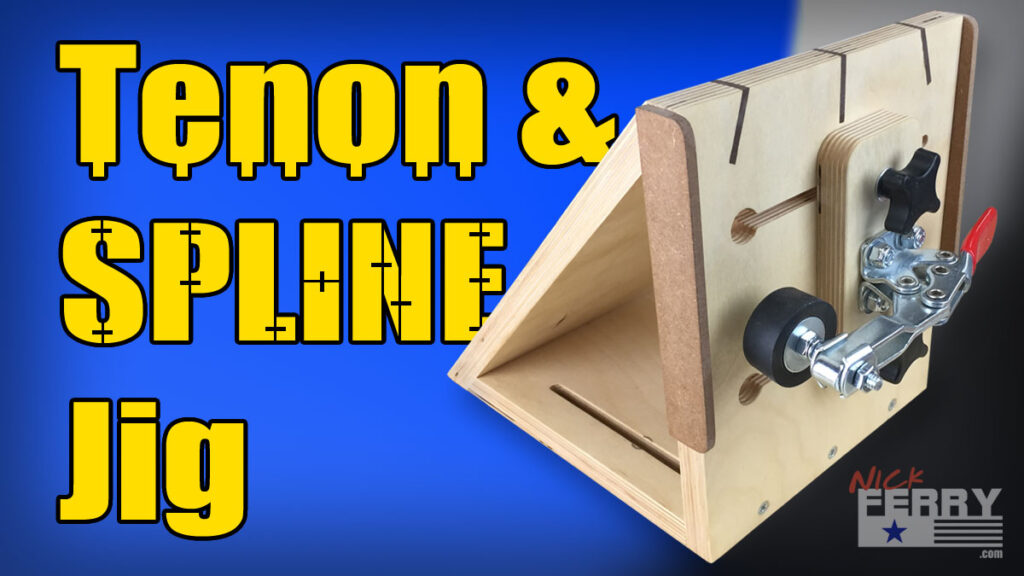
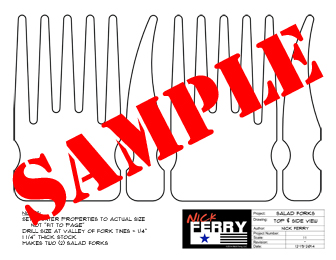
Being able to make accurate tenons as well as structural splines for mitered joints was the reason behind this build. Another reason was to be able to do these joints without buying expensive factory made jigs. And I know first hand how expensive they can be, considering I have purchased some in the past. This jig is rather easy to make, it’s inexpensive, and in addition to being a “double-duty” jig, it also utilizes the existing platform of my table saw sled. When I originally designed my sled, I had add-on’s and accessories in mind. I wanted to get the most out of it and use it as the foundation for other shop jigs. The first of hopefully many more add-on’s is my mitered spline and tenoning jig. One side is for cutting grooves into miters to accept splines, the other side is a simple but effective tenoning jig that works surprisingly well for such a simple jig. I made a set of measured drawings that are available for free if you are wanting to make this jig.
I started by cutting my pieces to 7 1/2″ wide. All parts can be cut from one piece of wood 32″ long.
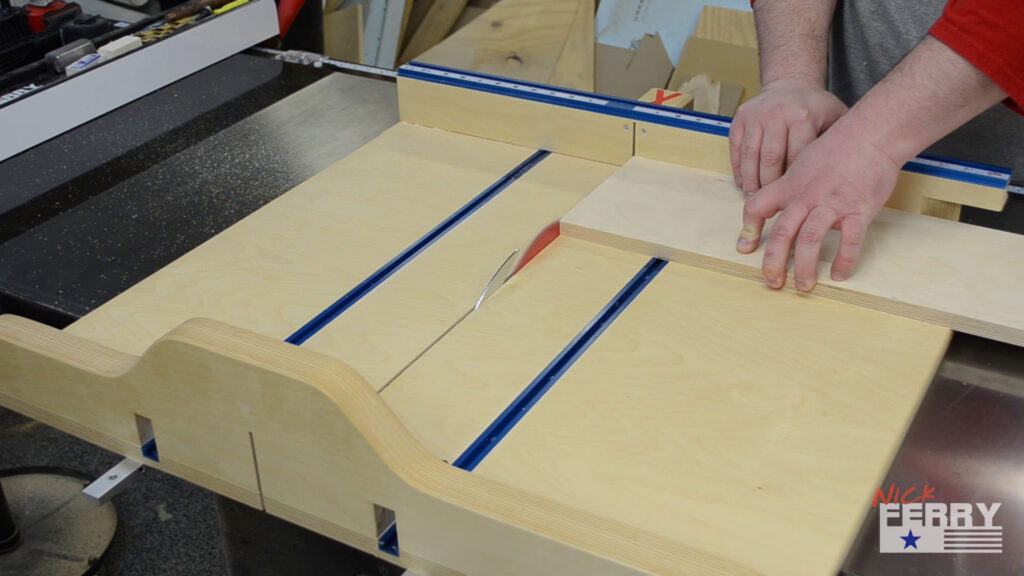
Start by squaring up one end of your workpiece.
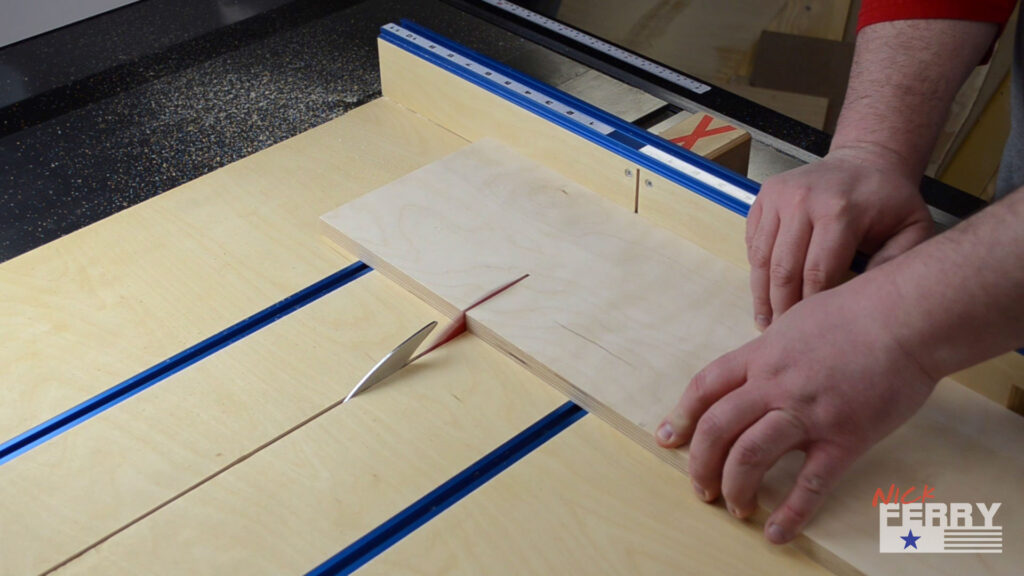
Cut the first piece to length. Again, you can find the free measured drawing here.

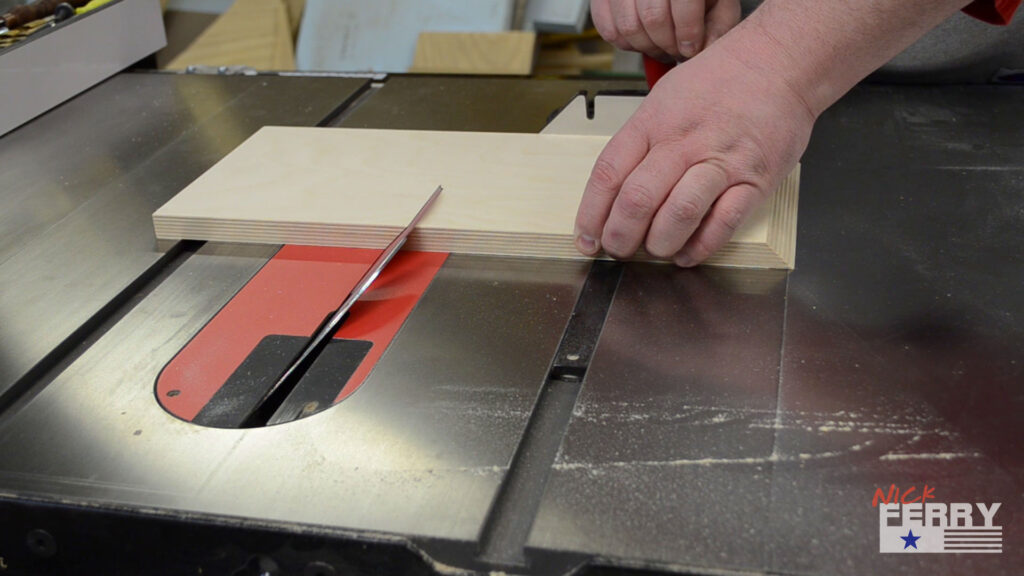
Set your table saw blade to 45° and cut the two remaining pieces. One piece has only one bevel on one end and the other piece has a 45° bevel on each end.
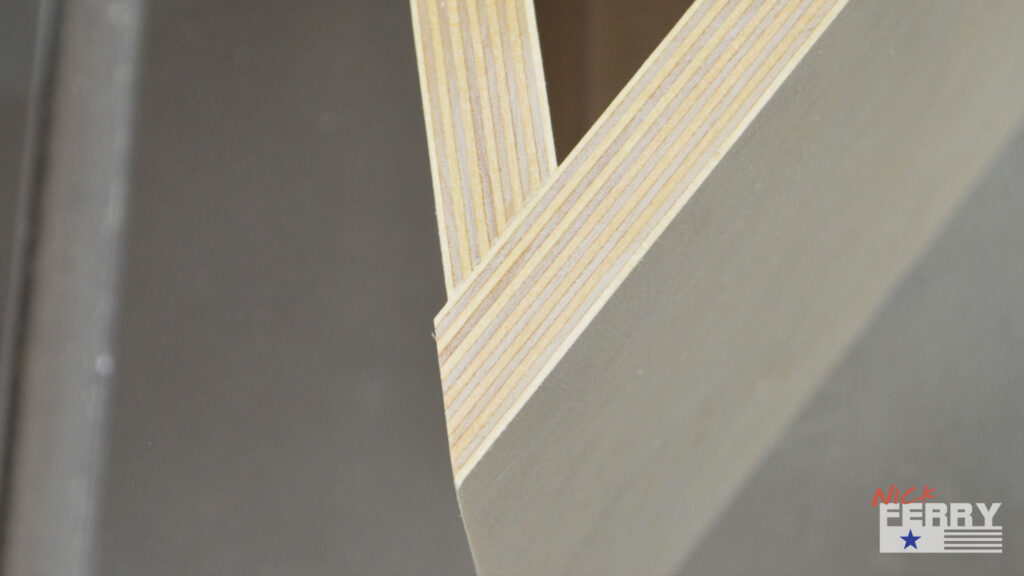
The longest portion of the triangle is intentionally left long at this point.
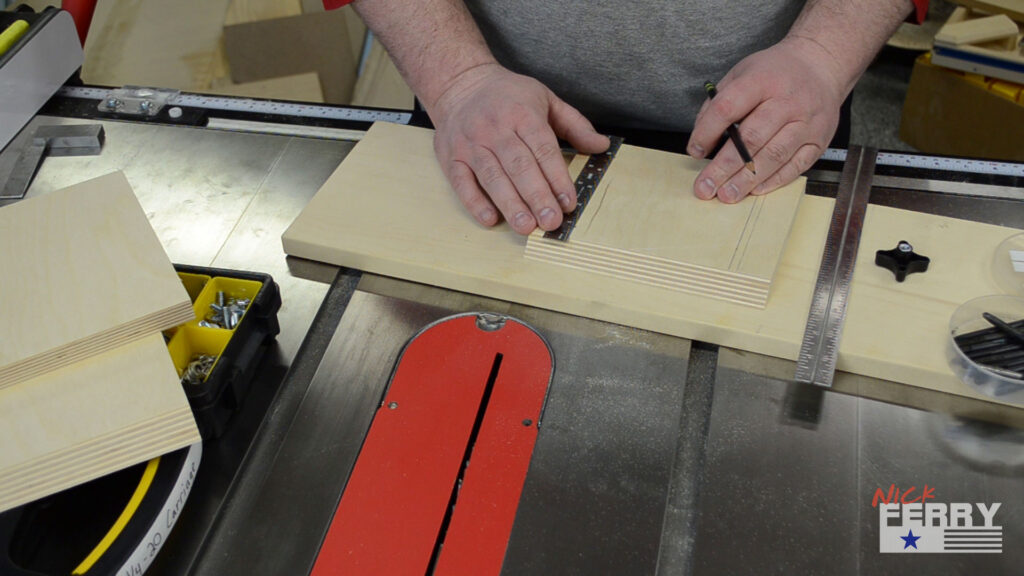
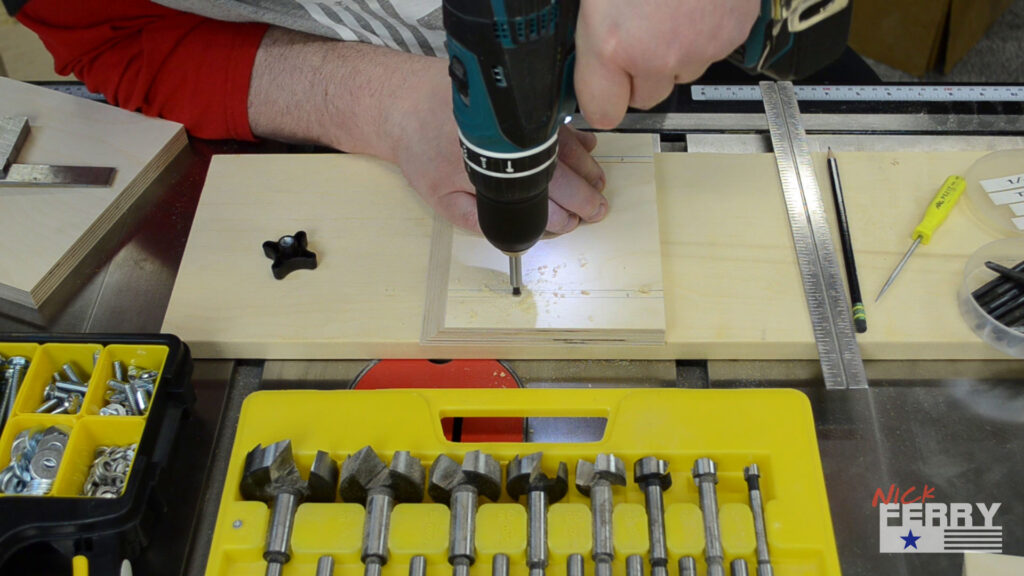
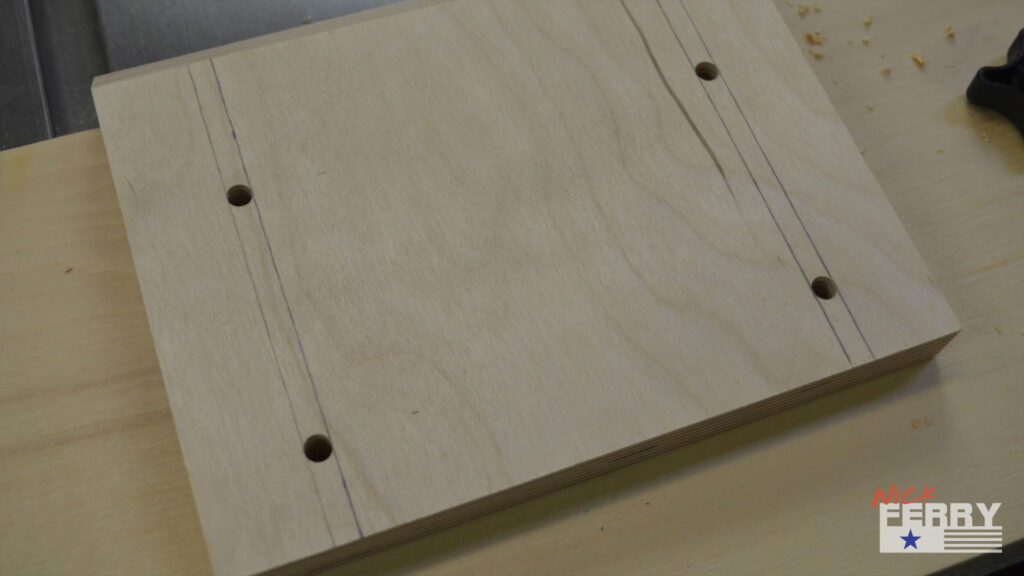
Layout and drill the 1/4″ holes according to the drawings.
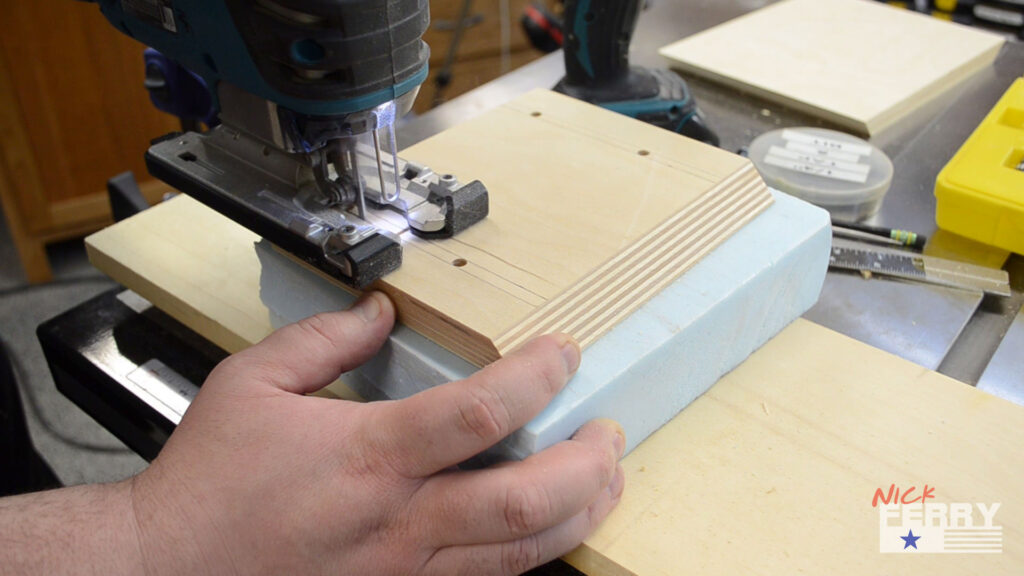
These holes can now be connected. You can use a jigsaw as shown above.
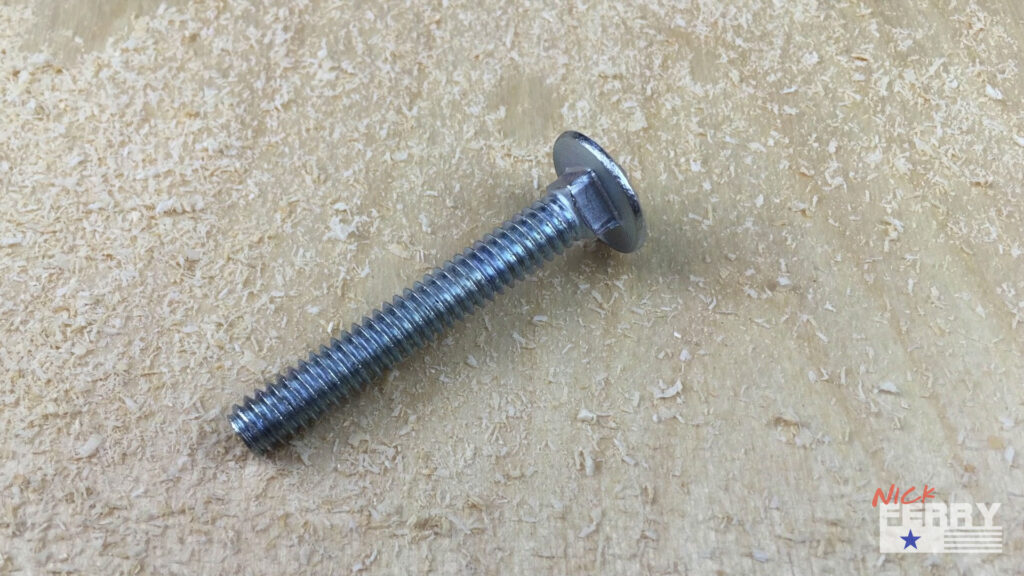
But being the 1/4″ – 20 hardware has a 1/4″ square shoulder on it, I prefer a bit more accuracy.
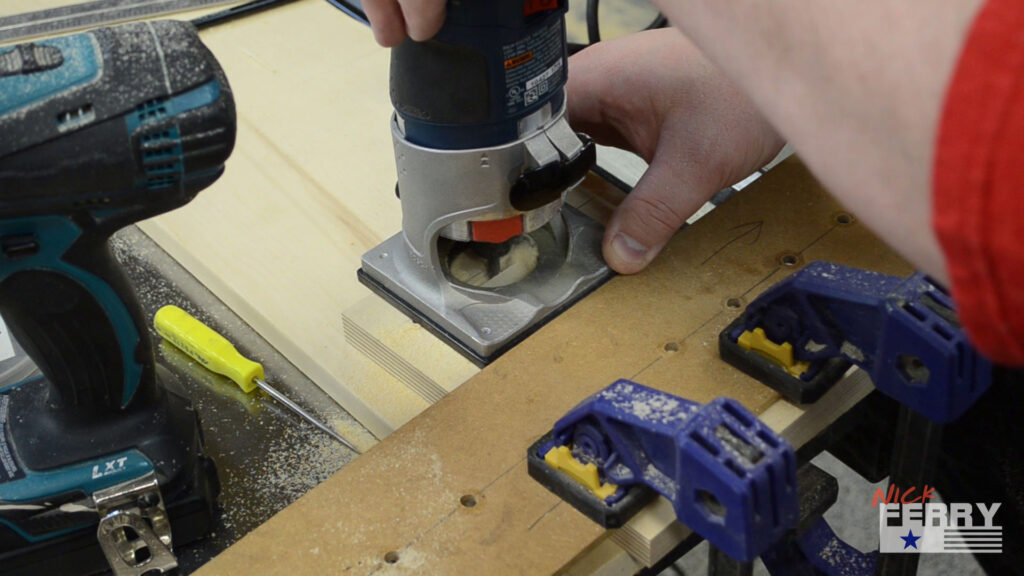
A trim router with a 1/4″ spiral bit installed does a much cleaner job when making the slots.
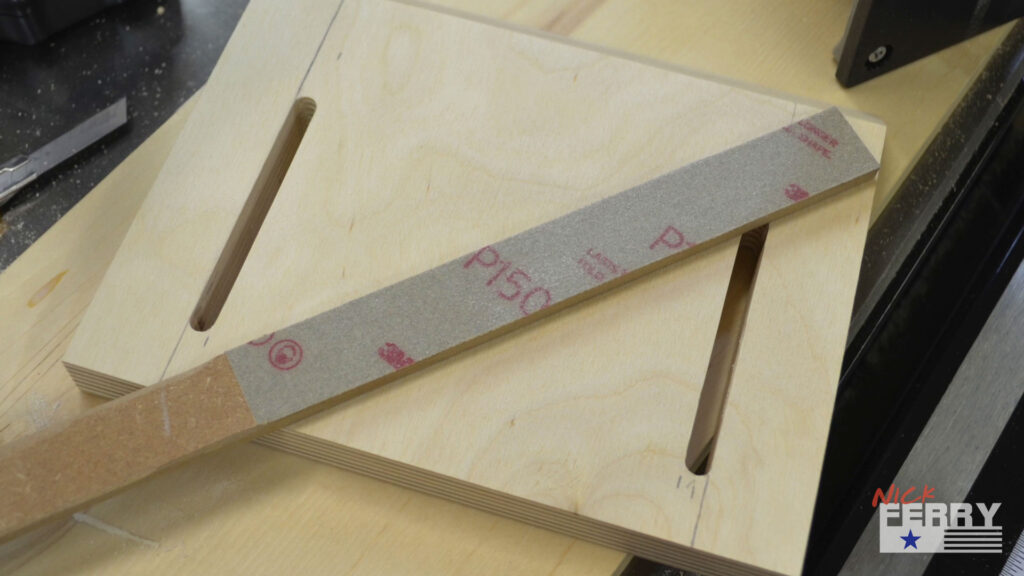
If you do end up with some uneven spots or just want to clean up some burrs, try using some sandpaper double side taped to a piece of scrap wood. It works really well.
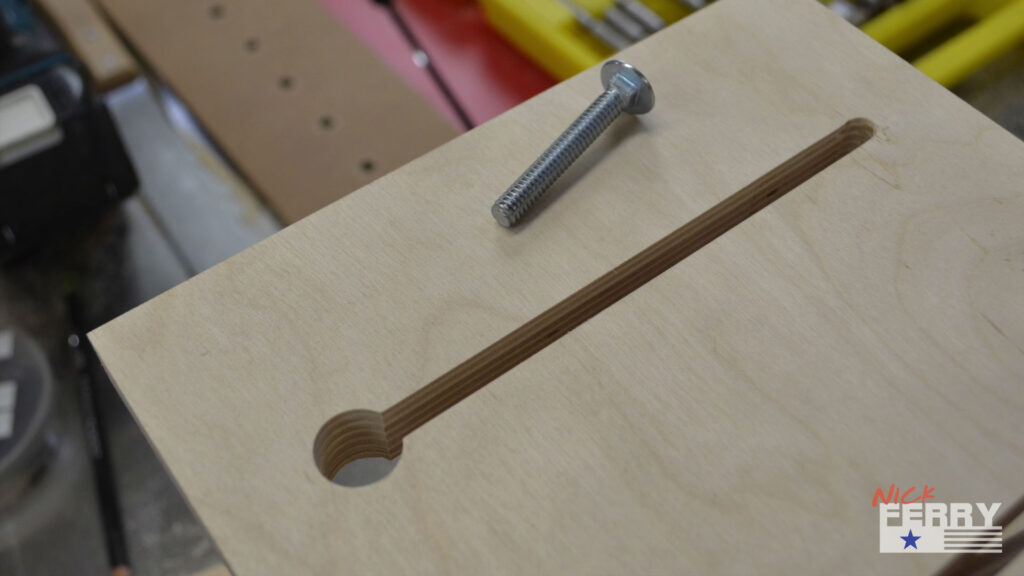
Make sure to also drill the larger holes in the end of the slots according to the drawings. This is to allow 1/4″ – 20 carriage bolt heads to pass through.

If there was one thing about this jig I would say is important this would be it. Make sure the two legs of the triangle meet at 90°. Take your time with this as it helps to get this right now.
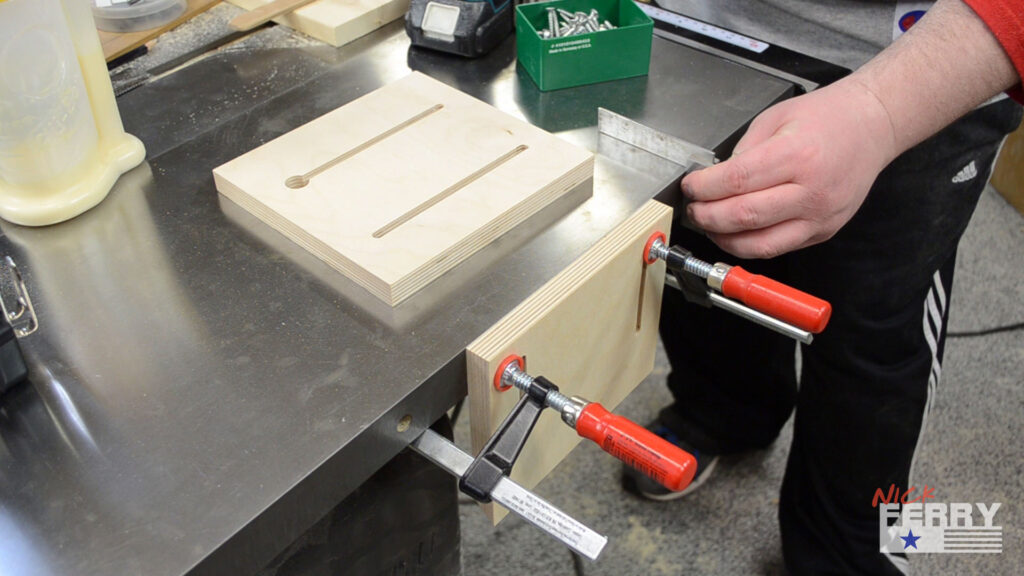

I nice trick is to use the edge of your table saw as a 90° clamping jig. Of course make sure you particular saw has a perfectly square edge. If not, you can use a small square or even a couple blocks of wood to clamp the joint square.
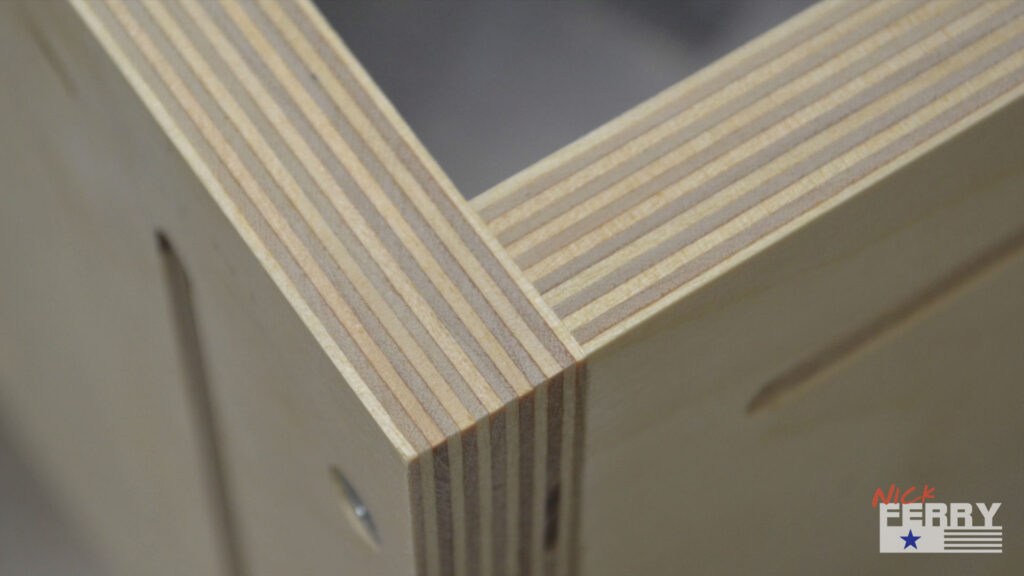
Here is a closeup of the square joint.
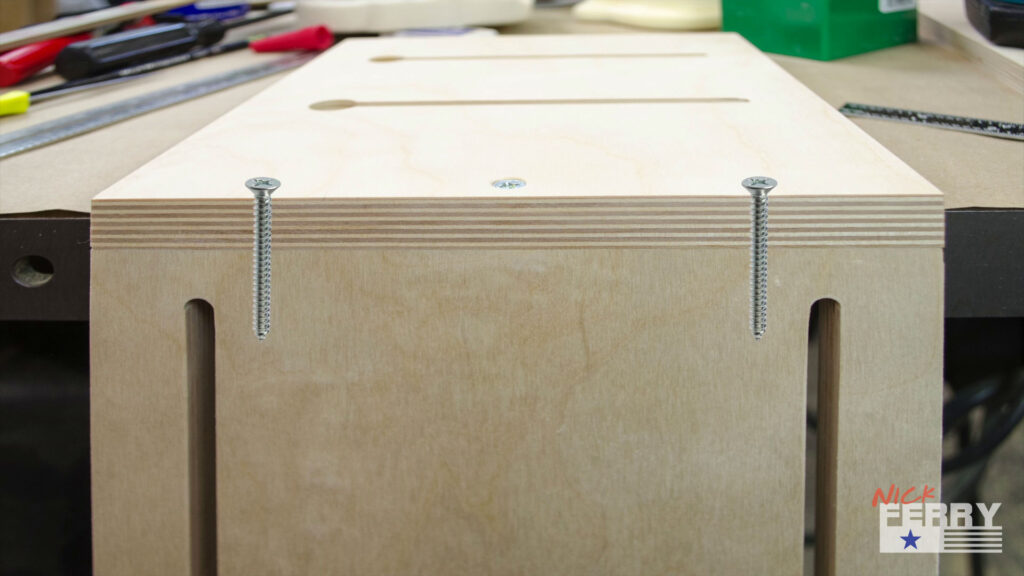
It is also worth noting, when gluing and screwing the pieces together, to avoid the slots you made earlier.
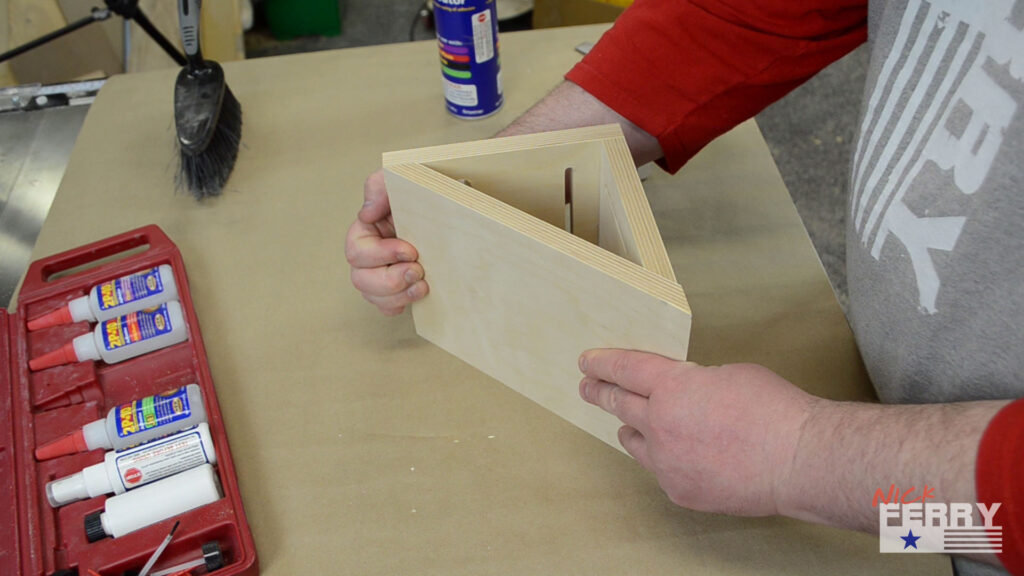
I used wood glue in conjunction with CA glue. The CA glue sets super fast and the wood glue is a long term adhesive once cured. This allows you to just use hand pressure to “clamp” the last piece in place. I would be worried about using clamps to hold it as it could easily take your joint out of square.

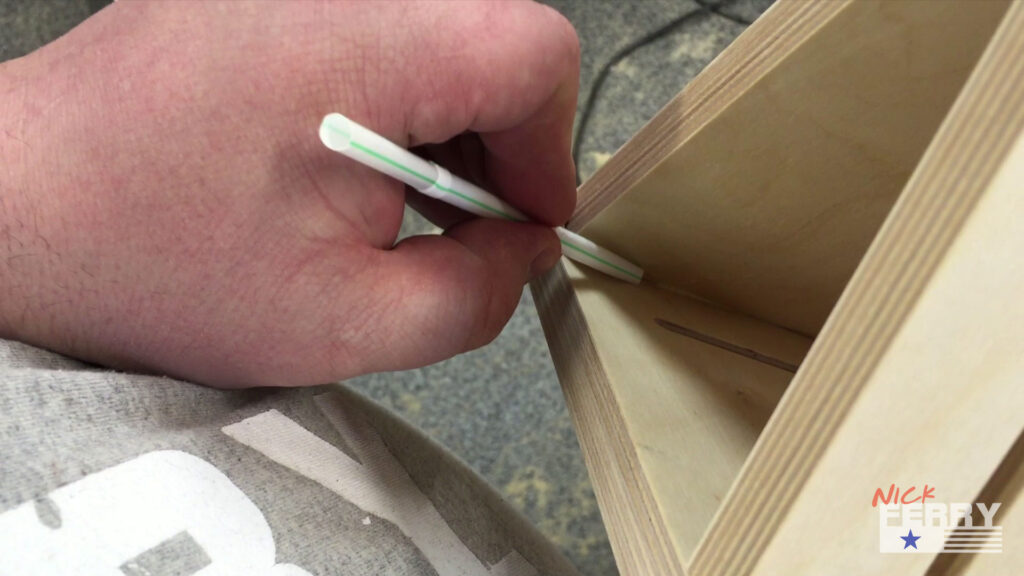
For my OCD friends, a drinking straw can cleanup and interior glue squeeze out.
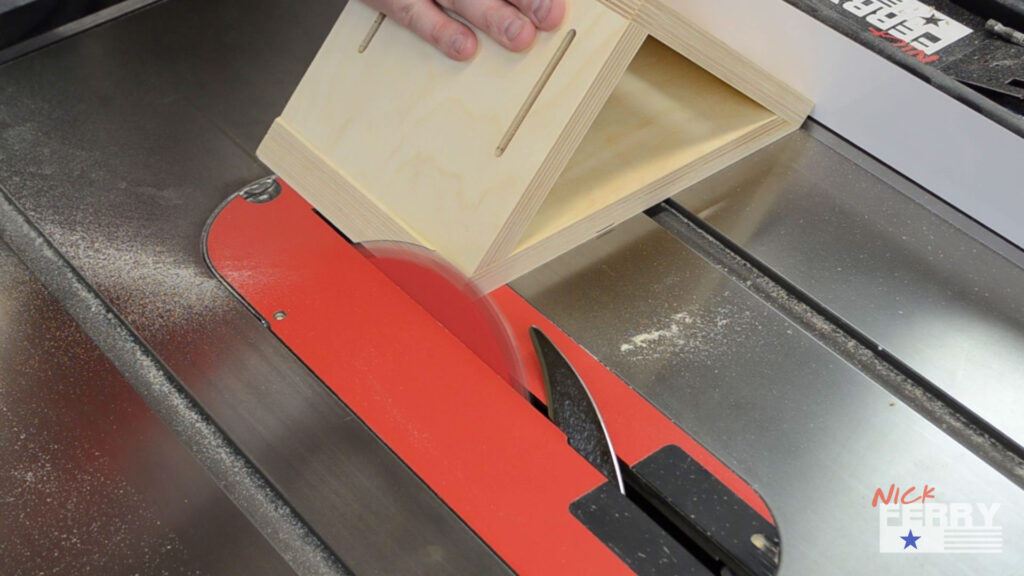
Once all the joints are cured, and with you table saw blade at 45°, you can now trim off the remaining overhang on the longest piece. Make it flush with the adjoining piece.
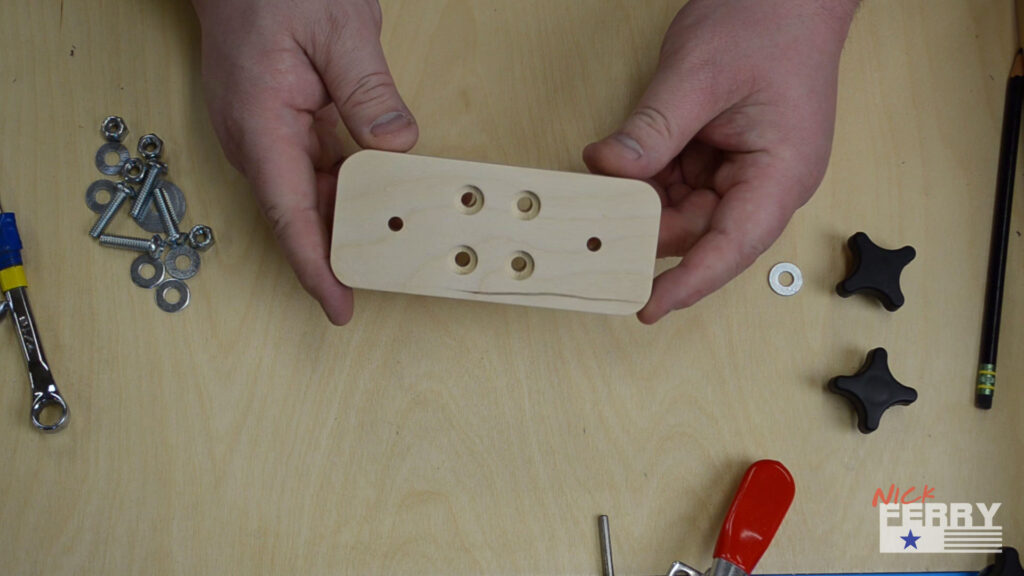
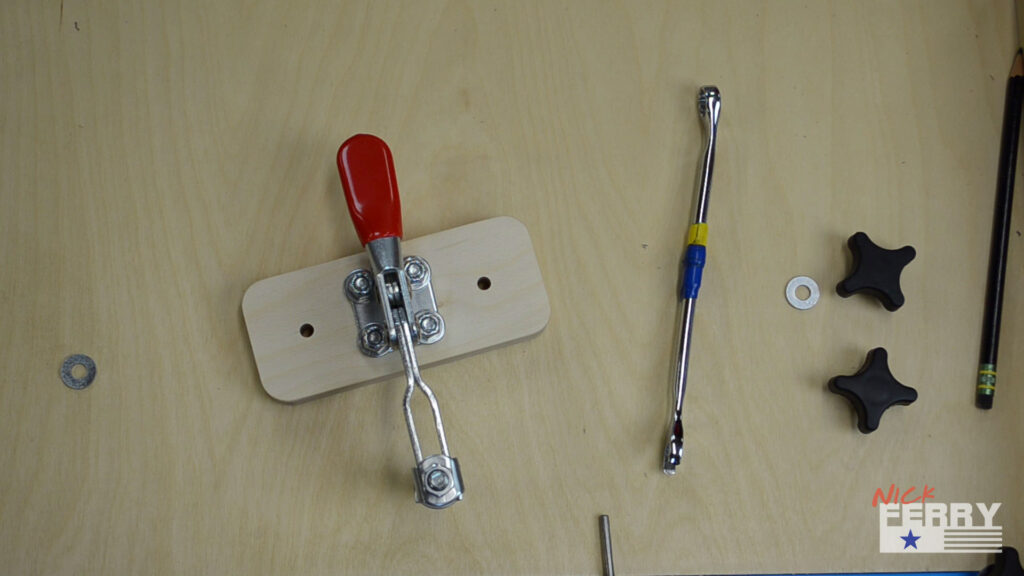
Cut to size and drill the toggle clamp plate to specifications. Attach the clamp with nylon lock nuts.
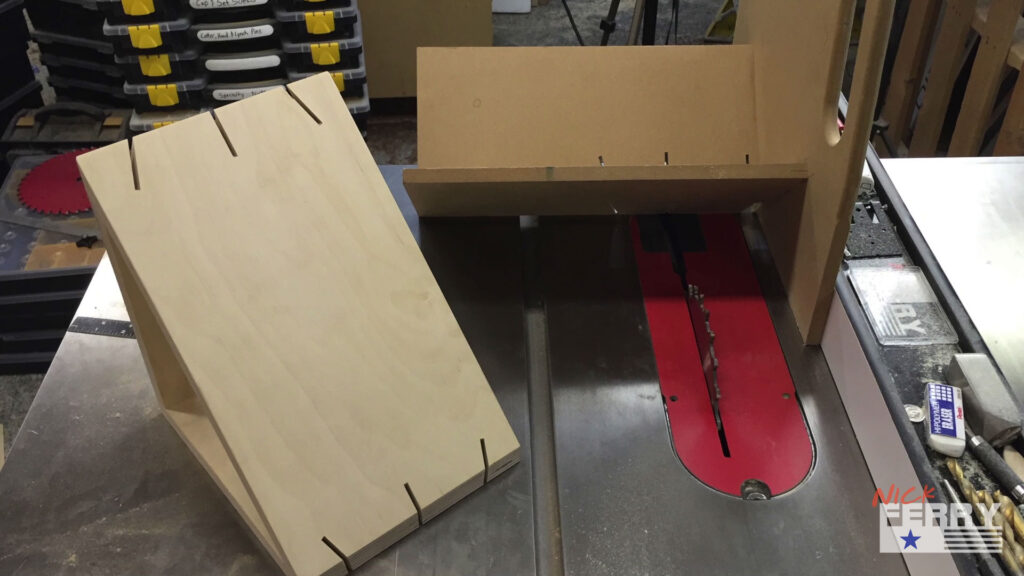


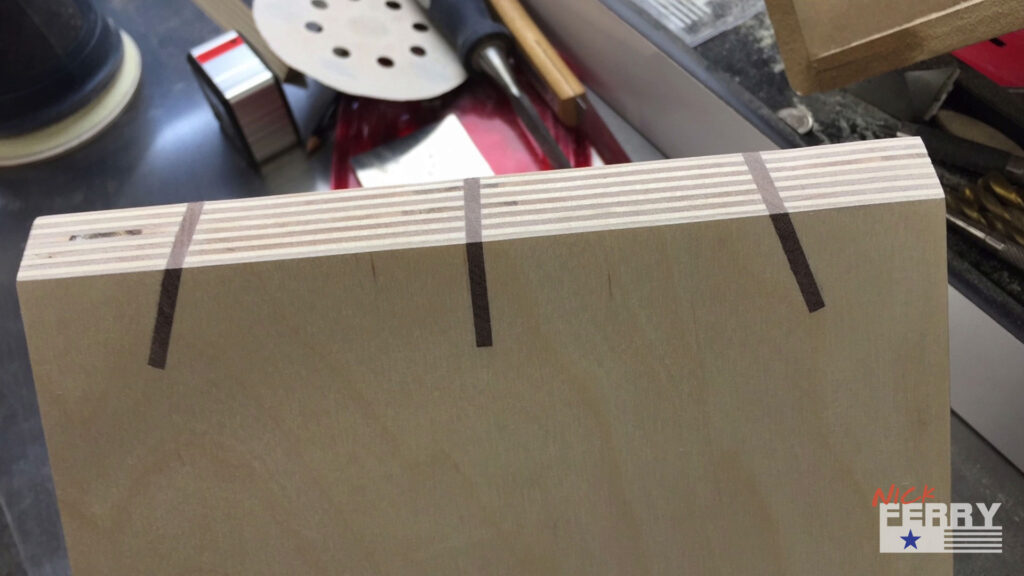


The two remaining joints should be secured with more than just glue. I opted to add walnut splines, but this is completely optional. Some countersunk screws would work just fine. Click here if you are interested in the spline jig I made to make these cuts.

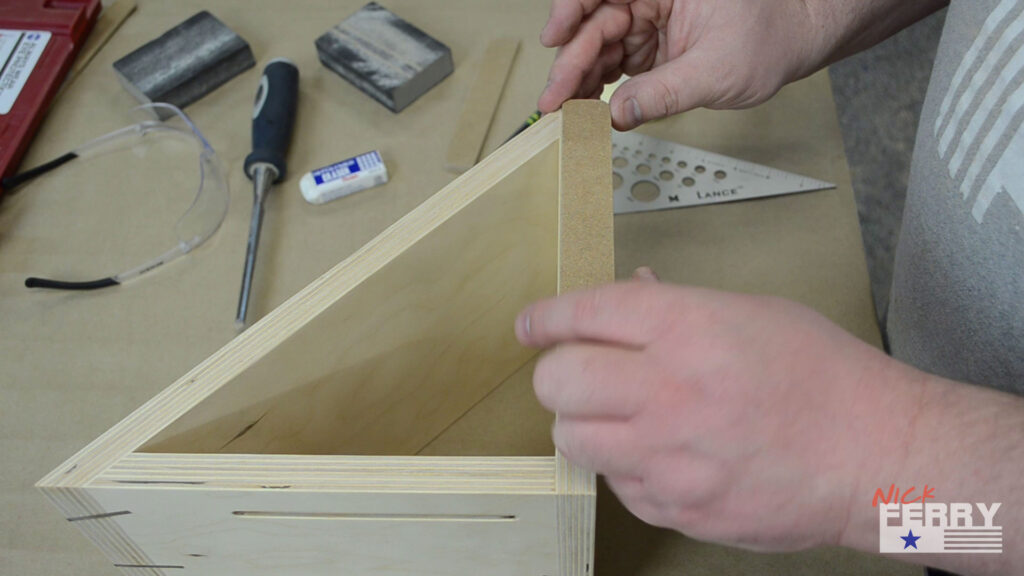


Some 1/4″ MDF cut to size and glued in place completes the fence for the tenoning portion of the jig. I also upgraded the toggle clamp pad to a larger homemade one. You can find out more about that here.
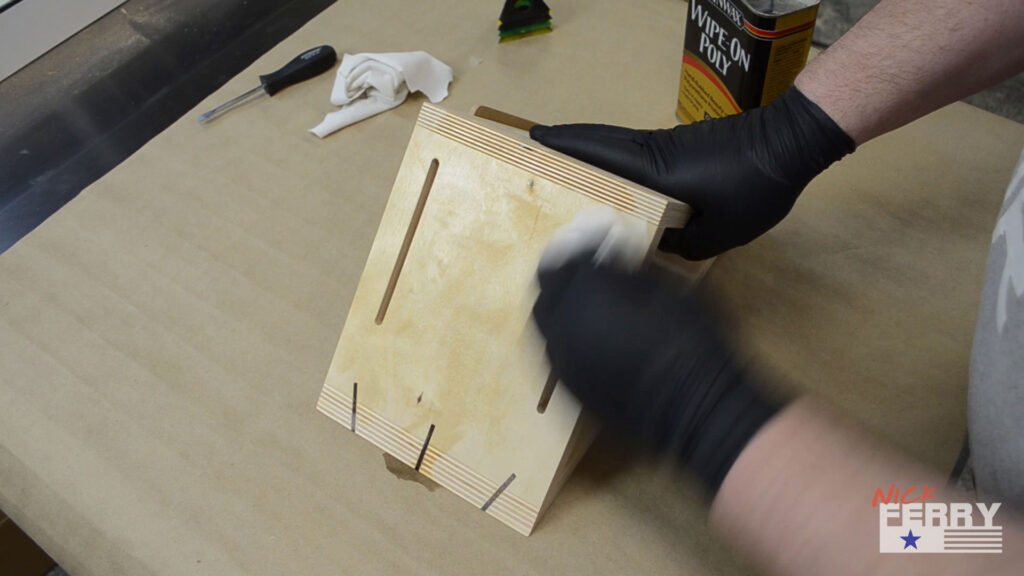
Although not completely necessary, one quick coat of wipe on polyurethane will keep the jig cleaner, longer.

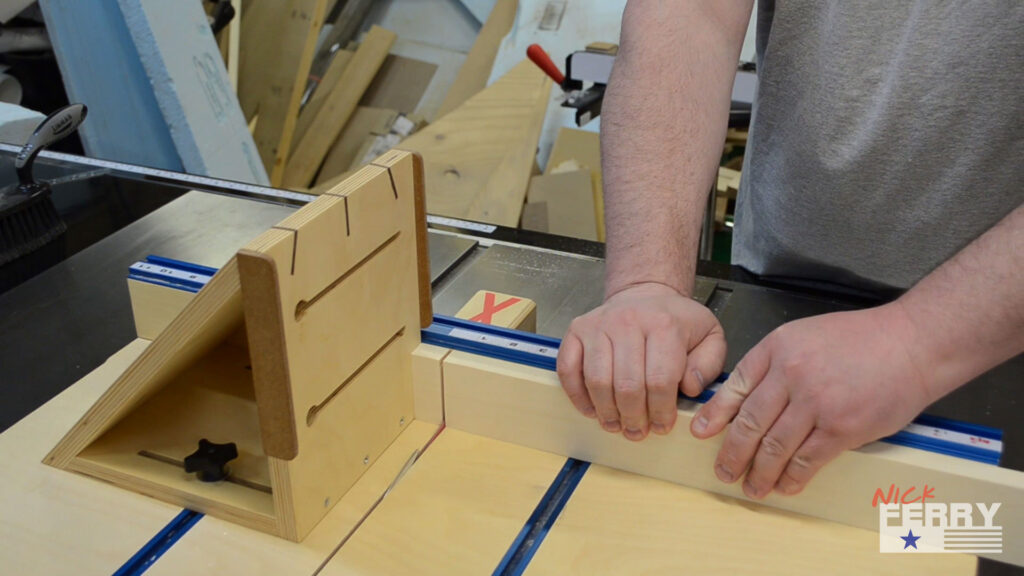
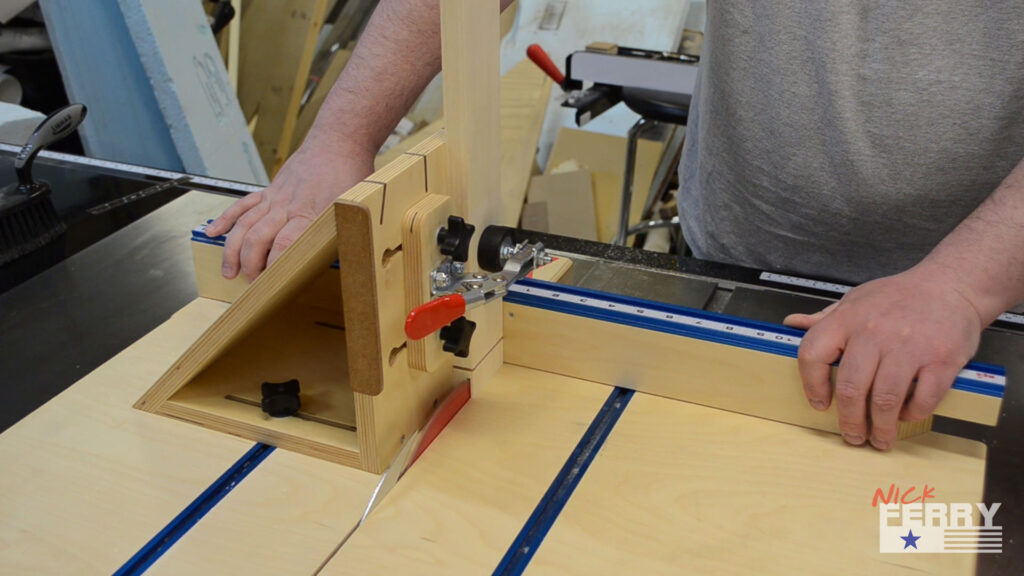
Attach the jig to the table saw sled and set it for your particular tenon size.
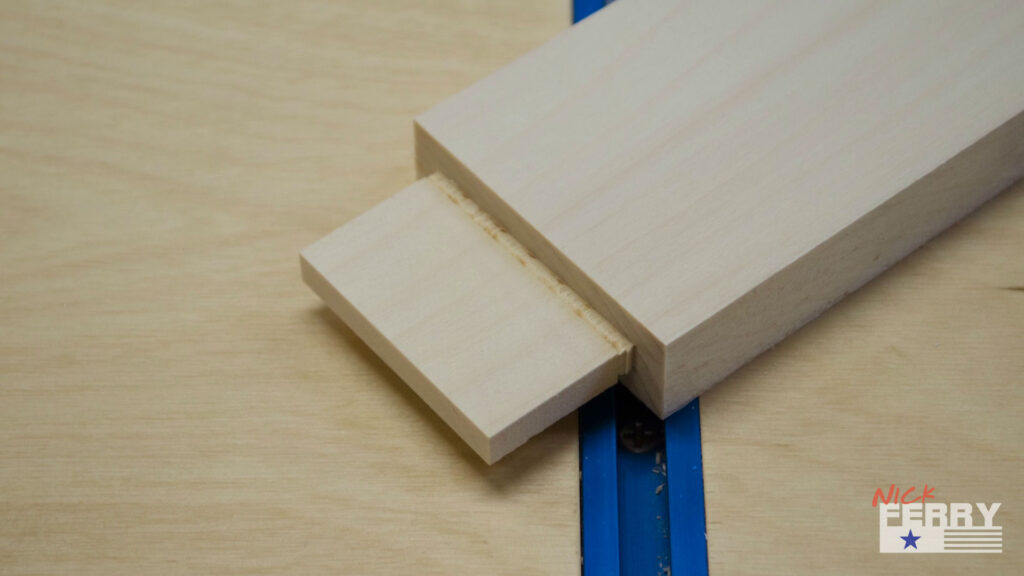
For only taking about 30 seconds or so to setup, it does a really nice job.
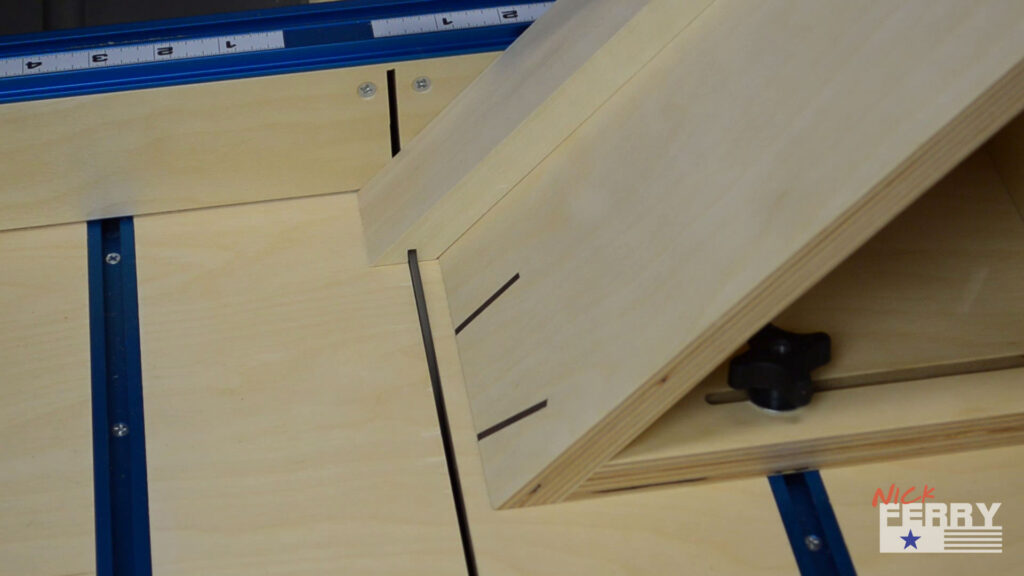
With a test piece clamped to the spline side of the jig I made some test cuts.
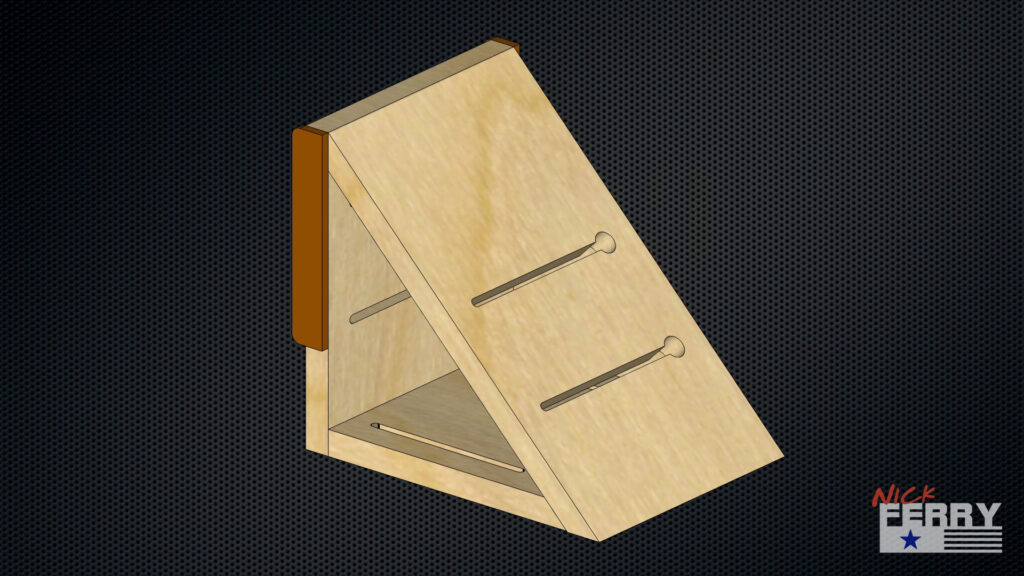
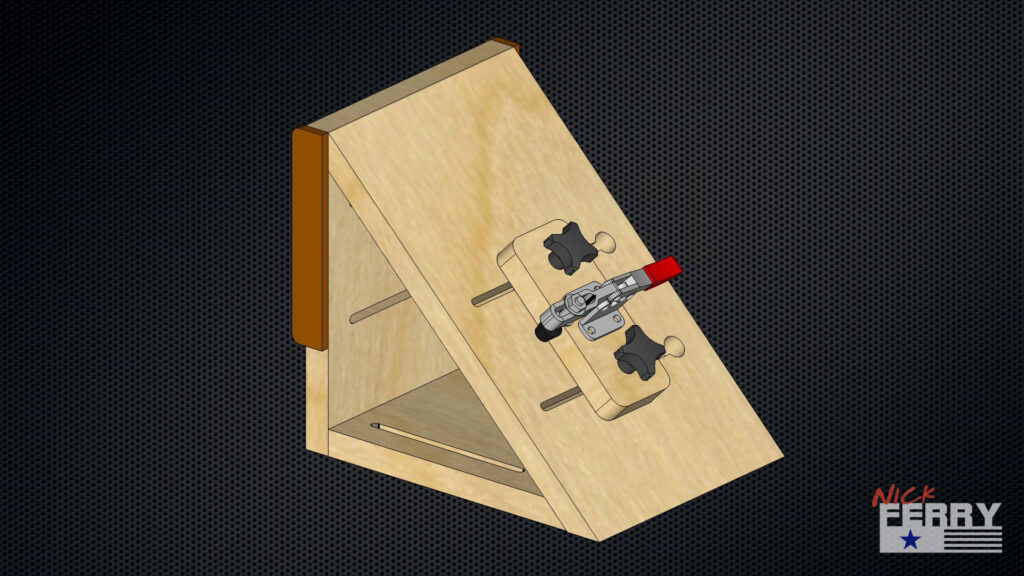
Instead of clamping the work to the sloped portion, you could add some additional slots for the toggle clamp. I opted not to do this as most of what I have planned for this would be too wide to utilize it this way.
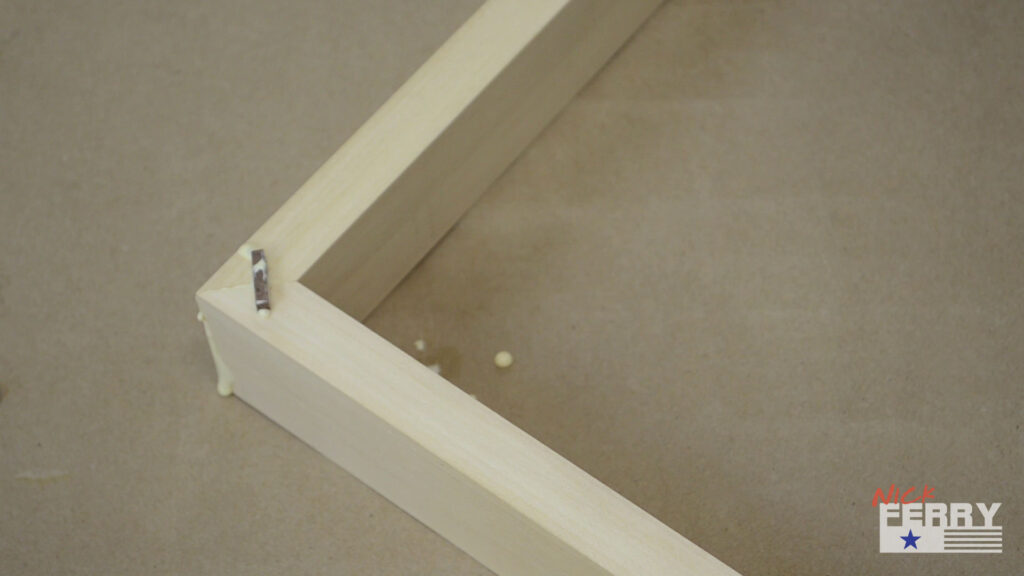

After some glue and sanding, this is my completed mitered spline joint. It adds a ton of strength, and if you use a contrasting wood, a fair amount of visual appeal as well. Thanks for checking it out!



20 Responses
Nice job Nick. I do a fair amount of small boxes and this jig will come in handy. I will also be ordering your Table Saw Sled plans soon. Real good job on the video, I prefer not having the “SPECIAL EFFECTS” some others use.
Thanks for sharing this plan.
I’m glad to hear you are liking the videos – thanks!
You’re videos have been super helpful to me as I start my woodworking journey. I’ve downloaded the plans for your spline jig and wanted to say thank you for your generosity.
thank you – it’s a fun journey for sure – glad I can be of some help!
Hi, Nick! Fast, simple, clean method to show how to make a useful beautiful jig. Thanks for sharing.
thanks, I am glad you liked it!
Nick Você e o cara muito bom ótimo vídeo Parabéns.
obrigado, eu agradeço
Another great video! Thanks for making it to look easy!
thanks, always appreciated Keith!!
Just watched two of your videos, both of which were very useful and inspiring! Look forward to seeing more 🙂
thank you – glad you are liking them!
For some time I wanted to build a useful jig but had no idea how to go about. Seeing your video helped me to get the needed encouragement so that I finally get started. Thank you so much for sharing and I admire your ability to make a complex and difficult task to look so easy. Extremely well done.
so cool to hear it helped you out – thanks for the kind words!
Where I could find tougle clamp that you use in your project ? THanks you
When I refer to the toggle clamp in the article there is a link for it.
I am a fairly new woodworker played around in high school wood shop 30 + years ago and worked for a cabinet maker spraying and hanging . I am really enjoying your tips and jigs Thanks for sharing your knowledge and skill.
thanks Jim – cool to hear you are getting (back) in into it!
Soy nuevo en esto y lo estoy haciendo como hobie ua que estoy retirado y tengo en mente muchos planes por hacer. Viendo tus videos me inspira para lograrlo ya que no cuento con mucha maquinaria tengo lo básico y monte mi Sierra en mi banco. Felicidades por tu estupendo trabajo y gracias x compartirlo. Saludos
gracias por las amables palabras, ¡son muy apreciados!