Making a clock is one thing. Having two friends in the shop at the same time while they are also making clocks was something new for me. Jay Bates and April Wilkerson were visiting me and on the last full day in the shop we decided to all make clocks. Each person had to come up with a design and see it through into a finished piece. We not only made our clocks at the same time, but we also simultaneously filmed them to make them into videos. Check out Jay’s clock as well as April’s video to see how unique they all ended up. If you aren’t already familiar, I encourage you to subscribe to both Jay and April. They are both awesome people making some really great things. And to further that note, if you haven’t had anyone else in you shop working alongside you, I highly recommend it. Woodworking and general shop activities are such a solitary venture. Often times we like to be left to are own devices, but occasionally having others in private environments is a good thing. Bouncing ideas back and fourth, and just seeing how others work can be rather inspiring. That was my main takeaway from all of this and I suspect others could benefit from it as well. Now let’s get to my clock build!
April and I planed down some 8/4 curly maple on my lunchbox planer.
After being planed to thickness, I could cut any cracks off of the end and cut my piece to rough length.
I picked the straightest edge and placed it against my table saw fence. That allowed me to trim the opposite nice and straight. After that I flipped it around, and the made the opposite edge parallel.
With my table saw sled I can make each end square and cut it to final length. If you are interested in making my sled, I have plans available as well.
The arrow is pointing to my show side of the clock.
If I cut out the marked area, I will have the same grain pattern wrap all the way around the length of my clock.
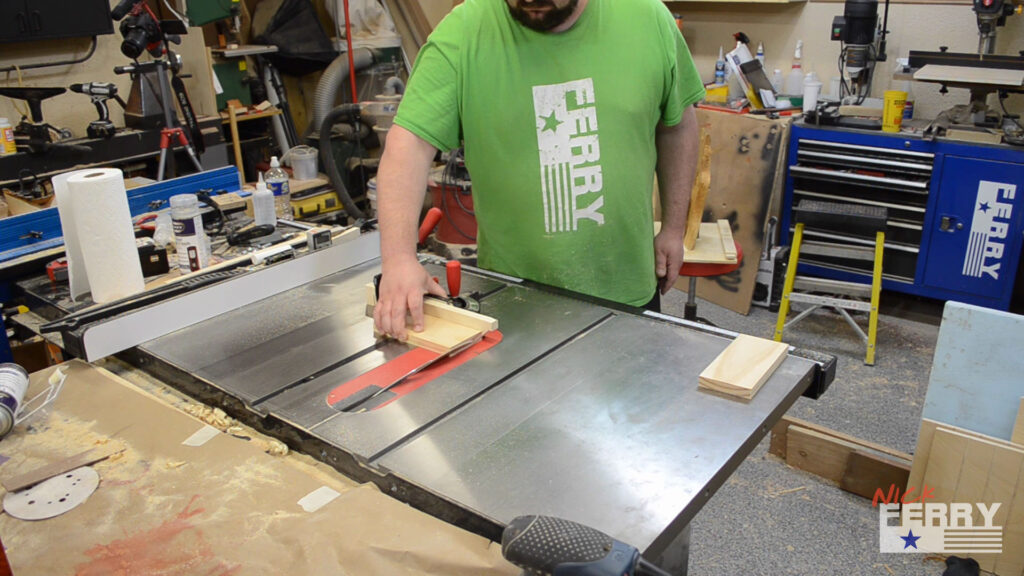
To cut on those marks, I set my table saw blade to 45° using my digital angle gauge. I’m not sponsored by them but this gauge makes it extremely easy to find accurate angles.
I could then proceed to cut on the waste side of my marks creating the center section of the clock.
Cutting on the waste side again, I finished up both of the sides.
Using masking tape as hinges, I taped the sides and front together in preparation for glue-up.
Glue applied to the bevels with an acid brush, I could then bend the sides to mate with the front piece.
I used some more masking tape to “clamp” the pieces in place.
Cleaning up the glue squeeze out was a bit tough being I let it dry for 45 minutes or so. Next time I’d give it 30 minutes or even a bit less.
The masking tape and clean bevel cuts really did the trick. The glue joints were almost invisible.
I trued up the ends on the table saw sled and cut it to final length.
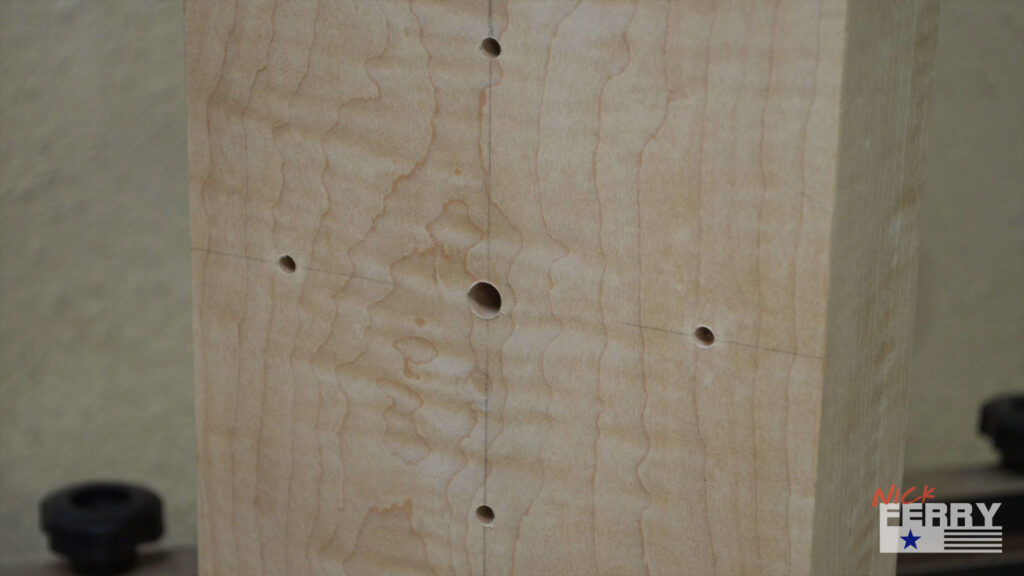
The center of the clock needed to be drilled out as well as the major hour positions. I marked these out and center punched their locations.
The center hole through hole was for the clock movement.
Stopped holes were made for the 12, 3, 6, and 9 positions.
I tapered the end of a brass dowel that matched the hole size drilled in the previous step. I did this on the disc sander.
With the brass rod in a drill, April spun it while I cut it to length using a tubing cutter.
I applied some CA glue in the holes and tapped the brass pins in with a tack hammer.
I decided to sand the brass pins flush with the wood surface. I also sanded the rest of it to 220 grit.
After applying some water based #12 bright red cherry dye, I sprayed on a couple coats of satin lacquer.
After cutting some pine to length, I added a 45° bevel cut to chamfer the front and side edges.
Spray paint goes on rather thin. Smearing some drywall joint compound into the end grain helps seal the wood. This keeps the spray paint from soaking into the grain so much, giving a much cleaner finish. After it’s applied, just sand it smooth.
I used some painters tape to keep the paint off of where I was going to glue the top and bottom on later.
Some glue and dowels held the top and bottom in place. Make sure to mark the dowel locations accurately to avoid misalignment.
When securing the clock movement, make sure not to over tighten the nut. If you do the stem will pull out and ruin the mechanism. The movement itself comes in different stem lengths for different material thicknesses. Here is one for 3/4″ material and one for 15/16″ material.
These type of movements usually come with brass colored hands. I thought black suited my clock better so I spray painted them black.
And there it is, my finished clock. Thanks for taking the time to check it out. Let me know if you have any questions or comment down below. Have a great day!









8 Responses
Really nice clock Nick, the edges look tight and the grain wrap is sweet! Great idea with the joint compound as well.
thanks Fred – the joint compound works really well
That was fun… Watched all 3. Like the collaboration. Thanks guys and gal. Liked the tape clamp tip.
glad to hear you enjoyed them Gary!
I “cringe” a bit each time I see you dyeing or staining curly maple. I guess it’s because I so rarely have had it to ever work with. But it comes out beautiful each time you do, so why should I do that? lol Enjoyed all three videos and I honestly couldn’t pick one over the others. All of you did a splendid job! I hope you 3 get together real soon and let the creativity flow!
thank you Dave – it’s tough for me to pick a color – I always feel I won’t like it
It was great seeing the three of you in the same shop and all the cameras getting moved around. But most of all I really liked the way you cut the 45’s to give that seem less wrap around on the clock what an awesome job Nick and the dye really made that grain pop. Watching all three videos one right after another was great planning.
very cool to hear – thank you – so much fun working with them both and we are hoping to do it again at some point