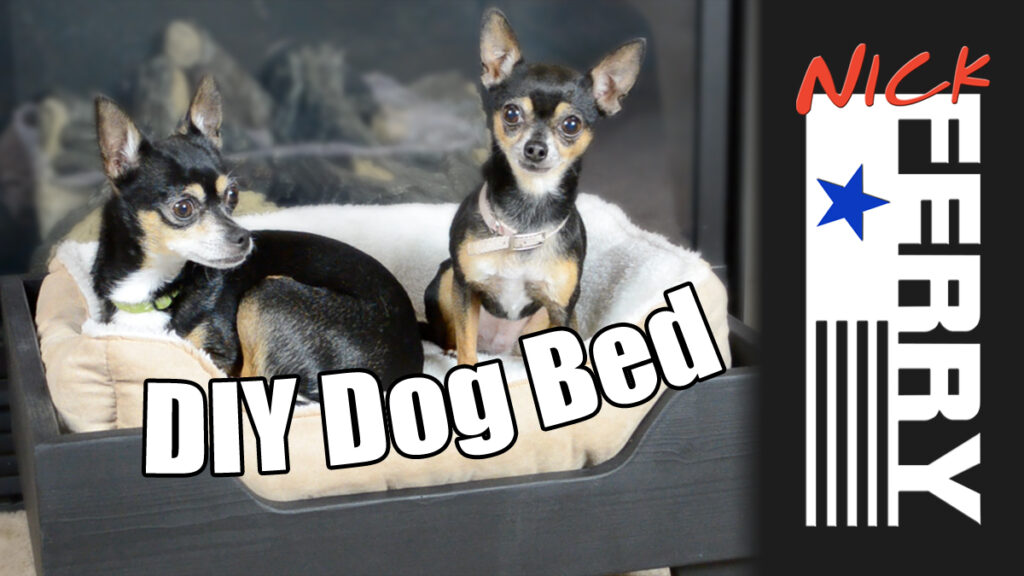
Pets seem to have a special place in many families and we often times treat them as actual members of the family, dogs are no exception. I have been a dog person from very young because my mom pretty much insisted on having a dog in in the house. She passed her love of four legged furry friends on to me. Growing up I always had big dogs. When it came time for my budding family to get a family pet, we had decided on chihuahuas. As I quickly discovered, smaller dogs can be just as much fun as their sizable counterparts. I don’t know whether it’s the lower vantage point, or their incessant need to feel on top of the world, but I found our pint-sized pups preferred being on blankets atop furniture rather than remain on the floor. I decided to test my observations by lifting their view on the world by making a platform to raise their dog mattress. I was thrilled to discover they really enjoyed the added few inches of height and seem to really enjoy the new puppy pad platform. After the video link there is a step by step write up.
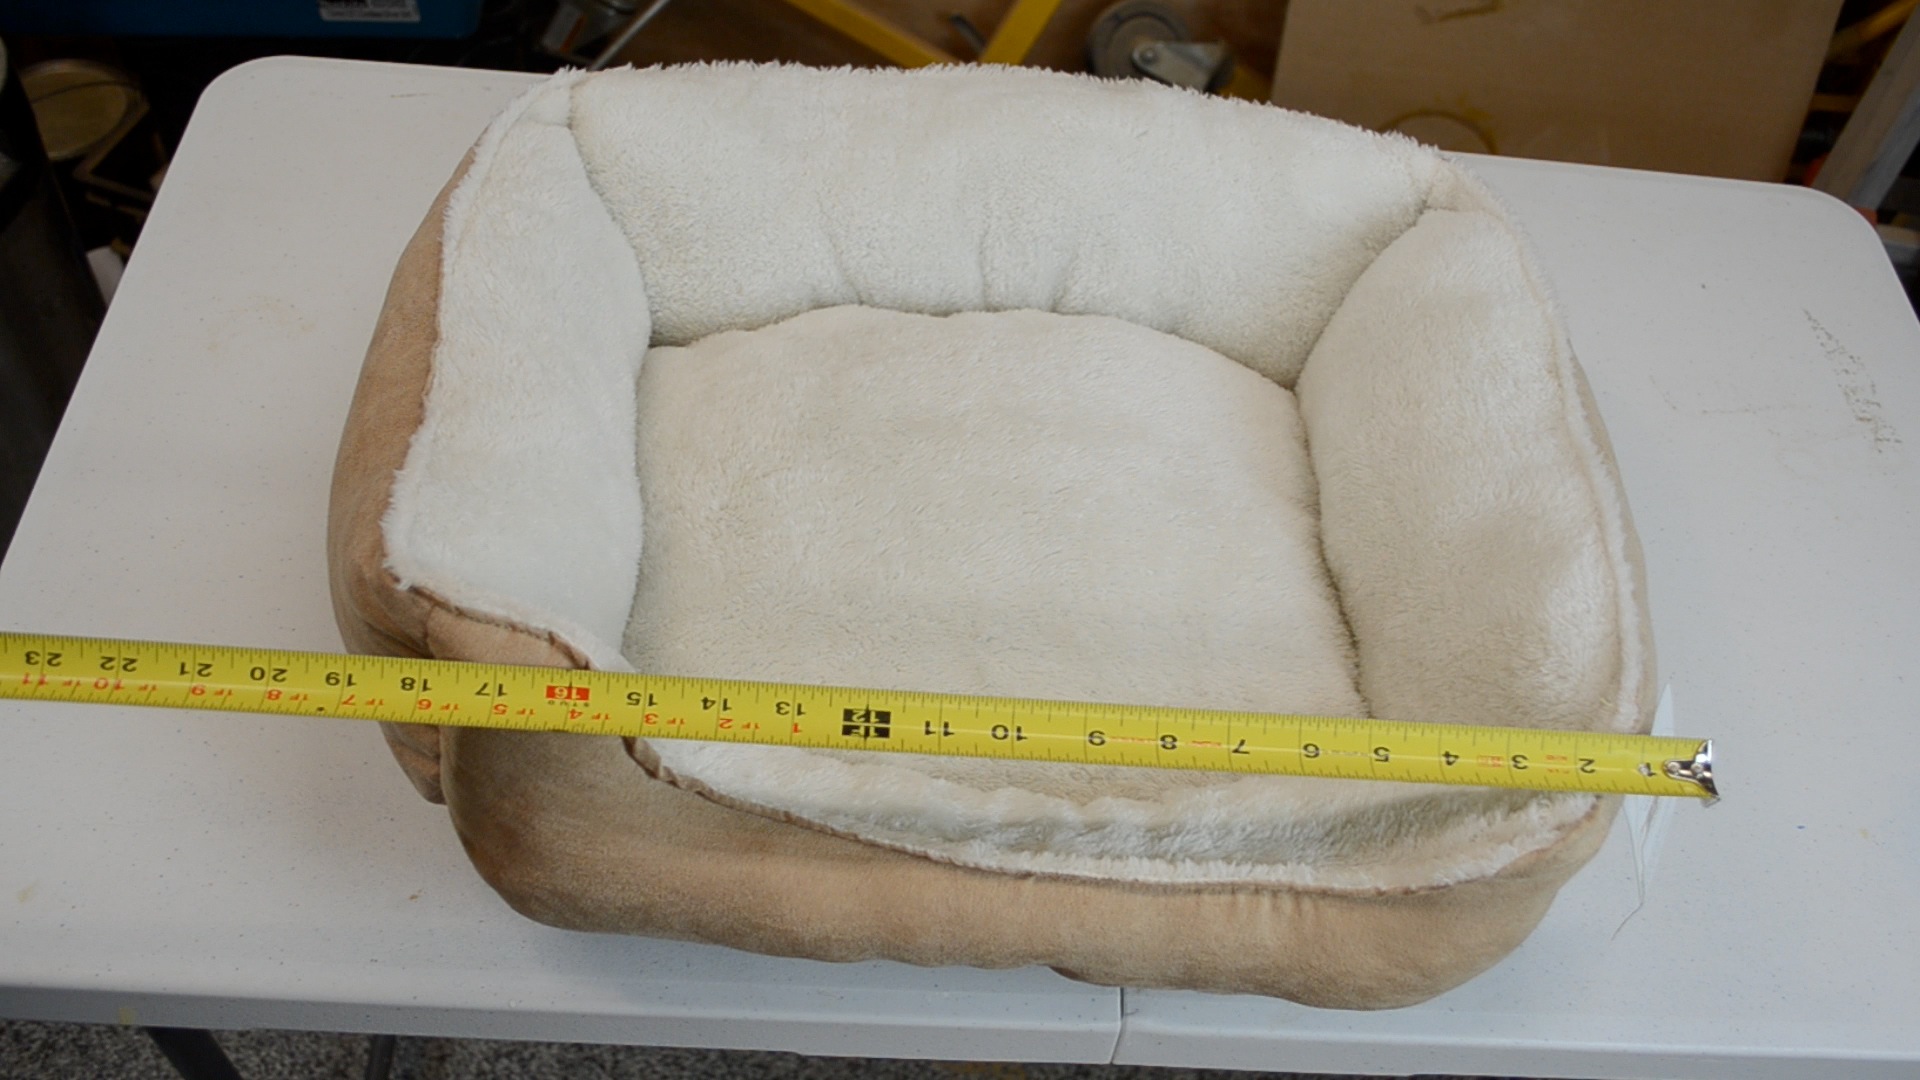
My wife had picked up a new foam filled fabric dog bed from our local pet supply company. I took some generic measurements to ensure that what I was to build, could accommodate the new purchase. Your measurements for your dog bed will obviously vary depending on what size you buy.
I also made sure to measure the dogs to make sure they would fit too. And it looks like we are good to go. Once again, your size may vary, lol.
Once I was armed with the dimensions of the interior of the box I needed to make, I needed to calculate the overall length my wood needed to be. Sometimes this can be difficult for people to figure out.
If you are using 45° cuts on the ends, a quick and easy way to figure your overall length is to go off of your material thickness. In my case I am using 3/4″ pine. The end 45° cut forms a right triangle with equal length legs on the triangle.
So you can add the material thickness, times 2, to your inside dimension, and that gives you your final length to cut the board. My 3/4″ material x 2 = 1 1/2″. That added to my inside measurement of 20″, I came up with 20 1/2″. Remember this trick only works with 45° cuts. If you are making a project with a smaller or larger angles, this would not apply.
I then proceeded to cut all of the box pieces to final length. For my project it was 2 boards at 21 1/2″, and 2 at 18 1/2″.
To make it easier for the dogs to get in and out of the bed, I marked an area of the wood to be removed on what would become the front piece. A handy tip when removing material from a project, look at the parts you are working with and see if you can remove any imperfections when cutting the waste piece. In my project, I was able to remove an unsightly knot on the reverse side, making the overall appearance of the project that much nicer.
I could then cut the waste material away using my bandsaw. Making sure to leave the layout line so I could sand to the line in the next step. A coping saw or jigsaw may also be used if you don’t have access to a bandsaw.
Using a sanding block by hand, or a belt sander, you can now sand right up to the line making the edge smooth and free from cut marks.
I then test fit the parts while in my strap clamp. Once everything lined up, I removed one board at a time and added glue to the bevel cut.
With all of the wood clamped up and where I wanted it, I reinforced each corner with a few brad nails courtesy of my air brad nailer.
Turning to the legs, I got some chunks of MDF from my scrap bin, found an angle that looked good and cut 4 legs to size.
Additionally, I cut 4 more legs at the same height and angle, but I made them narrower by the thickness of the MDF, in this case, 3/4″. That way, when I joined the two pieces at the corner, it gave an even reveal and appearance on both sides of the legs.
Glue and nail the pieces together, and you can see that each side of the legs appears to be the same width. Glue squeeze out can be wiped away with a damp rag. Once painted, no one will ever know it is two parts glued together.
To aid in the look of the joints and minor imperfections in the wood, I use drywall joint compound to fill in any problem spots (including nail holes). If you were planning on staining your project, you would want to use some stainable/sandable wood filler instead. I was going to paint my dog bed, so joint compound is what I used. After it dries and has been sanded smooth, most joints and flaws become invisible under a coat of paint.
You may be able to see in the above picture, I had marked each of the legs 1″ down from the top to give me a reference mark, in where to attach the legs. Glue and brad nails where going to have plenty of holding power for our compact canines.
Using some more scrap materials, I brad nailed a couple of pieces of pine to act as supports for the 1/4″ MDF hardboard that was to come.
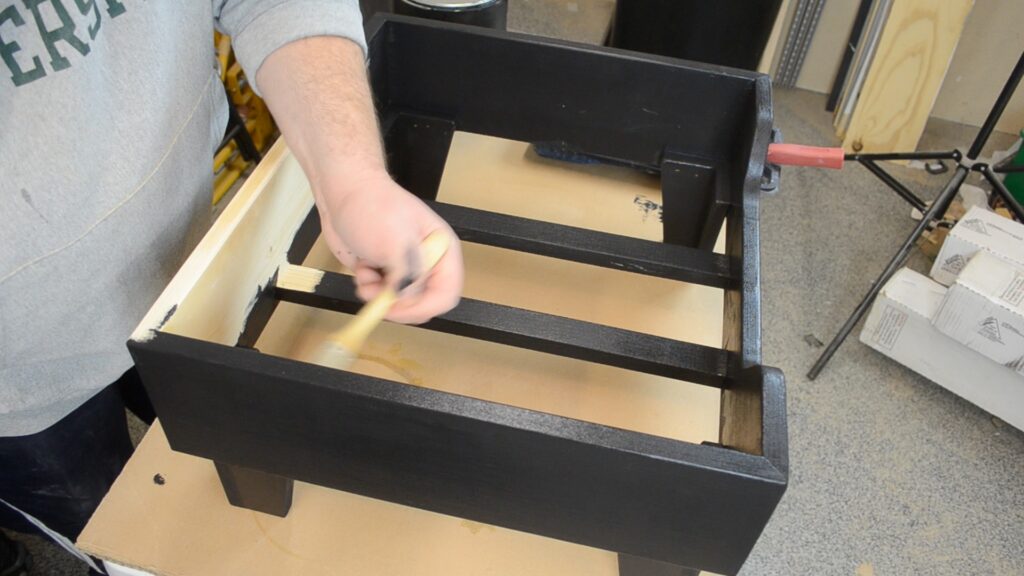
I choose flat black paint for the finish on my project. I am not new to using black paint to cover my creations. I use it so often because, I always seem to have some on hand, I’m rarely disappointed by its final outcome, and it gives projects a modern yet elegant look.
Cutting out a piece of 1/4″ thick hardboard to slightly smaller than the frame opening, painting it as well, plopping it in place and this project was nearing completion.
A $12 store bought dog cushion with a $4 pine board and some scrap materials, and our dogs couldn’t be happier. If you are interested I have also made a video showing the build process. The link for that video is provided below.






5 Responses
Well designed. Well built. Simple and functional.
One advantage in having such a small family member is the reduced cost in materials. I’m hoping this is true regarding food and water. 😉
Yes it is. I’m surprised to see how much food other people have to buy for their dogs. I’m not the one in the house that buys the food but, I would say the two of them don’t even eat a small 10-15# bag in one month. It may even last them longer.
Great project and video, Nick.
Awesome DIY Dog bed. Love the design too. Thanks for sharing!!!
Thank you, much appreciated – and more importantly, the dogs love it!