Many times in woodworking projects evolve. This a a good example of that. I wanted a “home” for my laptop and a more permanent place for it meant I needed to make a desk. I didn’t want to devote a ton of time into making it, as I have future plans to make something more elaborate with all the creature comforts. This was a project I had been putting off for too long. My original idea was to snag some sawhorses from the garage and slap on a piece of plywood and call it a day. Trust me, the idea seemed good at the time. But as time went on I realized I didn’t really want sawhorses in my house for any length of time. Nor did I want some cheap OSB (oriented strand board) for the top. See the evolution in progress? At the end of the day I still needed this to be an easy and quick project and not to look like crap. So I arrived at this, I was going to use baltic birch plywood for the top and laminate the perimeter to give it some more strength and make the top appear thicker. For the legs, I ordered a tubular steel leg kit online. Now I could check off both of my criteria, quick and easy build, and it wasn’t going to look like I am a complete neanderthal. Let’s get started!
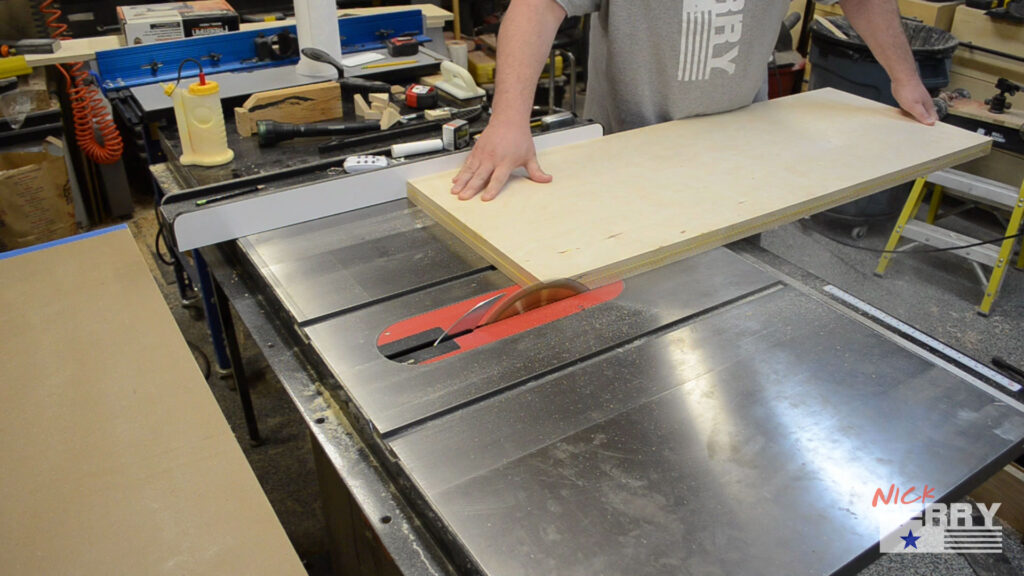
On my table saw I cut a piece of baltic birch plywood down to rough size. The top’s rough size was 18 1/2″ x 47 1/2″. Being slightly bigger than my final size meant I’d be be able to trim it down later after laminating on wood to the perimeter.
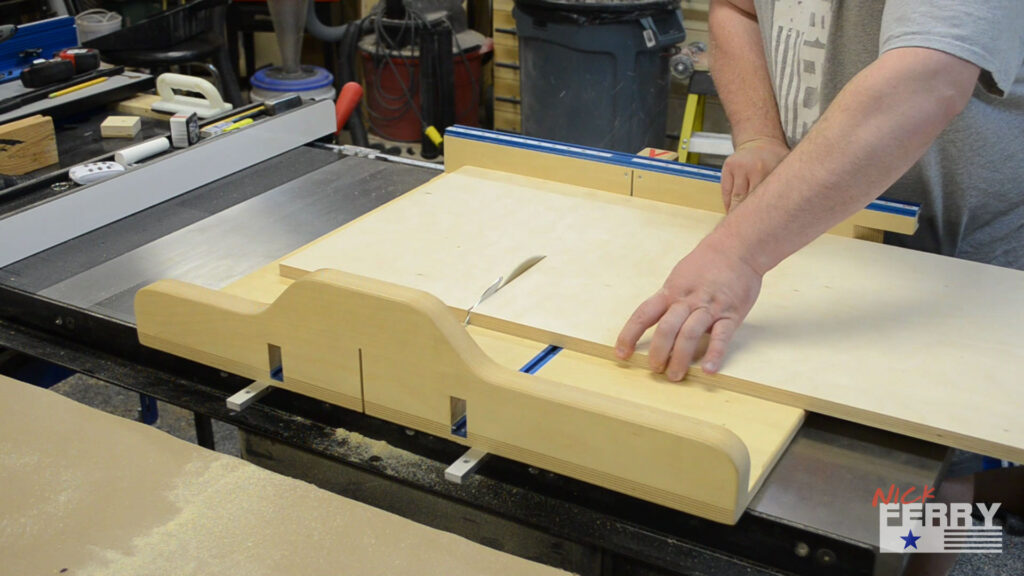
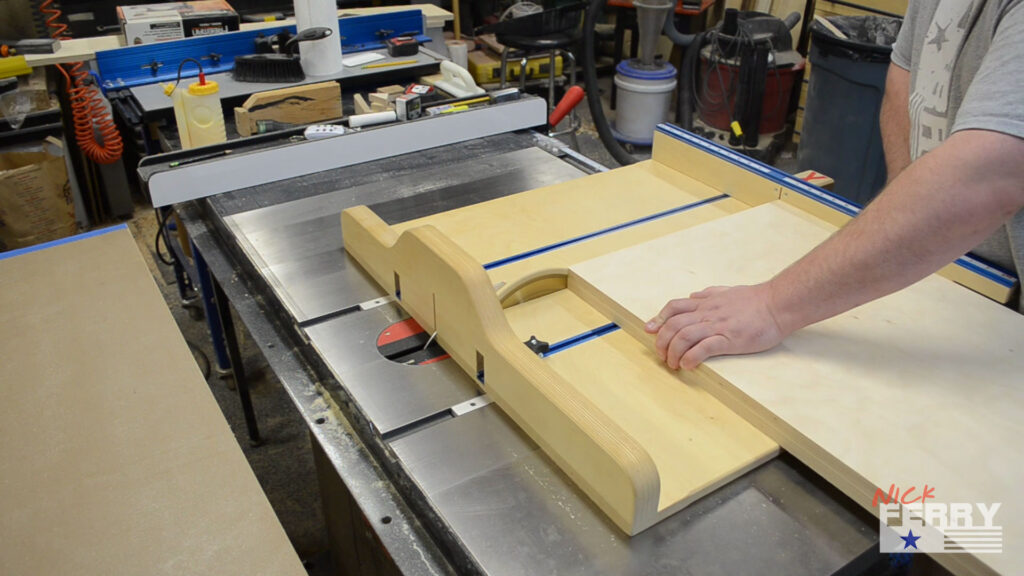
Using my table saw sled I could square up each end and get it down to the rough length of 47 1/2″.
My off-cut piece from earlier was then cut. One piece was to the the rough width and the other to the rough length.
I ripped these pieces to 1 1/2″ wide. I ended up with 2 long ones and two short.
Using the miter insert on my sled I cut 45° ends on each of the pieces. They essentially made a mitered frame to go under my table top.
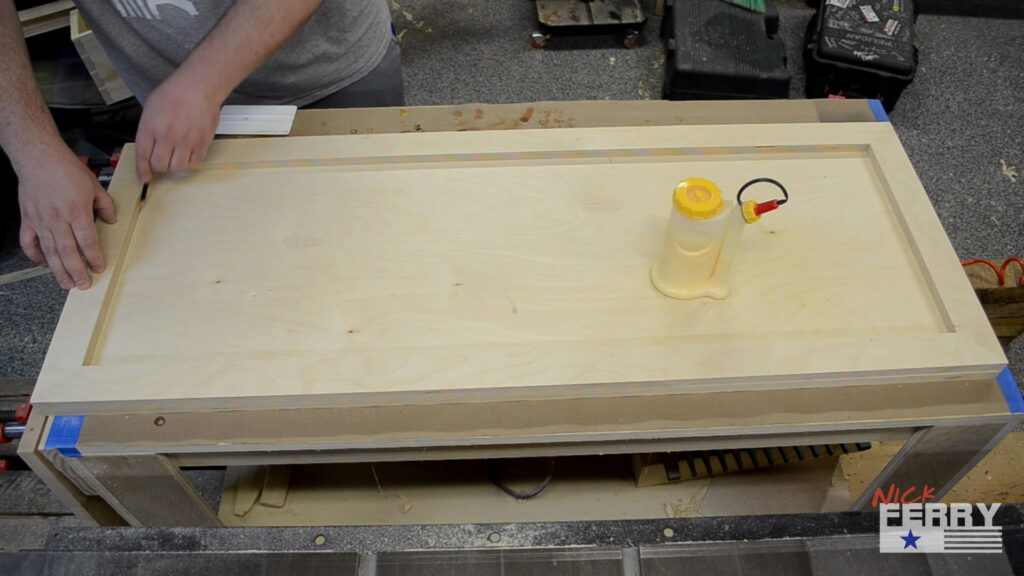
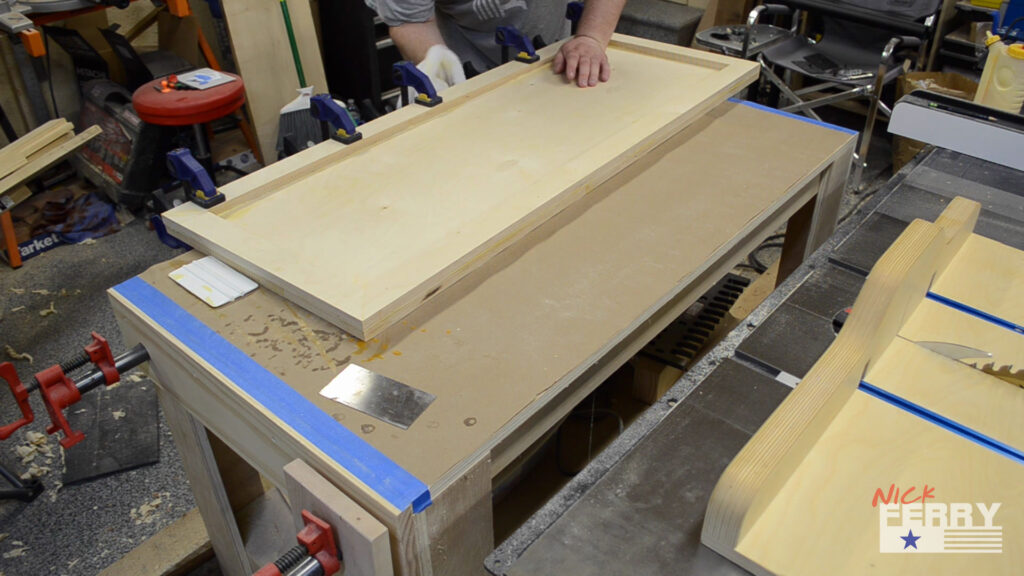
Here you can see that mitered frame resting on the underside of the top. I marked where they sat so I knew where to apply the glue.
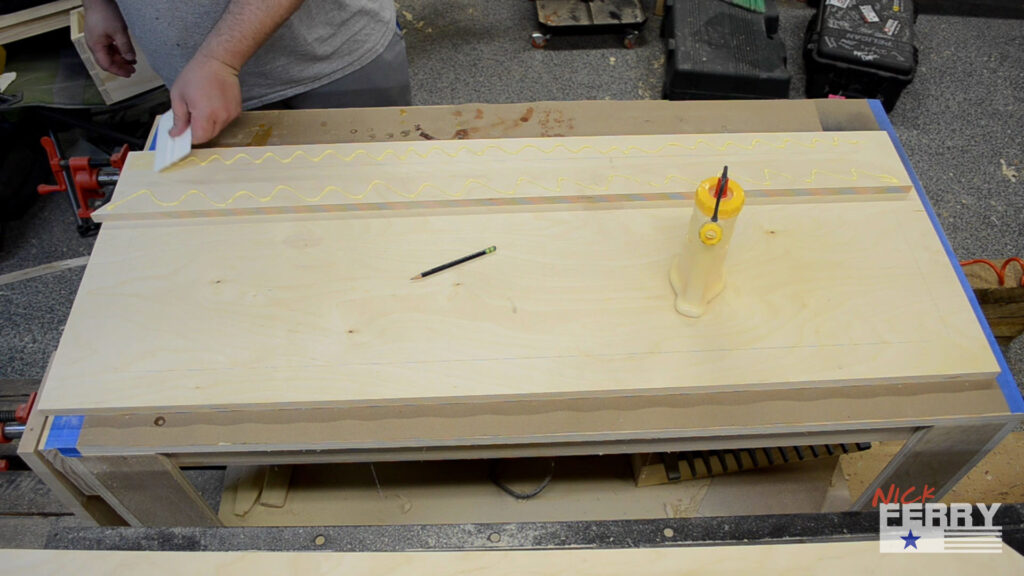
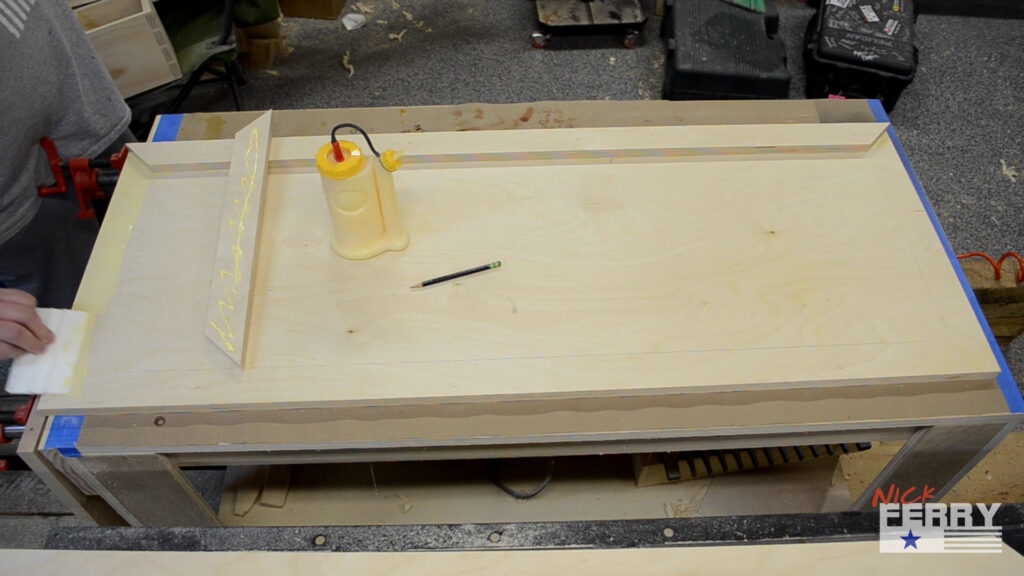
Applying the glue inside my pencil line I spread it smooth with a card applicator. I did this to both the top and the pieces to be laminated to it.
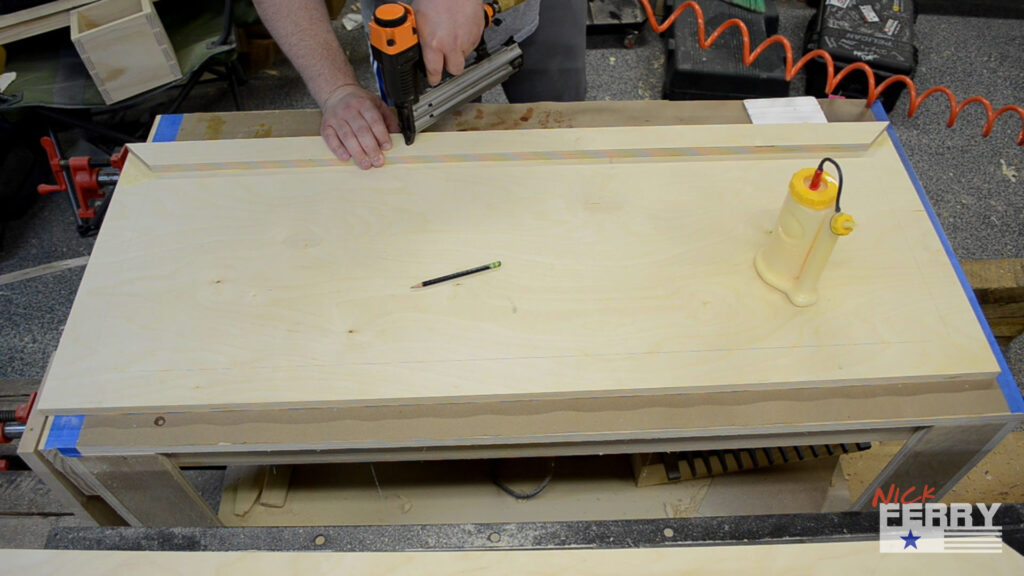
To keep the pieces from sliding around I shot in a few brad nails.
I repeated this on all four sides keeping the mitered joints nice and tight.
The brad nails do a great job at keeping the pieces from sliding around but do not apply much pressure. Using some clamps will ensure I have a nice lamination. Spreading the glue out evenly with the card applicator really helps with this. Make sure to clean up the glue squeeze out on one of the long ends. This will be our reference edge later.
Go ahead and add some more clamps and let it dry for an hour or so.
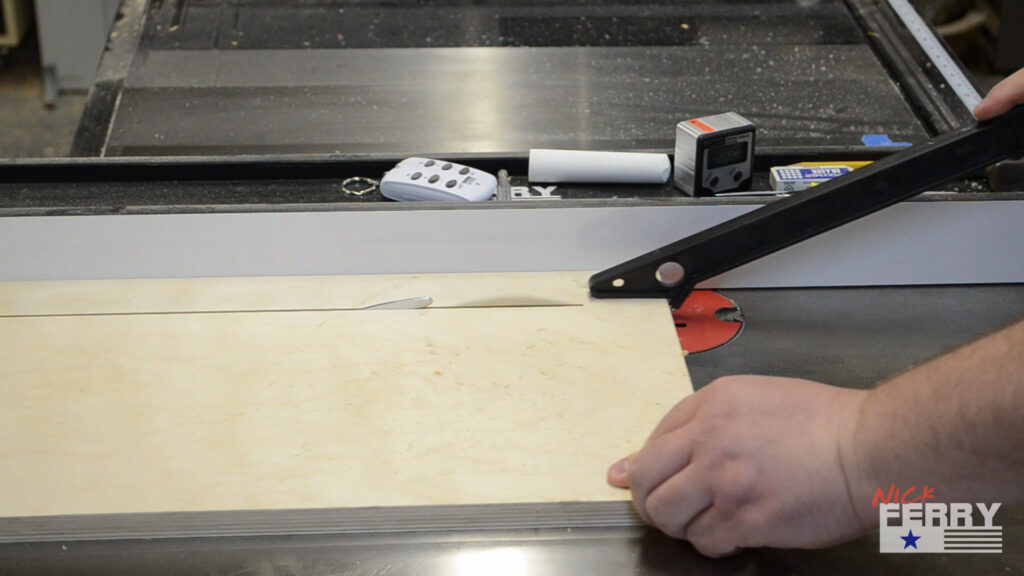
With that clean reference edge against the rip fence, trim off approximately 1/4″ from the opposite side.
Flip the top and remove the second glued edge. This will bring the table top down to 18″ wide.
The you can recut each end making them smooth and square. Try to cut off the same length on each end as to expose the same amount of the miter joint on the bottom lamination.
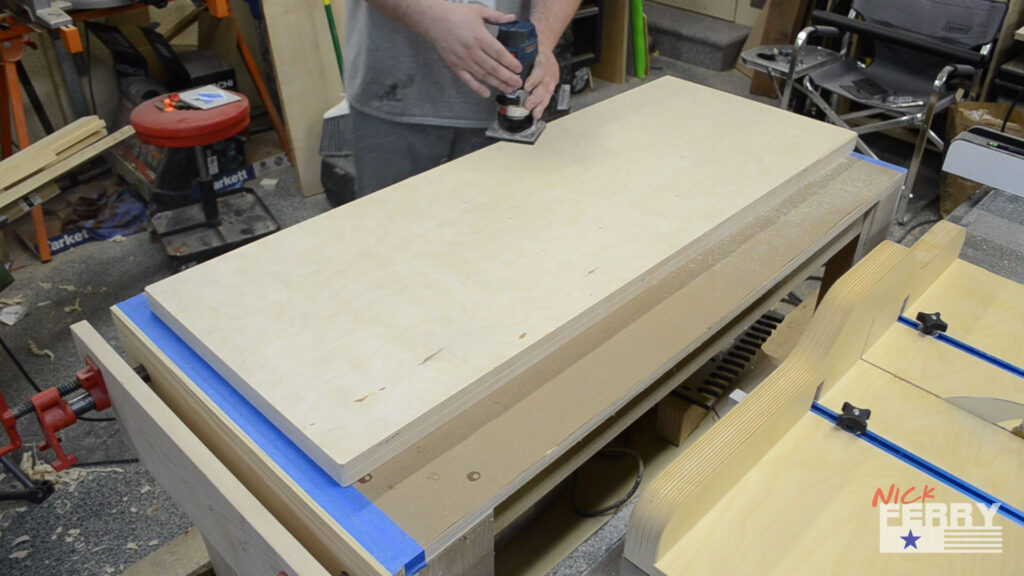
Using a 45° chamfer bit in my router, I eased each edge both top and bottom.
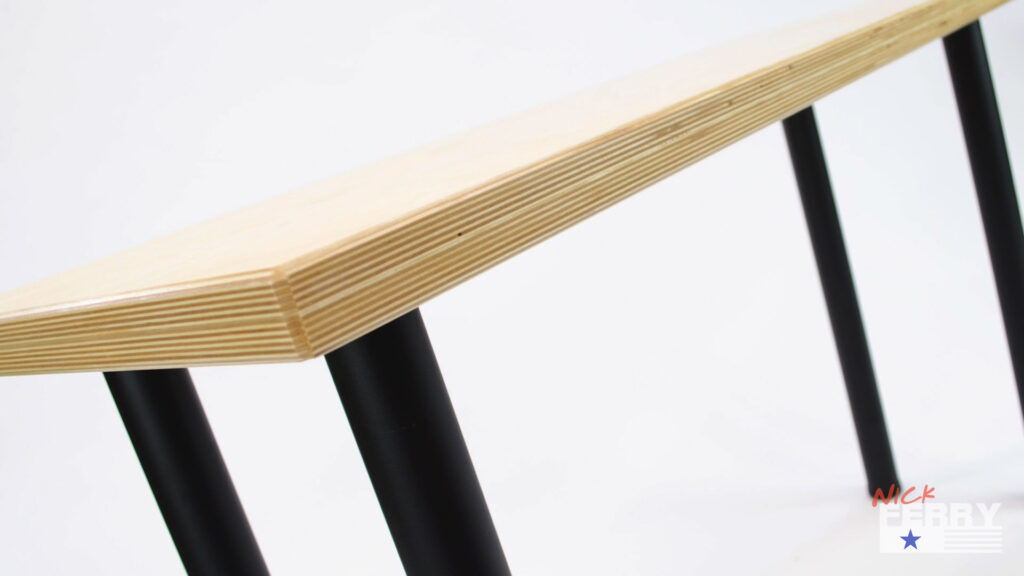
If you pay attention and set you bit depth just right, you can have the 45° slope of the chamfer line up perfectly with the laminations in the plywood. I feel these subtle things really add to a project.
I sanded everything nice and smooth and brought it to 180 grit.
After removing all the sanding dust, I flooded the top and bottom with some clear satin wipe-on polyurethane. I gave it a moment to soak in and wiped off any excess.
After letting the finish dry, I sanded with a 320 grit foam pad and added 3 more coats. Waiting to dry between coats.
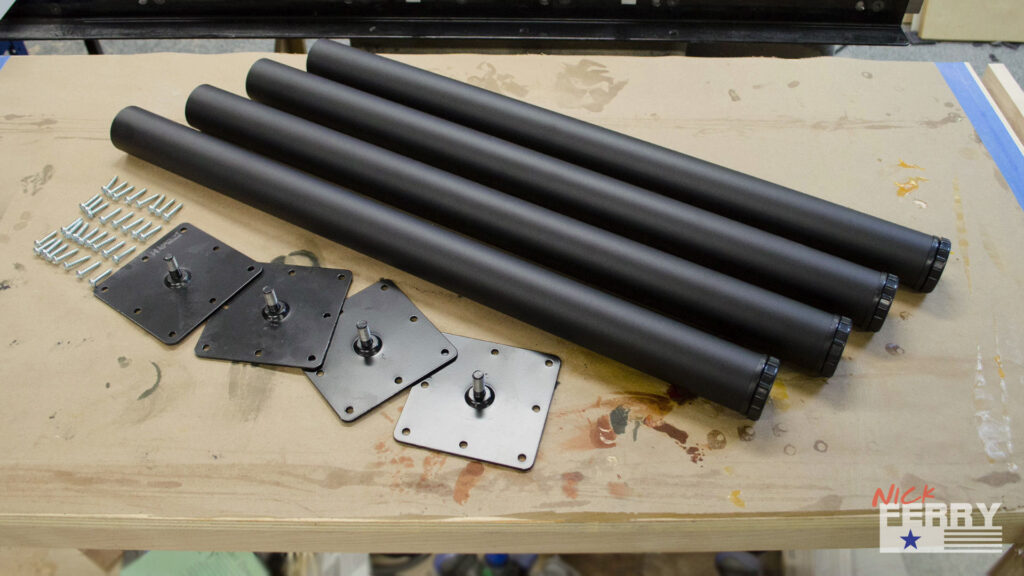
To make this a super quick build, I opted to go with a table leg kit.
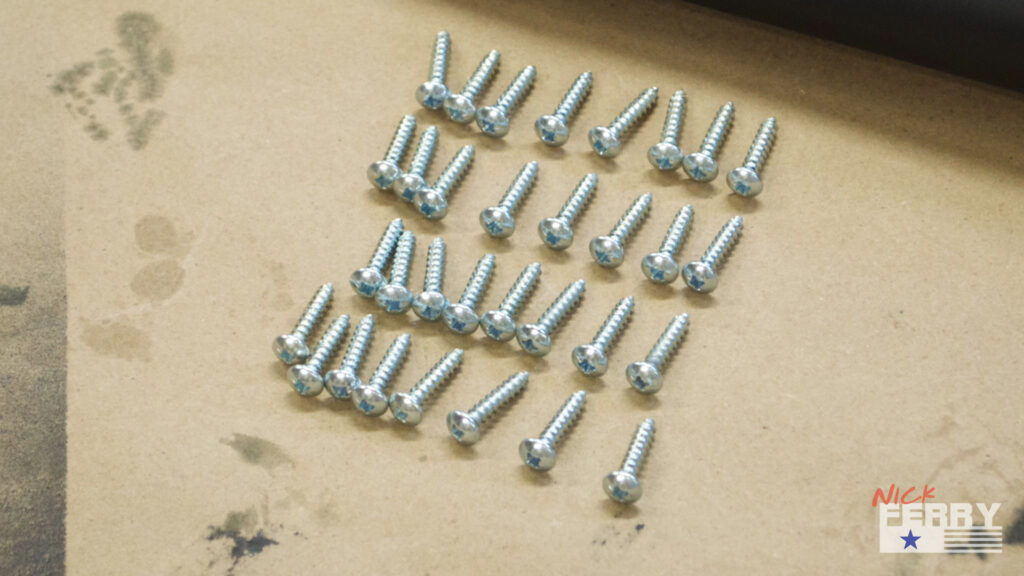
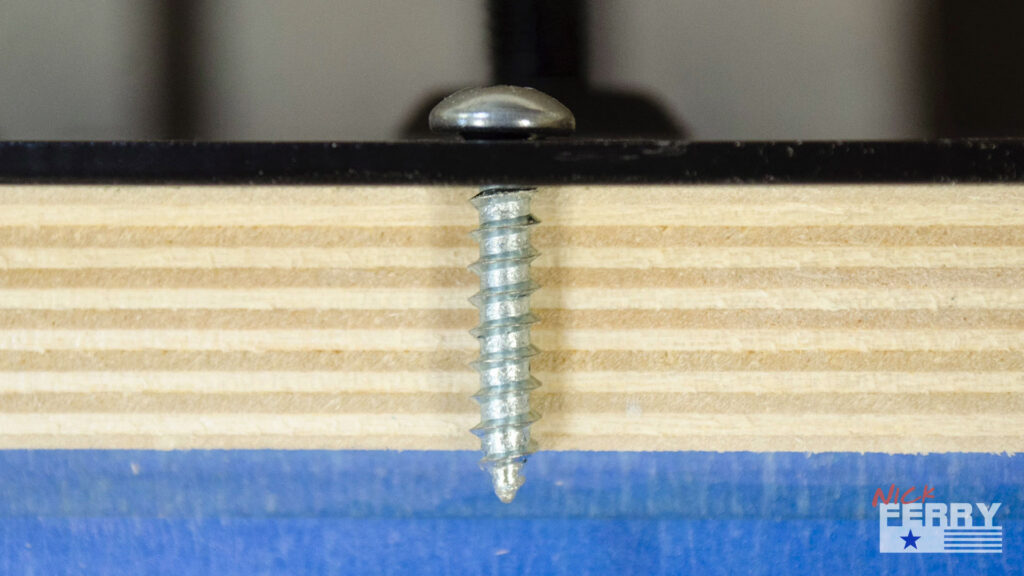
The kit included four legs, four mounting plates and 32 screws. The only problem was the included screws are meant for at least 1″ thick material. So I ended up substituting some shorter screws.
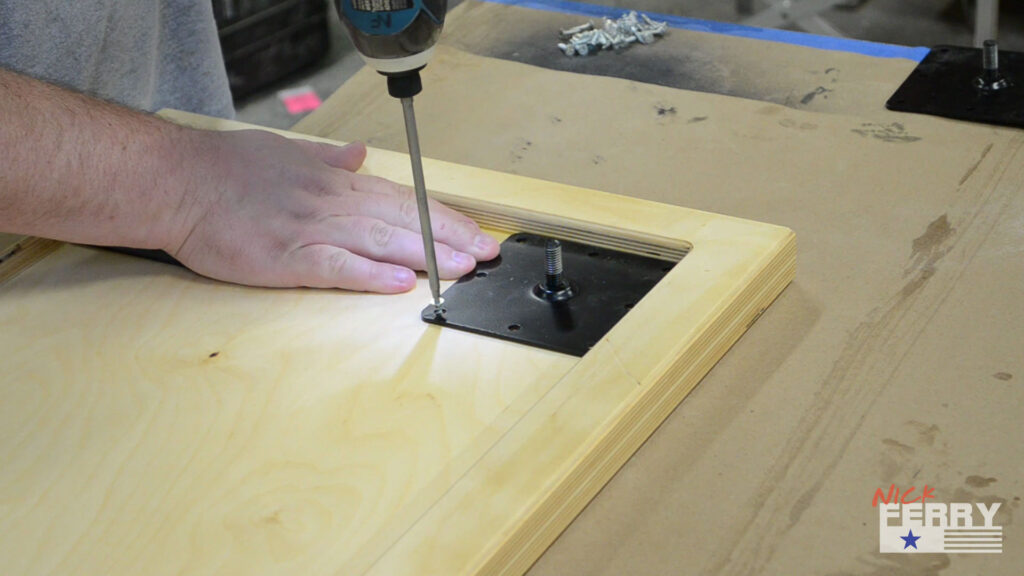
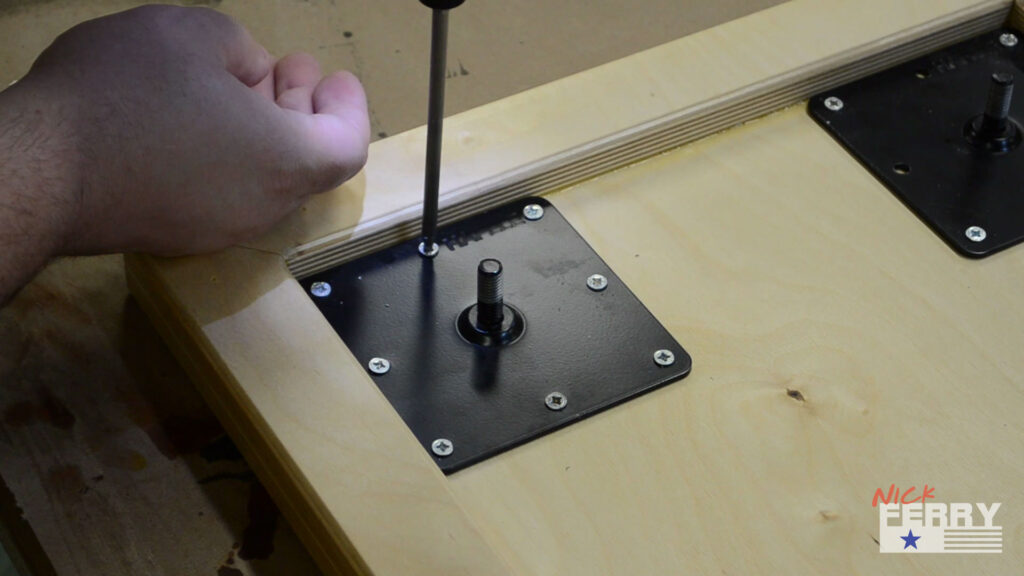
I attached the 4 mounting plates in each of the corners of the lamination.
Then it’s as simple as threading the legs onto the mounting plate and snugging them up.
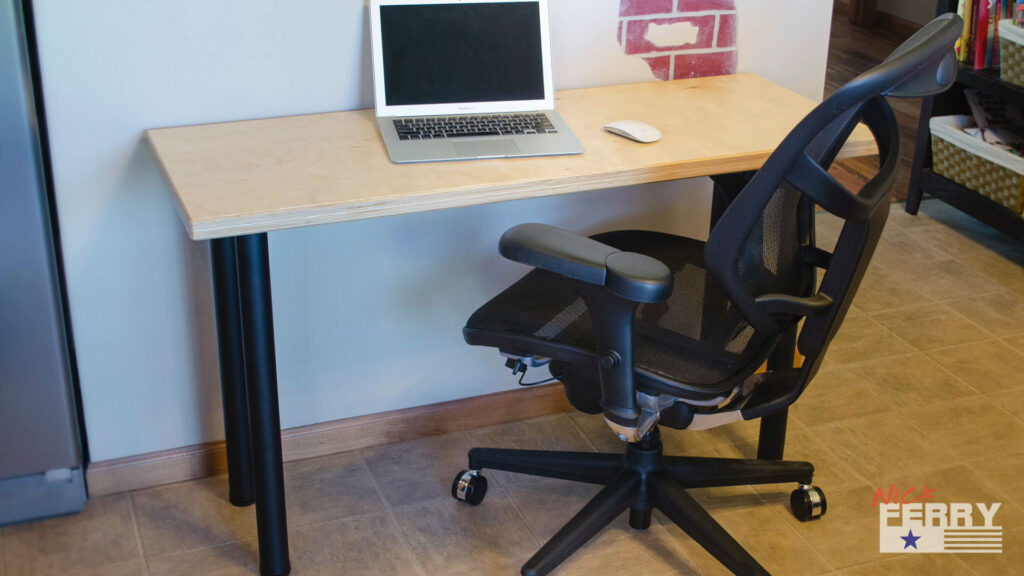
Finally I have a spot to work on my computer and it didn’t take too ling to make. If I ever do make another desk to replace this one, this would easily make a nice table for the shop to collect even more clutter.
The laminated edge of the baltic birch plywood really looks nice.
Here you can see the seem line of the mitered lamination layer.
And not too shabby from the bottom either.
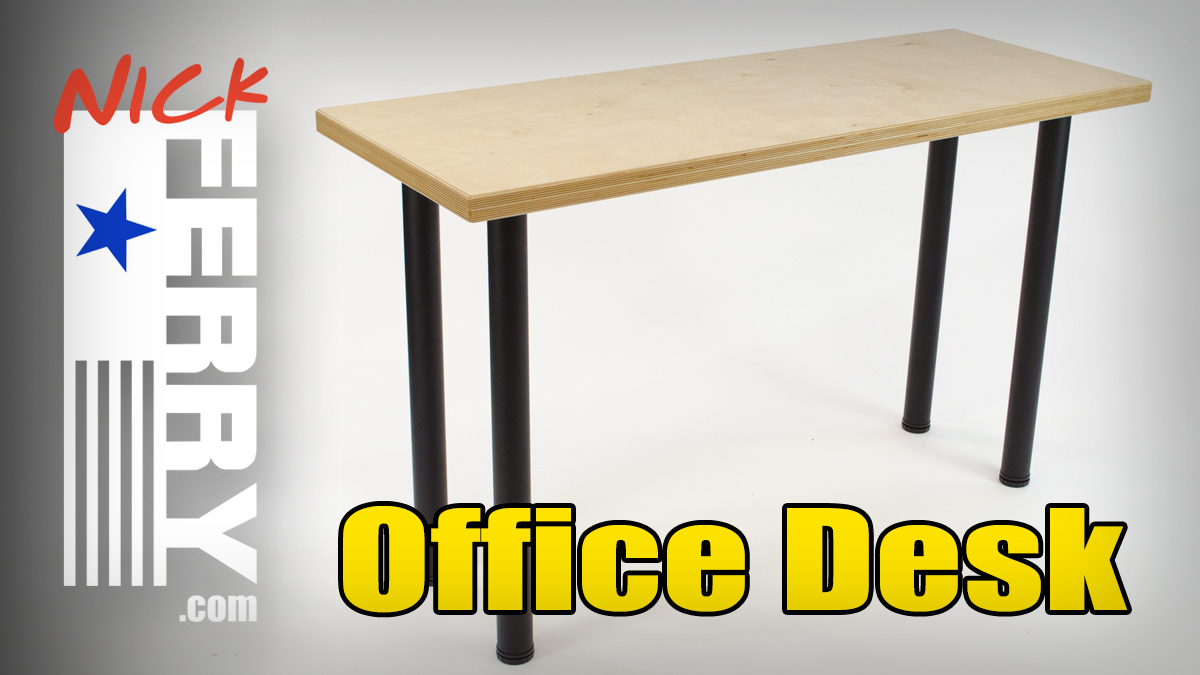
 All and all I am really happy on how this one came out. Super quick and easy to do and it didn’t break the bank. And of course my wife will like it a a whole lot better than my original idea of sawhorses and plywood. It would make a really nice table as well. The final dimensions were 18″ deep, 47″ long and 29″ tall.
Thank you so very much for taking the time to check this project out and if you have any questions or comments make sure to leave those down below. I’d love to hear what you thought about it!
















4 Responses
Excellent desk! I really like the carefully chamfered edges.
thank you Tom – I appreciate it!
You, Jay and April produce some of the best woodworking videos on the net. Another project well done! I’m envious of your access to Baltic birch plywood. Here in Arkansas it’s impossible to find.
worth looking into for sure – so much fun to work with!