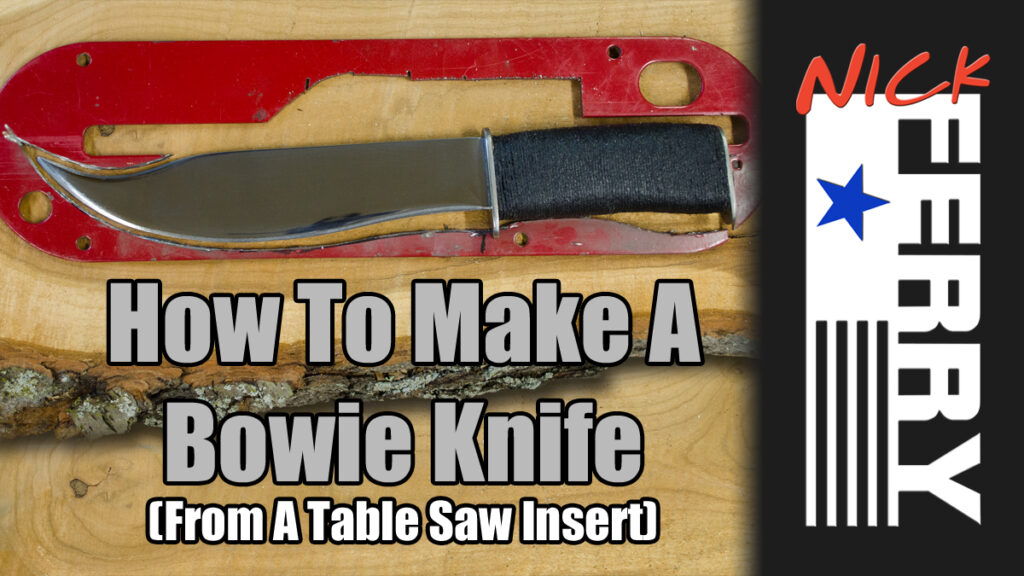
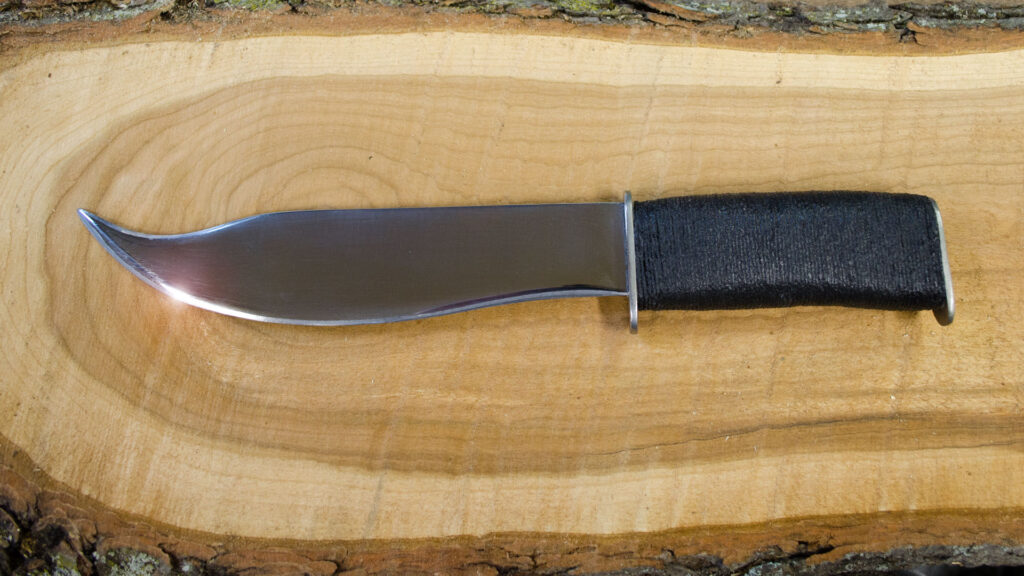
I had a few old table saw insert lying around from a saw I longer have. I had thought about throwing them away when I remembered a friend of mine was getting married and recently started a knife collection. This gave me the idea to try and make a cool Bowie knife from the old insert. Please note this is going to be a display piece. If you are wanting something that will be used on a regular basis, I recommend heat treating the blade. Although very sharp now, the edge would not be strong enough to hold up to everyday use.
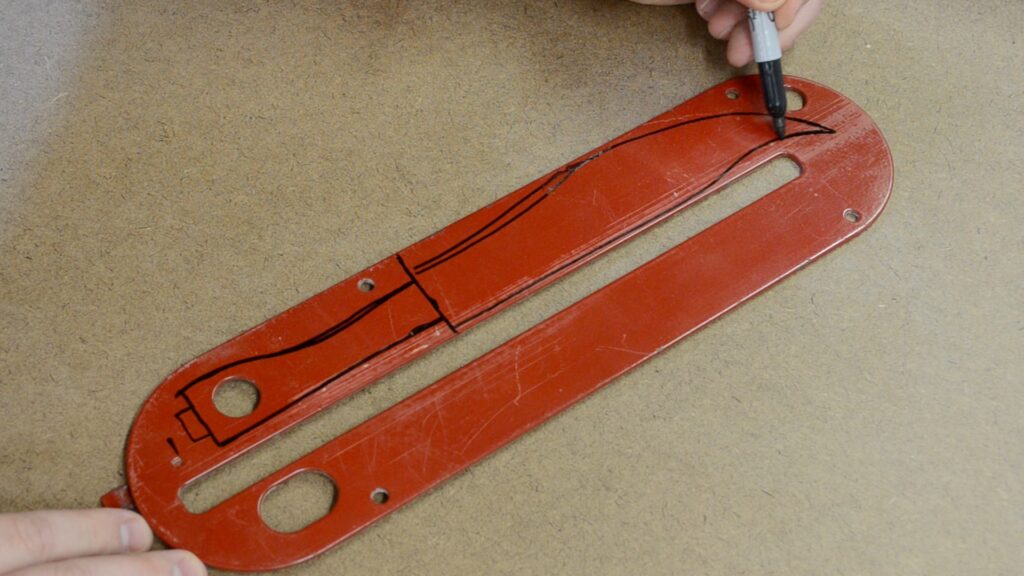
I began by making some marks for layout & drawing out a general shape.
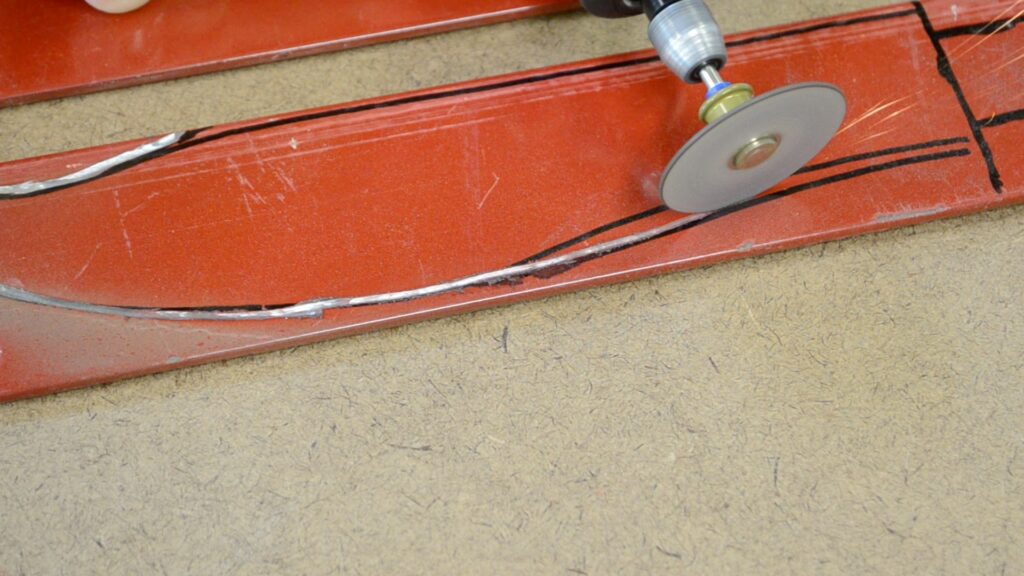
Using a rotary tool w/ a cut off wheel, I cut it to rough shape.

Cutting it to rough shape took about 15-20 minutes.
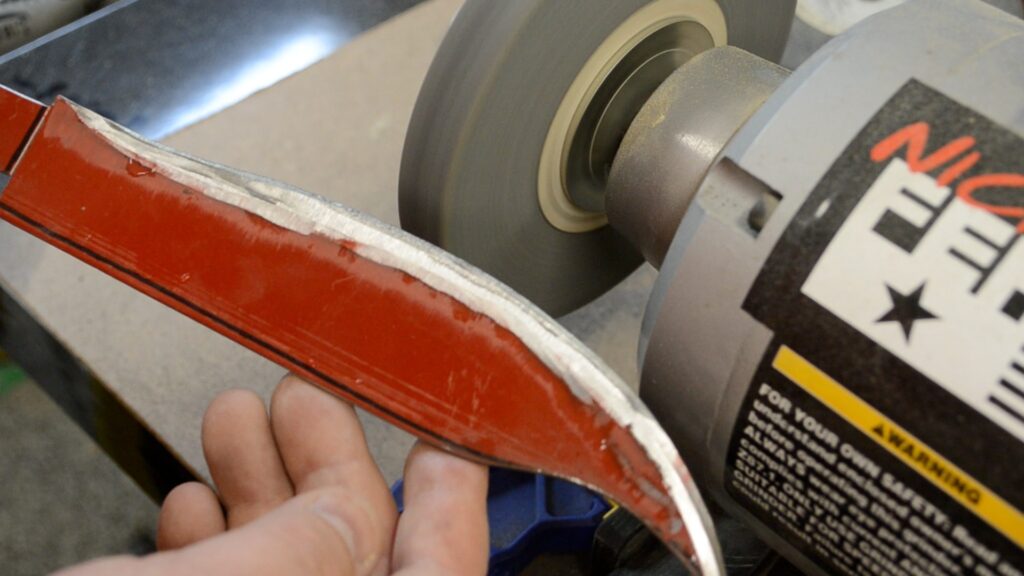
Moving to the grinding wheel I started to establish the edge bevel.

I used up some more of the insert to mark and cut out the blade guard and pommel.
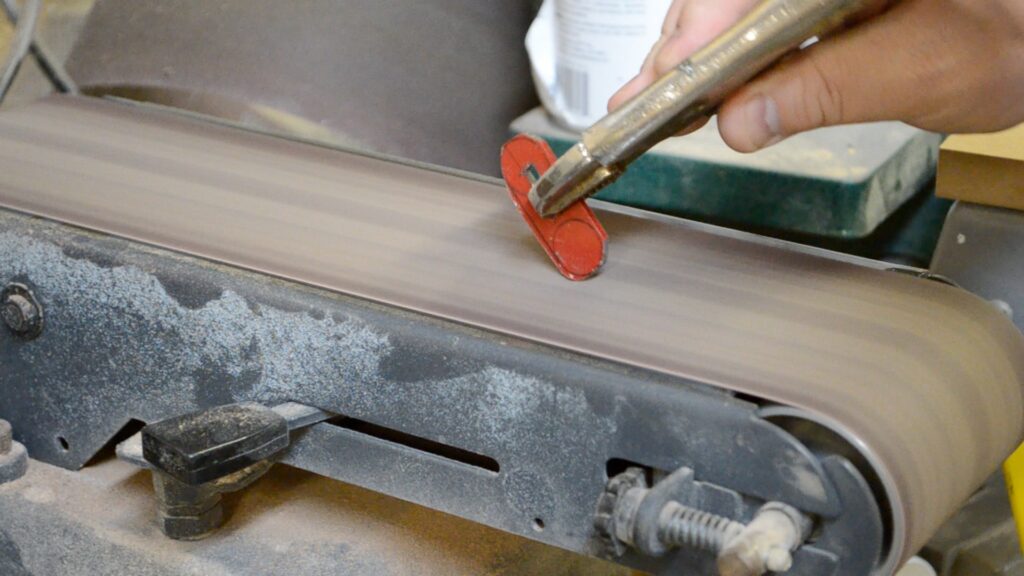
A belt sander makes quick work of finalizing the shape to these two pieces.
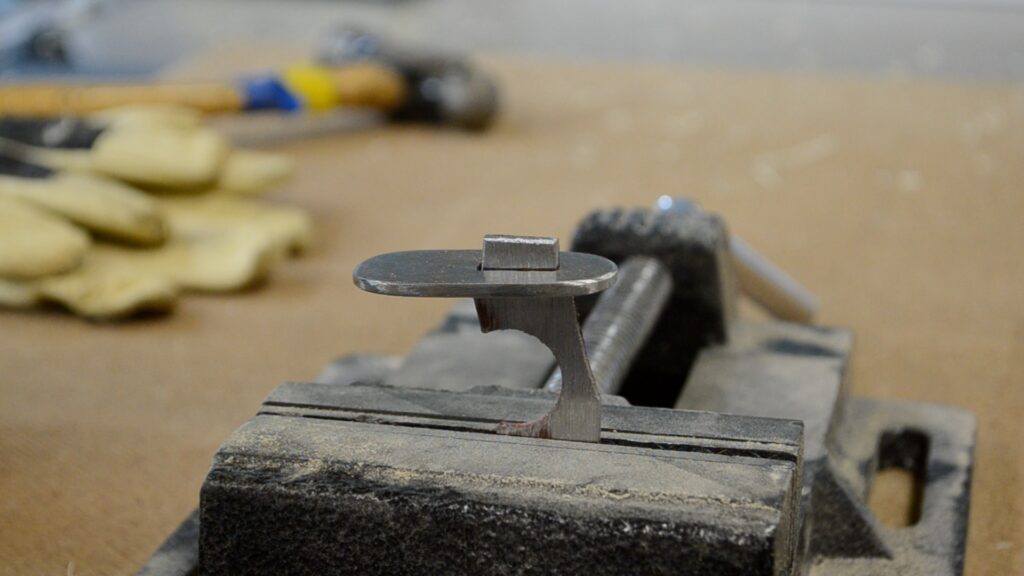
I ended up having to cut the tang down a bit to get the blade guard to slide into place. Here you can see the remainder of one of the finger holes from the insert. I wasn’t sure if that would be enough metal to support the hammering I would need to do to peen the tang to secure the pommel.
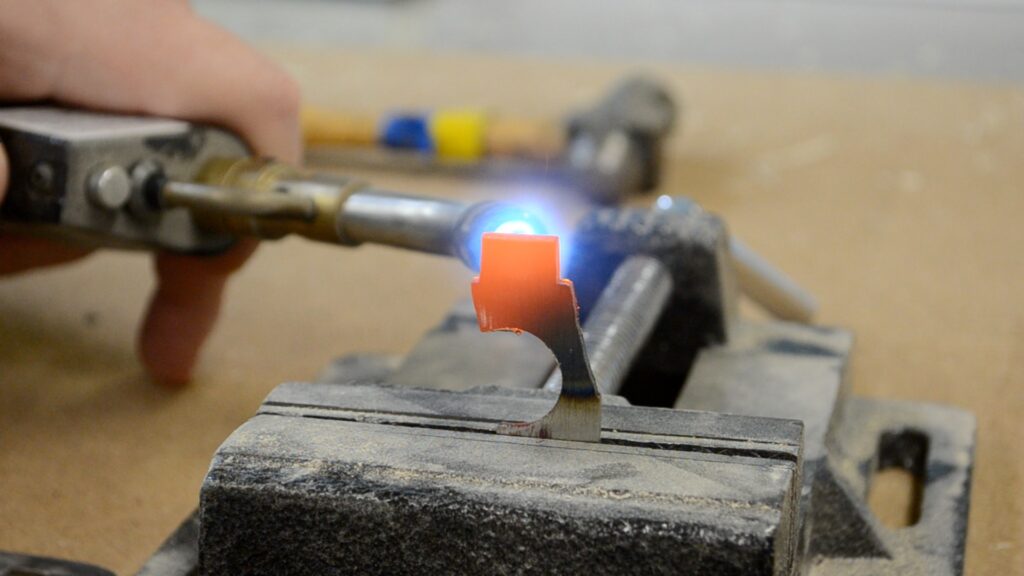
A mapp gas was used to get the metal glowing hot.
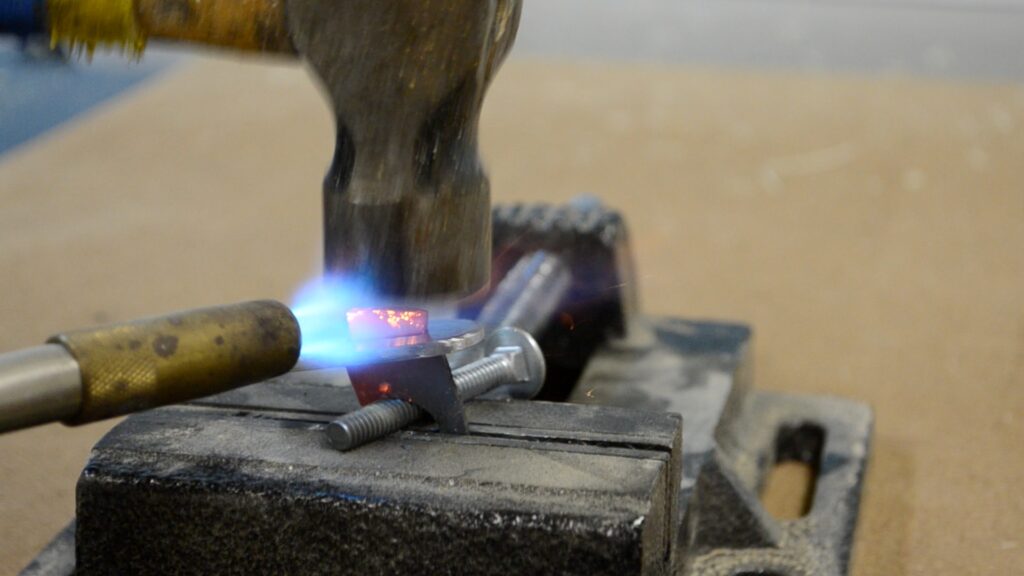
After the first few initial blows, I found there wasn’t enough metal to support the hammering. I slid a bolt under the hole and lowered it into the vise to give it the needed support.

While keeping the tang hot, I peened (mushroomed) the tang onto the pommel, securing it in place.

A fews blows from the hammer straightened everything out nicely.

My plan was to cover the handle in string. So I made an oversized handle from two blocks of pine.


After spreading out some epoxy, I clamped the two halves together and let them cure.

Some bandsaw and belt sander work further refined the shape.
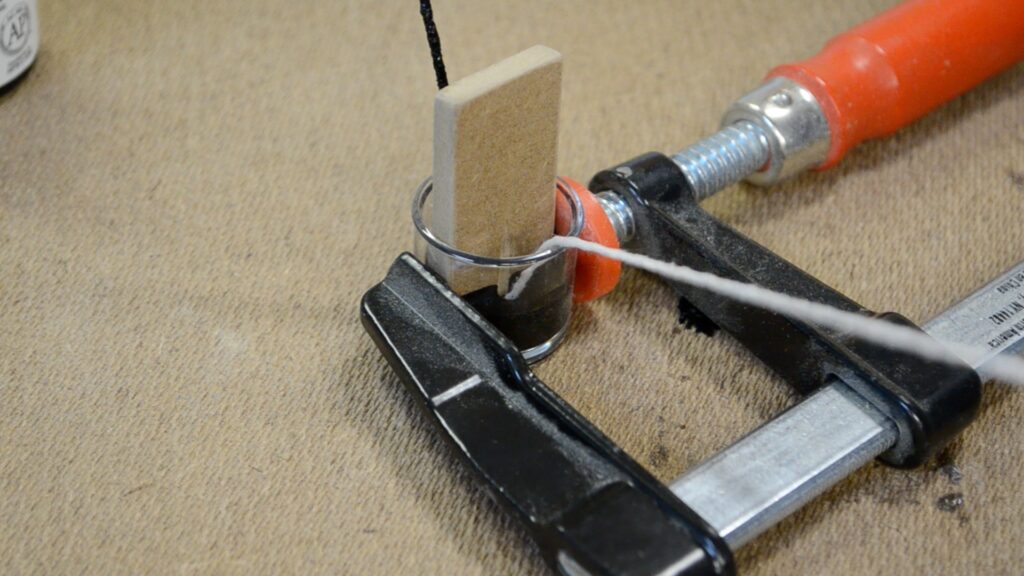
I wanted to wrap the handle in black cotton string. This meant I needed to color the natural color string black. Using a grooved piece of hardboard set inside a small container, I passed the string through the container now filled with india ink. This worked out really well.

Wrapping the handle wasn’t too difficult. Make sure to keep everything tight and aligned, and you shouldn’t have any problems.
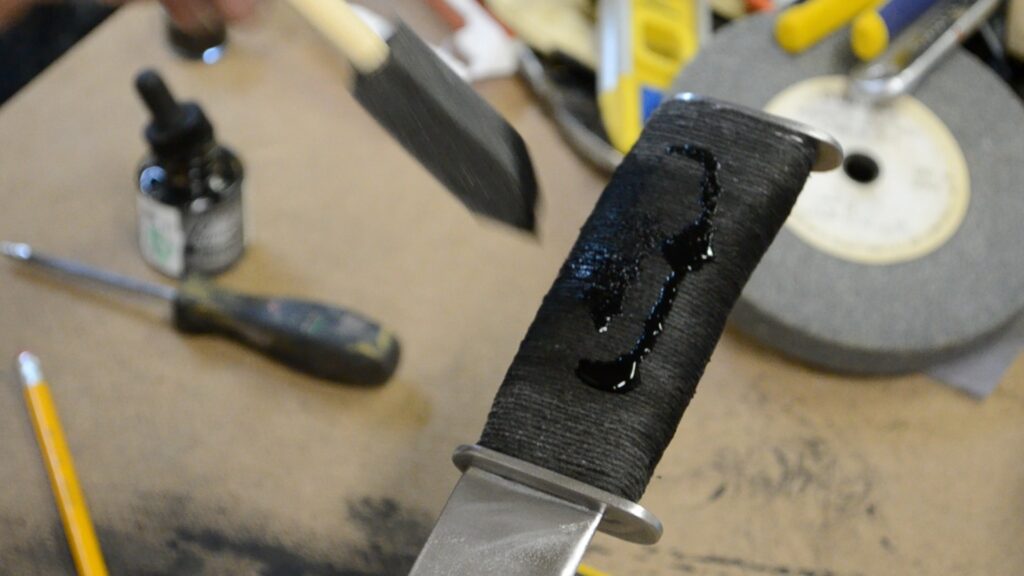
The freshly wrapped handle looked good but wasn’t exactly jet black in color. I laid on some more india ink and brushed it in with a foam brush.

I then made sure the blade was sanded to at least 600 grit.

It was then time to take it over to the polishing wheel to give it an almost mirror-like finish.
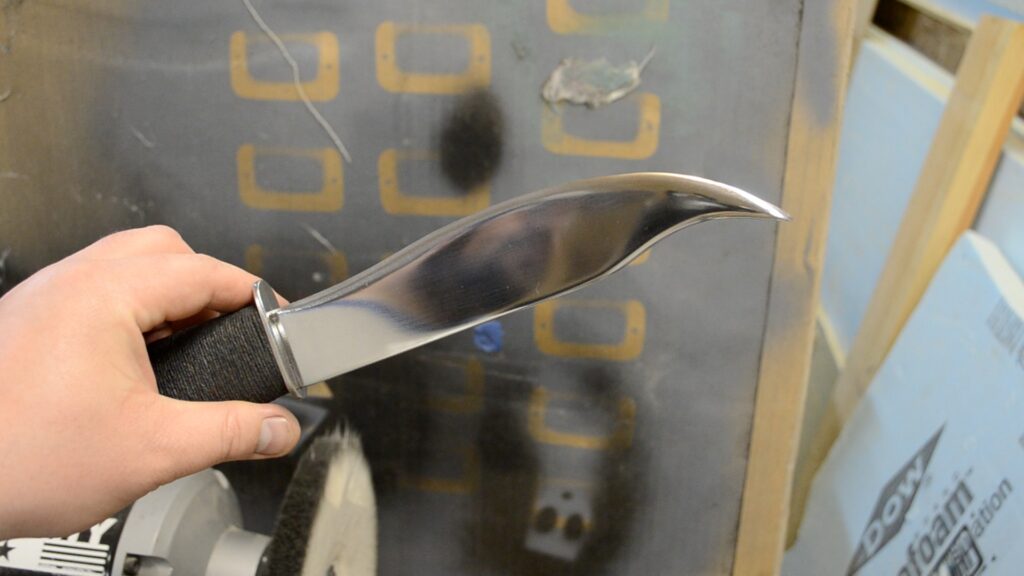
After the initial polishing.
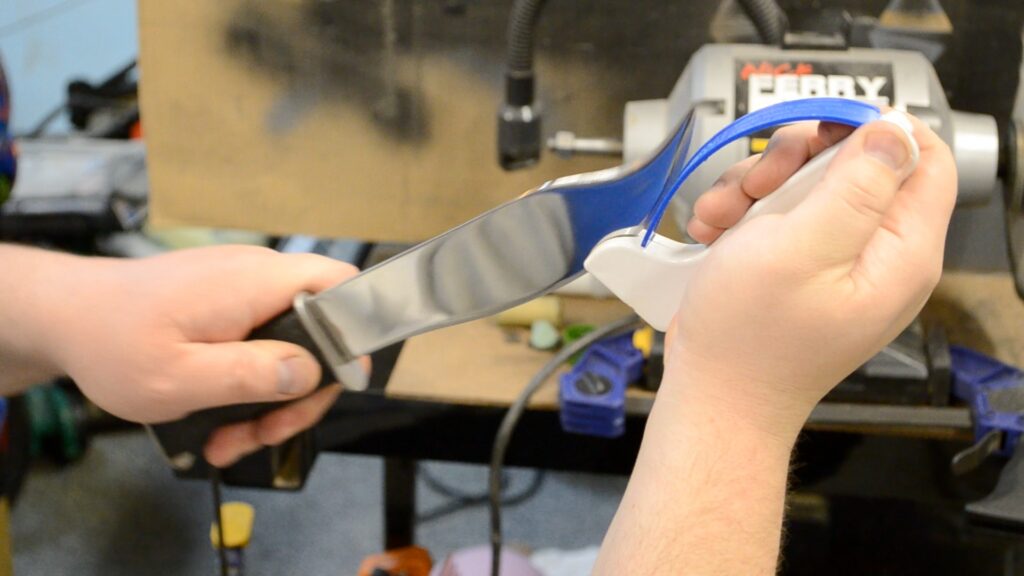
Using a carbide kitchen knife sharpener proved to be the quickest and easiest way to put and edge onto the blade.

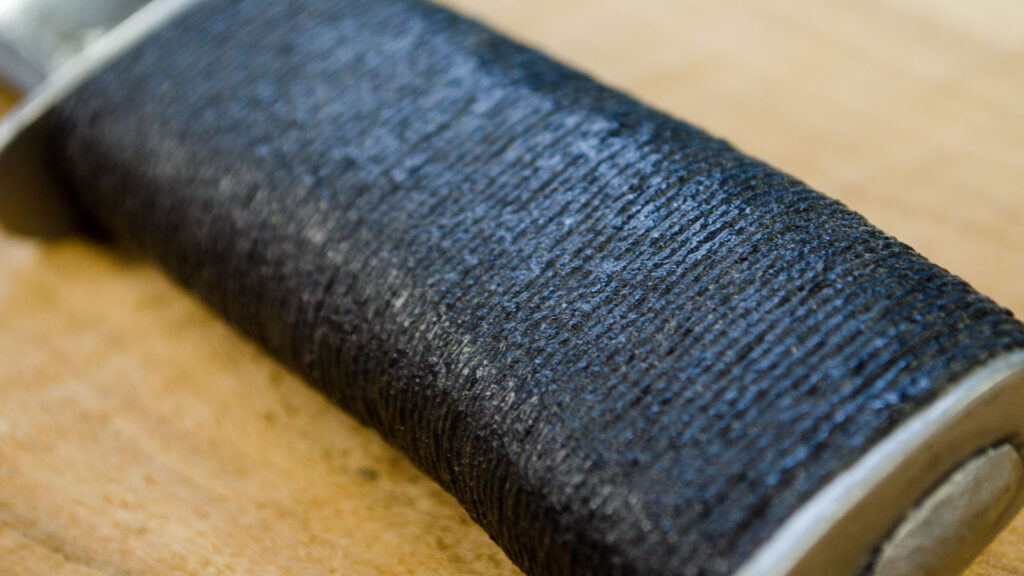
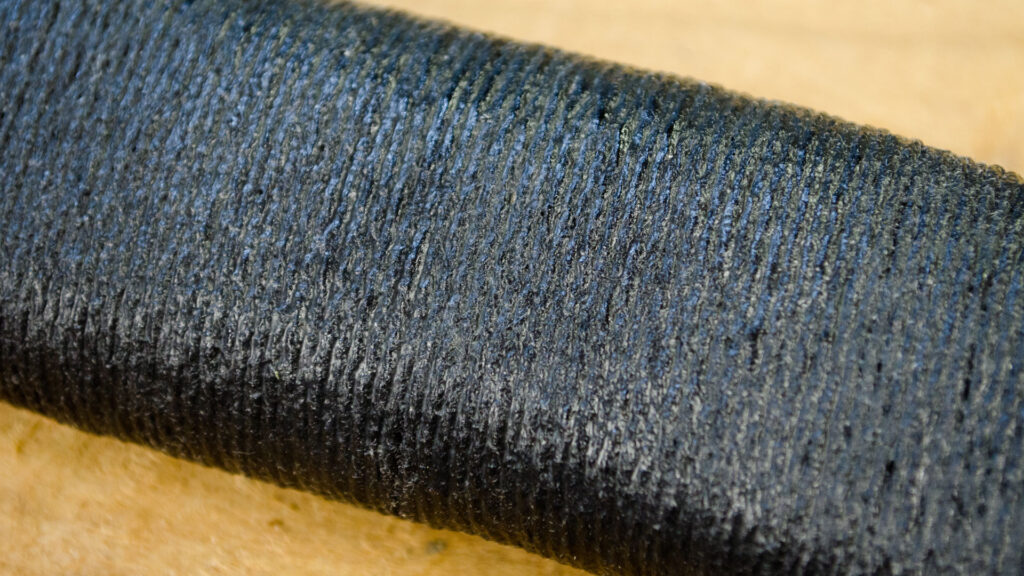
Then use a liberal coat of paste wax and apply it to both the handle and the blade. A heat gun was used to melt it and let it seep into all the crevasses. Afterwards the handle was not slippery at all and it gave it a really nice grip.
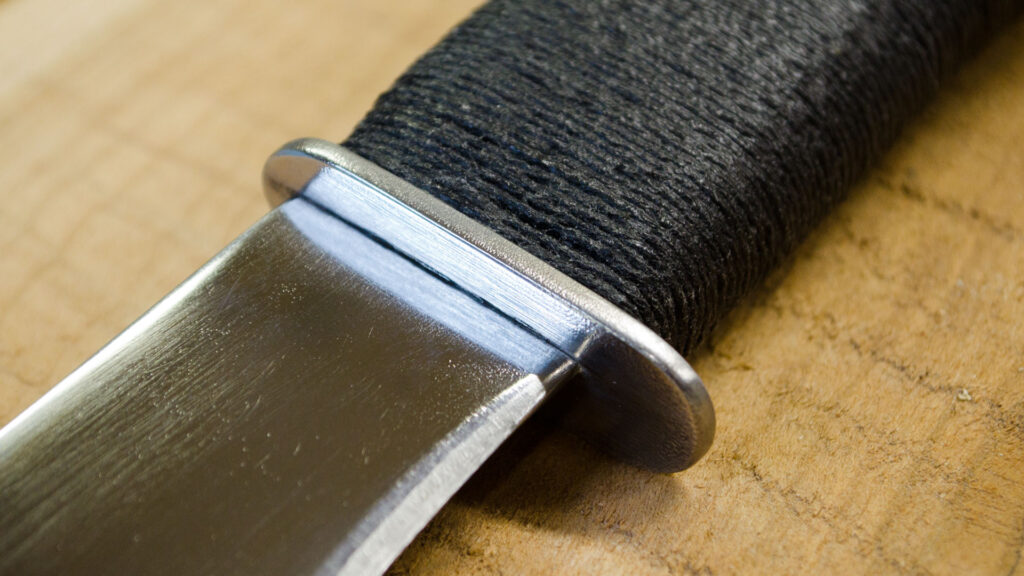
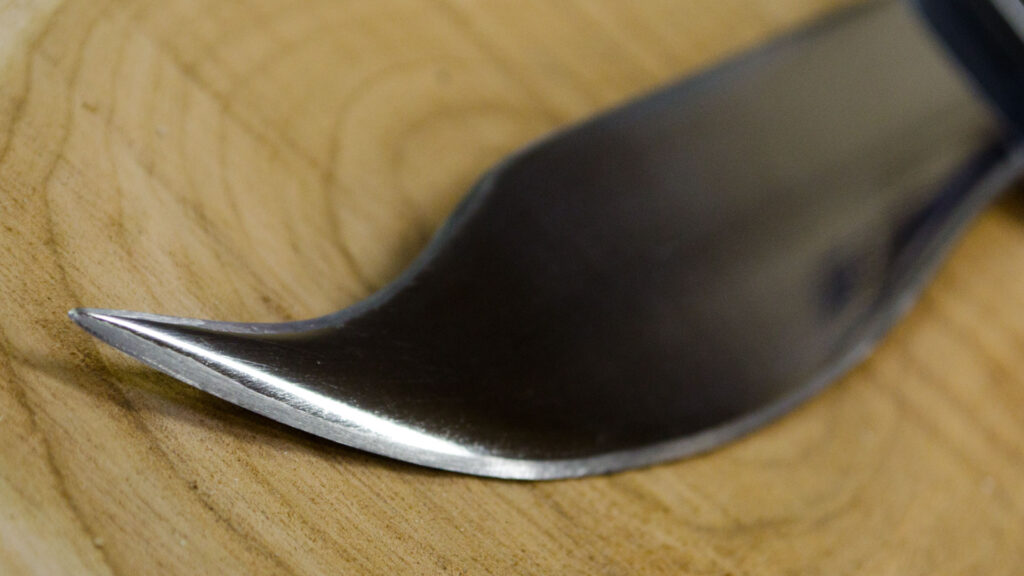
Below are some more detailed pictures of the finished Bowie knife.


Thanks for checking it out & if you have any questions or comment please leave those below!

