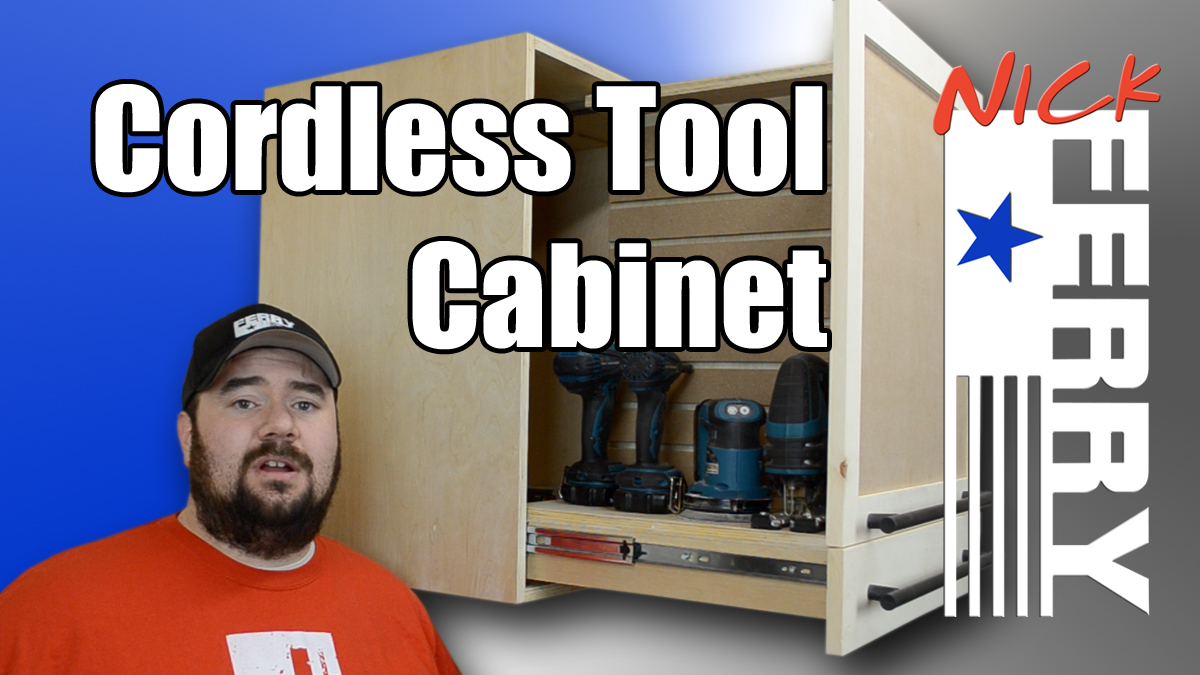
Cordless hand tools have become really popular over the years with manufacturers making more of a variety of tools than ever before. From drills, impacts and flashlights, to now cordless sanders, circular saws, reciprocating saws and much more. I find that cordless tools help me make better use of my time in the shop by not having to be attached to an electrical outlet all the time. My only problem is I often seem to set them down or store them some place that I can’t remember minutes later. I wanted to make a storage cabinet so all of my cordless companions would have a proper home to call their very own. I am not a huge fan of deep cabinets in general because things in the front tend to hide things behind them. My solution to that is to make a pull-out style cabinet insert so there are no dark shadows for my stuff to hide in. Designing it this way left an opening in the bottom where the drawer slide hardware would need to go. Not wanting to waste any precious storage space, I added a shallow drawer underneath to keep all of my blades, bits and cordless accessories organized and within arms reach.
I started out by cutting the plywood to size. I used a higher quality 12 or 13 ply that was veneered in birch. It is more stable than cheaper plywood and has very few voids.

I also cut the 1/4″ hardboard to size. I like to use hardboard that has not been tempered or has any oils added to it as these oils tend not to take paint and glue.
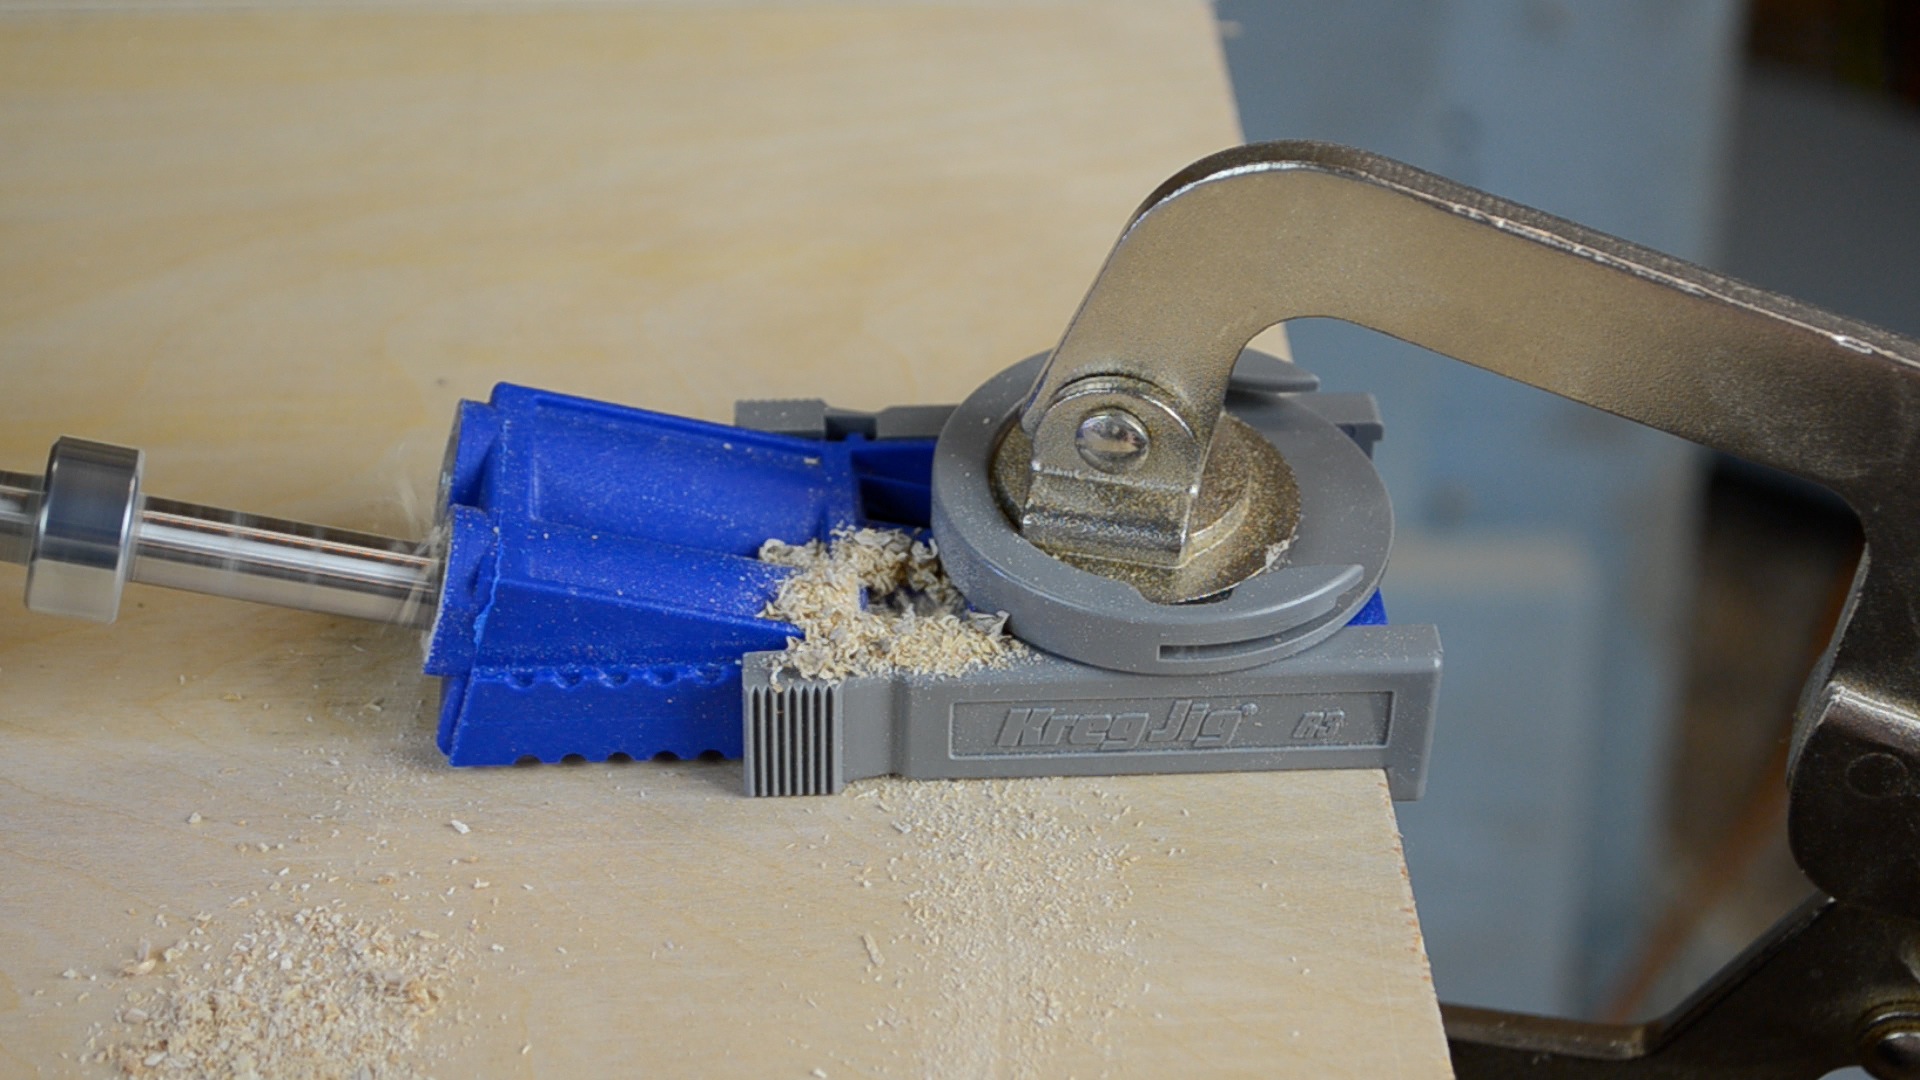
I decided to use my Kreg Jig (R3) to make pocket holes to construct the cabinet. Since the cabinet is meant to be hung higher on the wall, I put the pocket holes on the top piece of the cabinet on the very top out of view. The bottom of the cabinet I made the pocket holes face to the inside of the cabinet where the insert would cover them up.
Then it’s just a matter of clamping the sides together with glue for added strength and screwing the sides, top and bottom together.
Right before assembly I cut a groove 3/8″ deep on the inside back of each panel 3/4″ from the back edge and a hair wider than 1/4″ to accept the hardboard back panel. Here you can see me inserting the back panel just before I screwed in the top.
Once you slide in the back you can screw the top on locking the panel in place. Take diagonal measurements from corner to corner at this point to make sure the measurements are the same. This will ensure the cabinet is square. Adjust for square as needed.
Creating the “T” shaped insert piece is just a matter of gluing and screwing the pieces together.
You can pocket hole screw in the drawer slide support pieces from the underside of the cabinet insert.
I went ahead and attached the drawer slides to the insert along with the mating pieces to the cabinet.

At my table saw I cut approximately 40 pieces of 1/4″ hardboard to be used for my t-slot faces to hold my tool holders.
Cutting the 3/4″ plywood standoffs for the t-slots is made easier by using a spacer that it is the thickness of the piece to be cut (3/8″) plus the thickness of your blade. Then use a magnetic fixture or equivalent to mark the location for the fence to be moved to. Remove the spacers, adjust the fence over to the magnet and you are all set to make your next cut.
Clamping the t-slot pieces upside down and making sure they are correctly aligned, I made spacers to keep everything well spaced during assembly.
Start with the center piece making sure it is exactly where you need it to be. All the following pieces will reference this step. Then using glue and brad nails, attach each of the standoffs.
The same applies to the faces of the t-slots. Start with your center piece, making sure it is perfectly aligned, and using the other spacers glue and nail them down.
I could then move on to cutting the door parts to size along with the false drawer front.
The rails and stiles got a 5/16″ groove cut on their edges to accept the hardboard center panel. This groove I made 3/8″ deep as well.
Using my tenoning jig and table saw, I could the make the tenons on both ends of each of the rails.
Apply glue to the tenons, insert the panel and clamp everything together.
I also like to use some clamps on the face of the door to make sure everything stays nice and flat.
Cutting the door pieces a bit bigger than needed allows me to trim the door down to it’s final size after the glue had dried.
With the insert in the cabinet, align your door panel in the opening, clamp it in place and secure it to the insert with a few more pocket holes.

I cut a 45° bevel on the edge of two pieces of the 3/4 inch plywood to act as a french cleat. I then glued and screwed one of the cleats to the cabinet.
I made up a simple drawer just using butt joints and some screws, attached it to the slide hardware and inserted it in the inside bottom of the cabinet insert.
I used carpet tape on the drawer front to just lightly attach the false drawer front and align it properly.
Adding a clamp helps secure the false drawer while you permanently secure it with a couple of screws from the inside. Before this step I attached the pull hardware to both the false drawer front and the door.
Installing the second french cleat to the wall should have been quick work. I found the first wall stud and measured over 16 inches. I didn’t find the stud. I managed to drill 20 or 30 small holes to try and locate the second stud which was oddly only 12″ away. A stud finder in this step would help greatly, although I couldn’t find my stud finder (ironic, I know). With the weight of this cabinet and its eventual contents, securing the cleat to wall studs is critical. No hollow wall anchors should be used here.

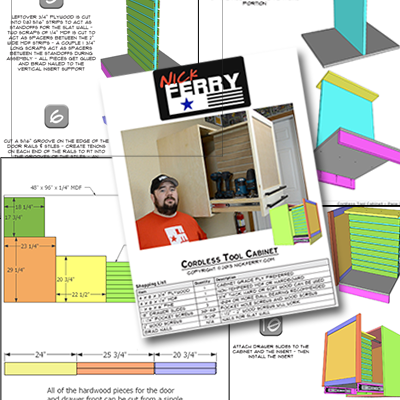
 As I mentioned earlier, the bottom drawer is for tool accessories while the top section is going to be used for the actual tool storage. In a later build I will make the custom tool hangers for homemade slat wall within, and I will address the battery chargers. A build video is also listed below.






7 Responses
Hey Nick, nice job. I have one DA (dumb ass) question. I have a Kreg ph jig, and I love it. Why do you put so many pocket holes along the side when you’re gluing the pieces as well? Every woodworker on You Tube always says screws are there to hold the piece together until the glue dries, and adds no extra strength beyond the glue. But everybody that uses pocket holes still glues. I just figure it’s extra holding ability. Is that it? Are we not too confident pocket holes alone are enough?
In this particular joint, the screws would have a higher holding power than the glue in my opinion. Essentially the joint is end grain to face grain veneer. Why the glue AND screws then? I have always been a “belt & suspenders” kind of builder. And of course, it doesn’t really take any more time to add the glue and it makes my OCD feel warm and fuzzy too, lol. Another thing worth noting, if you’re not using a high quality plywood, glue only could just pull the layers apart while the screws go into more layers offering a bit more holding power. Hope that helps with your question.
Okay, I only have 2 cordless power tools of my own (drill & screwdriver) so no cabinet needed. However I’m intrigued that you didn’t include electrical in the box, especially when everyone seems to be adding power to bathroom & kitchen cabinets … and other places to charge phones, tablets, etc. Saw lots of examples at last week’s International Home Builder show but … still have to write blog posts.
There will eventually be an electrical outlet in the cabinet for the battery chargers – not enough time for this particular week to include it
I really like the whole concept. I have fewer cordless tools but like the idea of a combination cabinet to give all my power tools a home. What changes if any would you recommend to your design?
thank you – not much I would change, I really like using it – I suppose one thing that could be done is to use higher rated drawer slides – there is nothing wrong with the 100# ones I used and they are holding up just fine but it might make me sleep more peaceful at night to know they were a bit beefier
I wish he had printable plans and dimensions for this projects. I really enjoy Perry’s video’s and wish I had money to help him. I like woodworking and building things. It’s hard to do at my age, (74) and I have a few things in the works. I’m building a power station for my cordless tools, clock holders to sell with a clock inserts, a garden cart, and some stools to sell.
Just call me the Dustboss, about the only thing I’m really good at is telling dust what to do, it don’t listen, but it’s fun asserting my authority.
Till then, good dust making, saw dust that is.
the Dustboss.