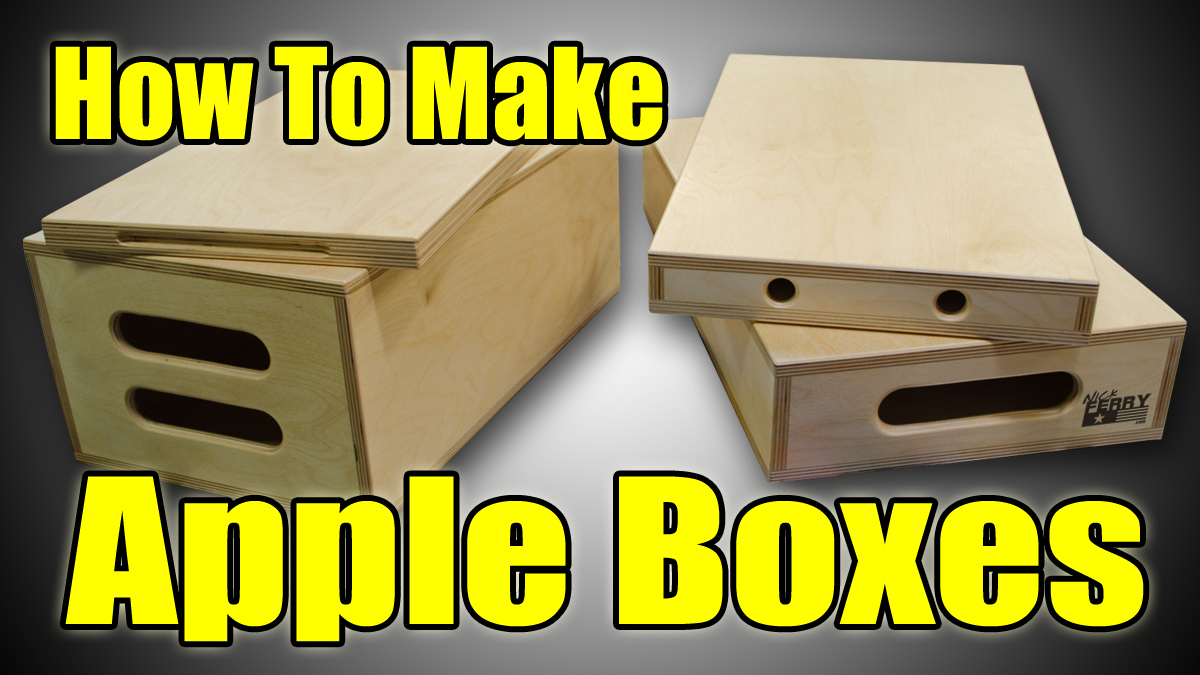
Apple boxes get tons of use in all sorts of fields relating to camera work. These are great for having talent sit on, stand on, setting props on or secure lighting fixtures or tri-pods. They also work really well around the home workshop for a place to sit or as a nice little step stool! My photographer friend asked me to build him a set and I choose to use 1/2″ thick Baltic Birch plywood. It is a very nice grade of plywood and is has almost no defects or voids in the layers. I have seen people use 3/4″ plywood before but the seems a bit on the heavy side.
A FREE cut-list is available for this project here.
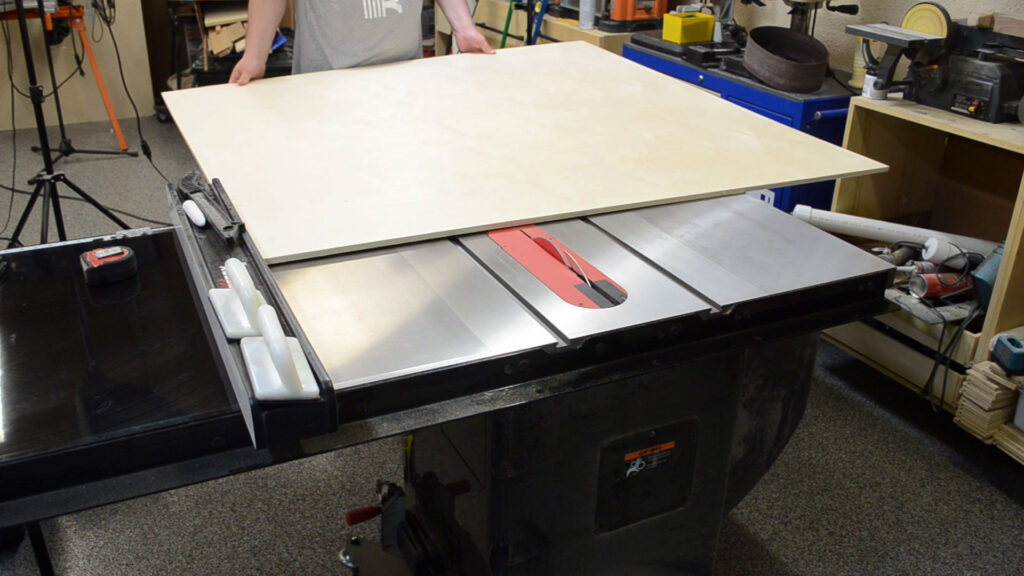
Baltic birch typically comes in 5’x5′ sheets.
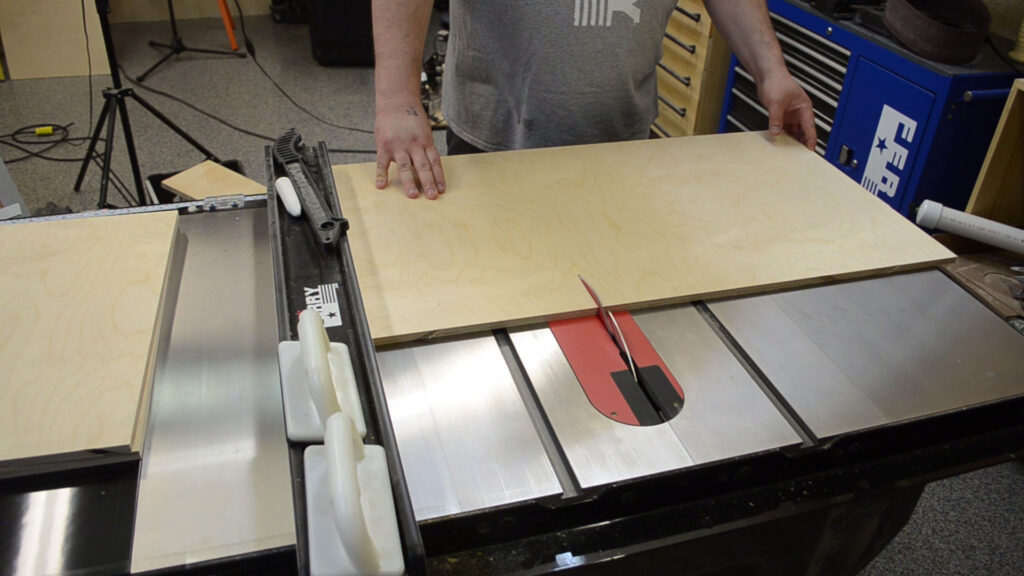
I started cutting the tops & bottoms to all of the boxes. If you are building a complete set, you will need 8 of these pieces.
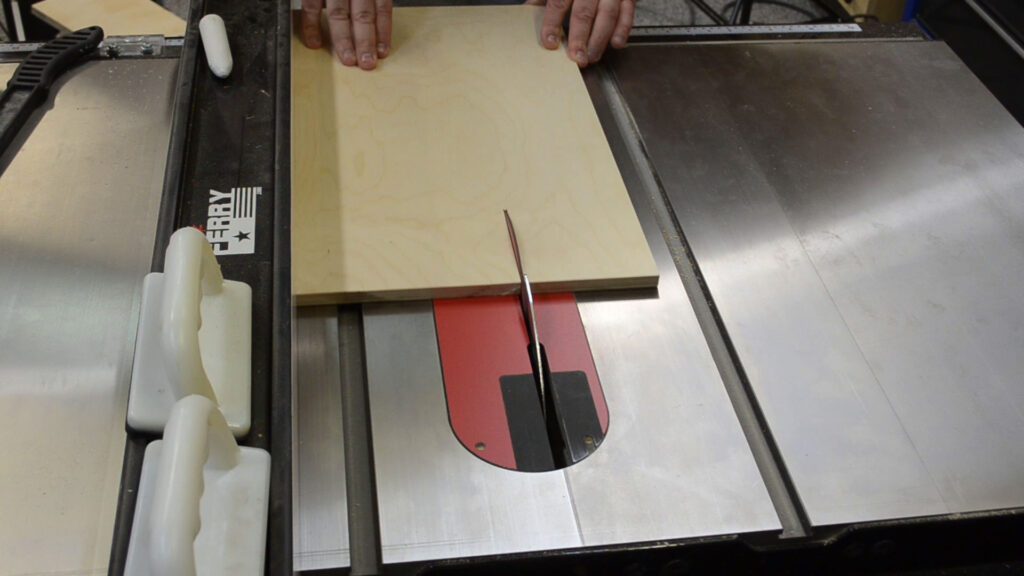
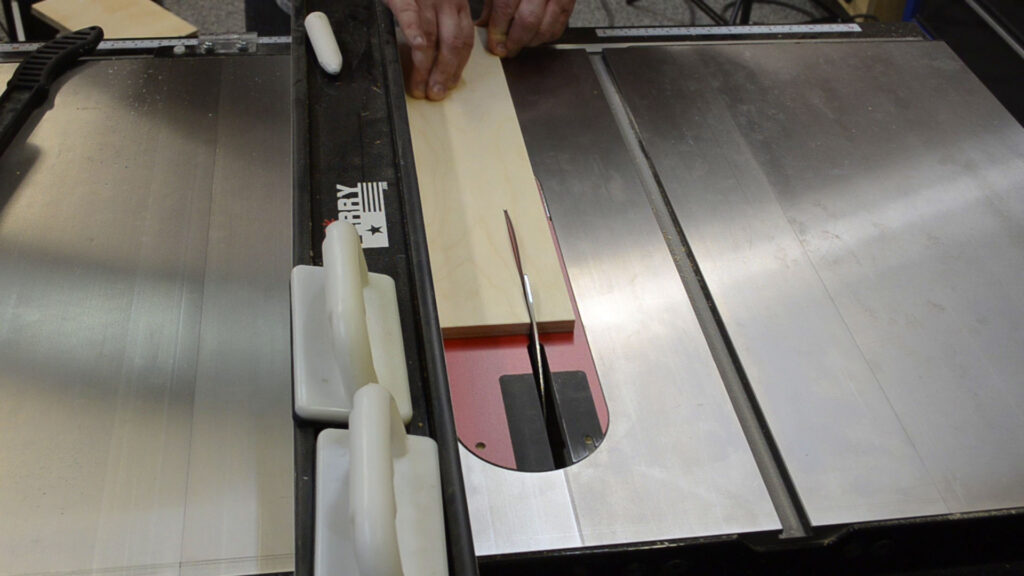
I then worked on cutting the side and end pieces for the larger three boxes. The smallest box, the “pancake” is just two sheets glued together and has no sides or end pieces. The build project is largely about cutting sheet goods to size. If you don’t have access to a table saw a circular saw could be used but I would recommend finding a friend with a table saw as this makes it way easier to complete the many cuts as accurately as possible.
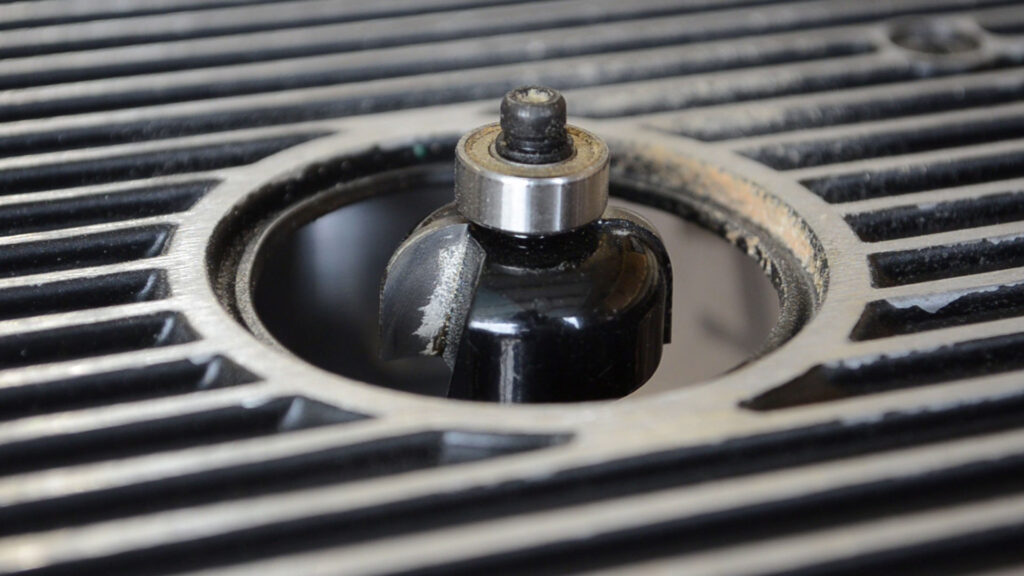
I loaded my router table with a 1/4″ cove bit to create a handle hold for the pancake apple box.
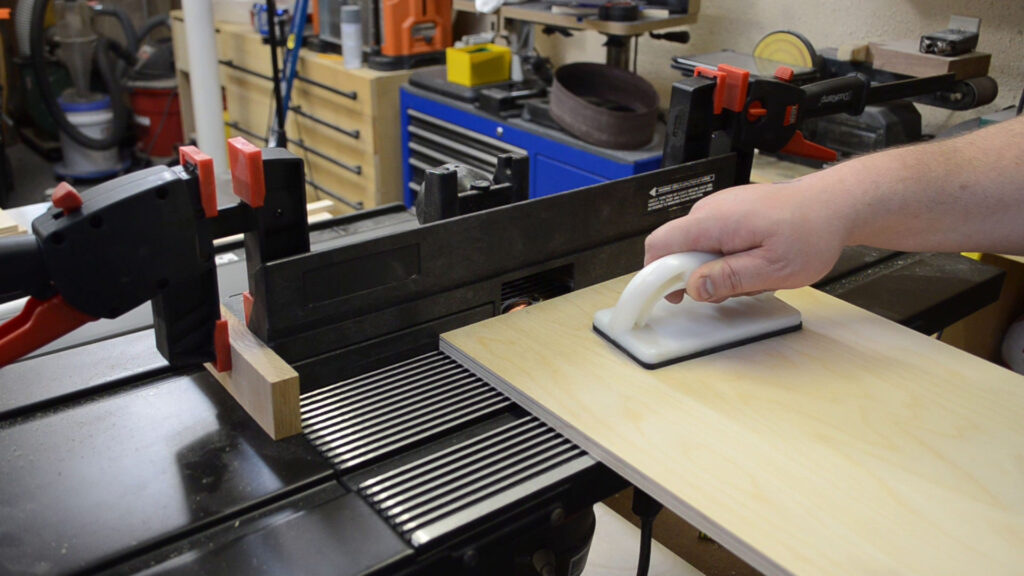
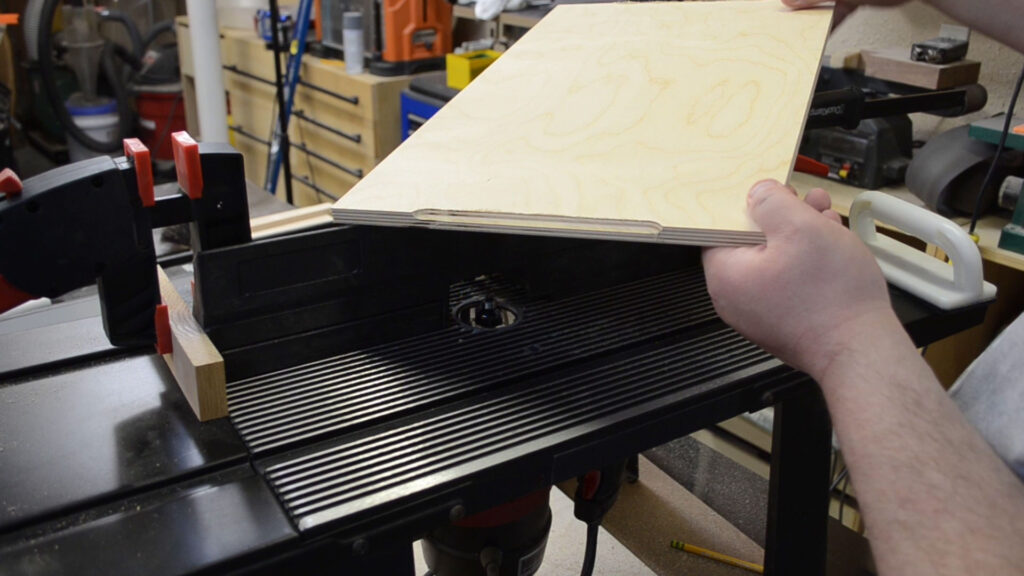
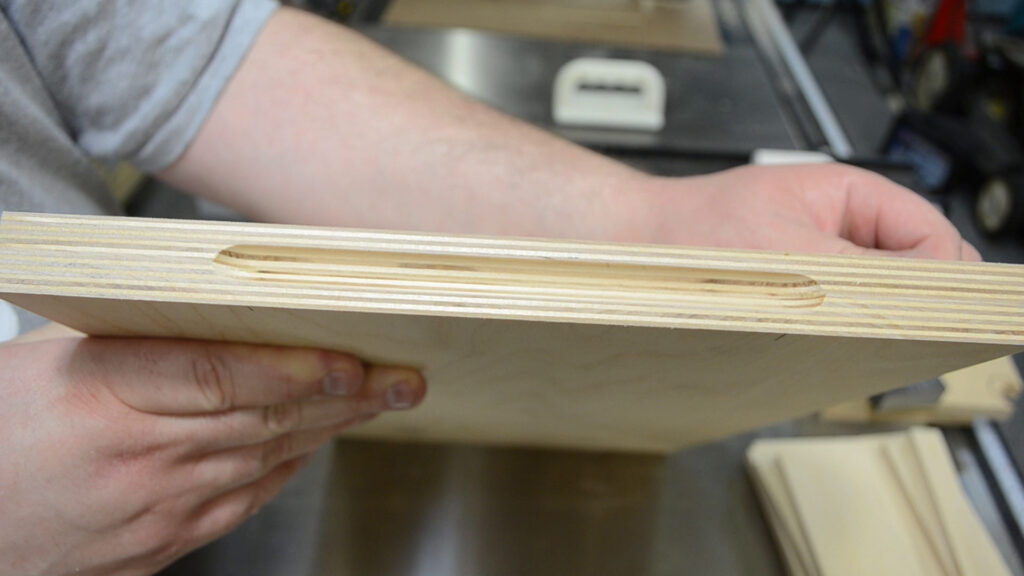
Doing this on the inside of each of the 2 pieces is a great and easy way to make the handle hold.
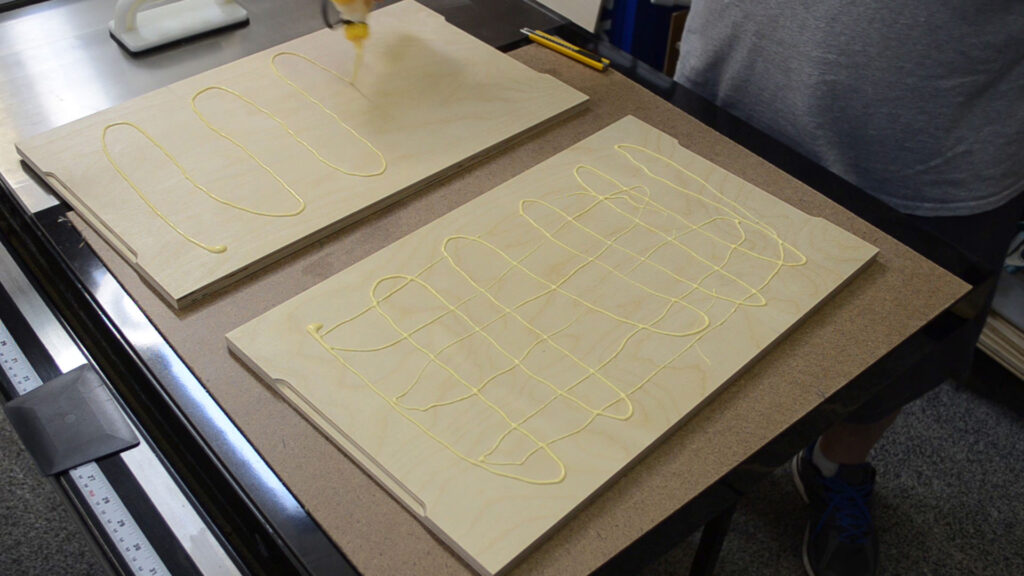
Get a generous amount of glue on both surfaces to ensure a nicely bonded part. Sometimes when gluing large flat surfaces like this the pieces have a tendency to want to slide around while clamping. A nice tip is to lightly sprinkle on a small amount of table salt between these pieces. This will keep them from sliding around and the salt will dissolve from the moisture in the glue.
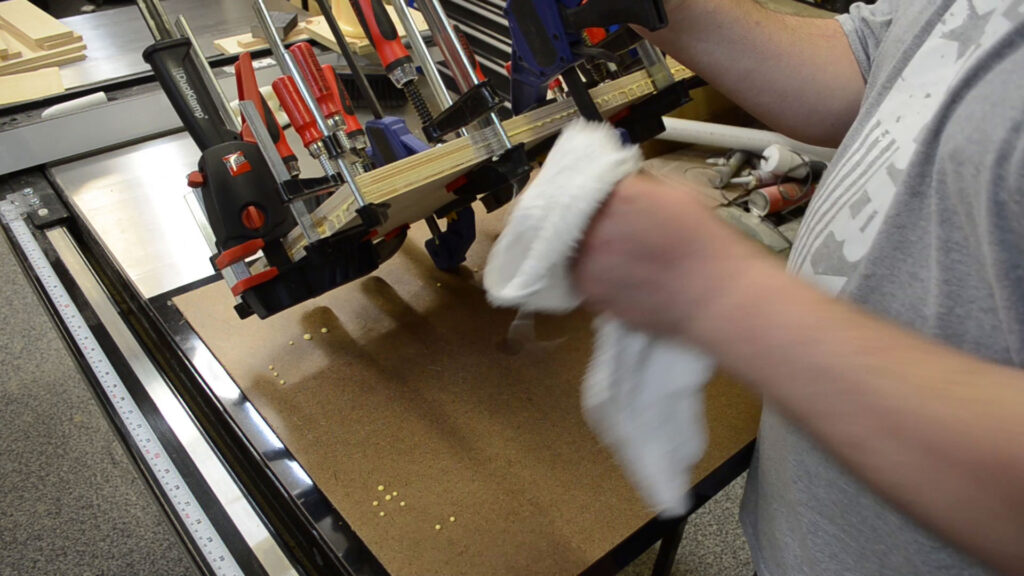
Seeing glue squeeze out of the joint is always a good thing to see and it tells you that you don’t have a glue starved joint. Use a damp cloth to clean up and squeeze out before it dries to avoid having to chisel it away later.

I could then focus my attention to the end pieces. I like to layout all of my drill holes prior to heading over to the drill press.
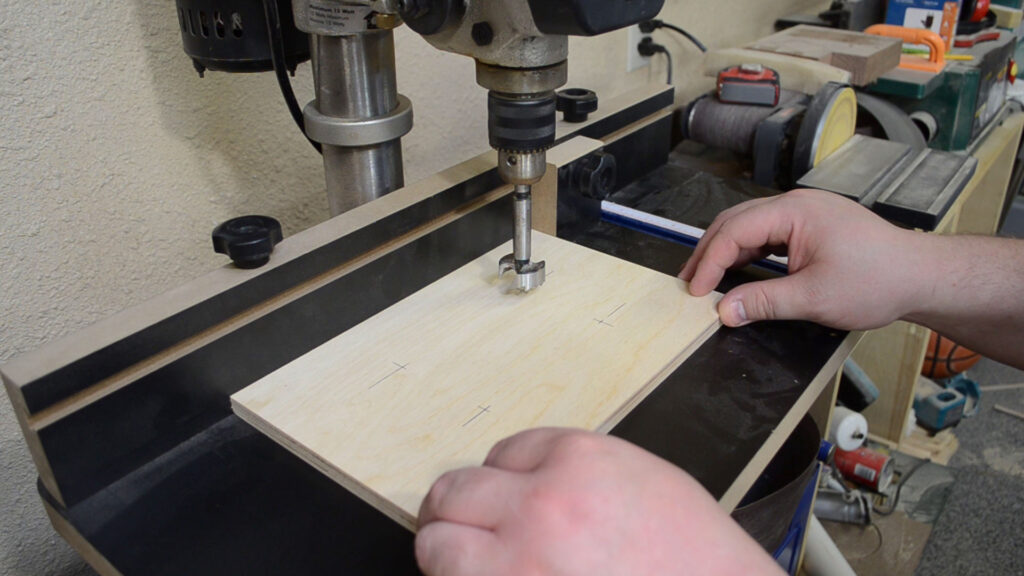
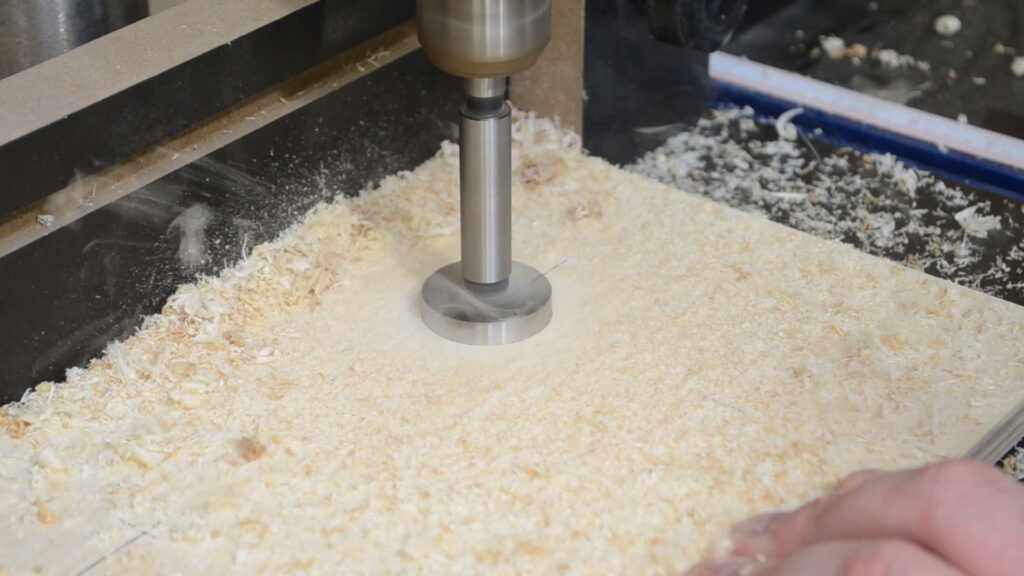
Using my drill press fence and stop block helps ensure I drill everything in the proper locations. It is purely a matter of preference, but I used a 1 1/4″ forstner bit to drill the holes. A spade bit (paddle bit) or hole saw could be used as well. a 1″ or 1 1/2″ bit would also work.
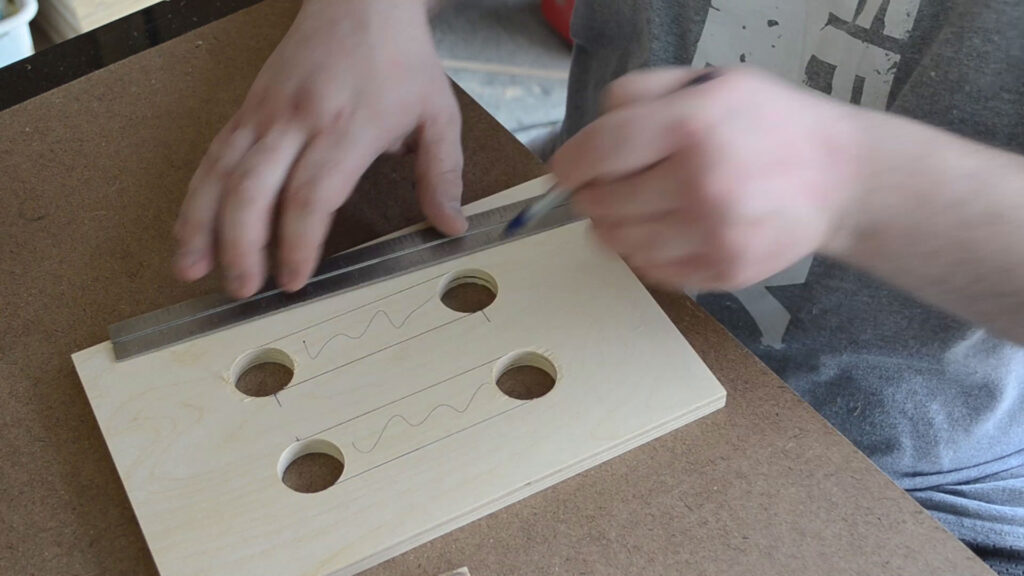
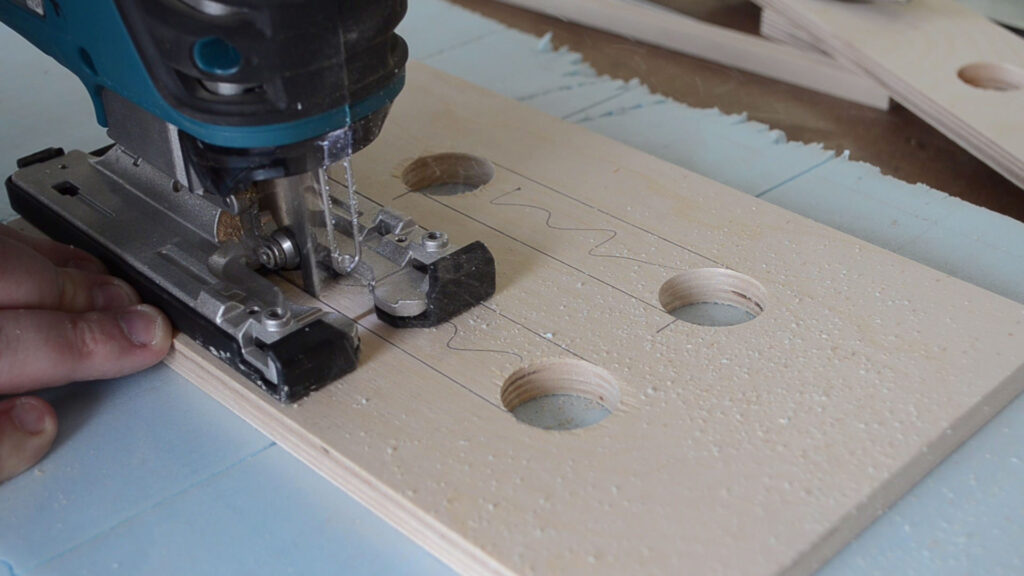
After drawing lines to connect the holes my apple boxes were coming along nicely.
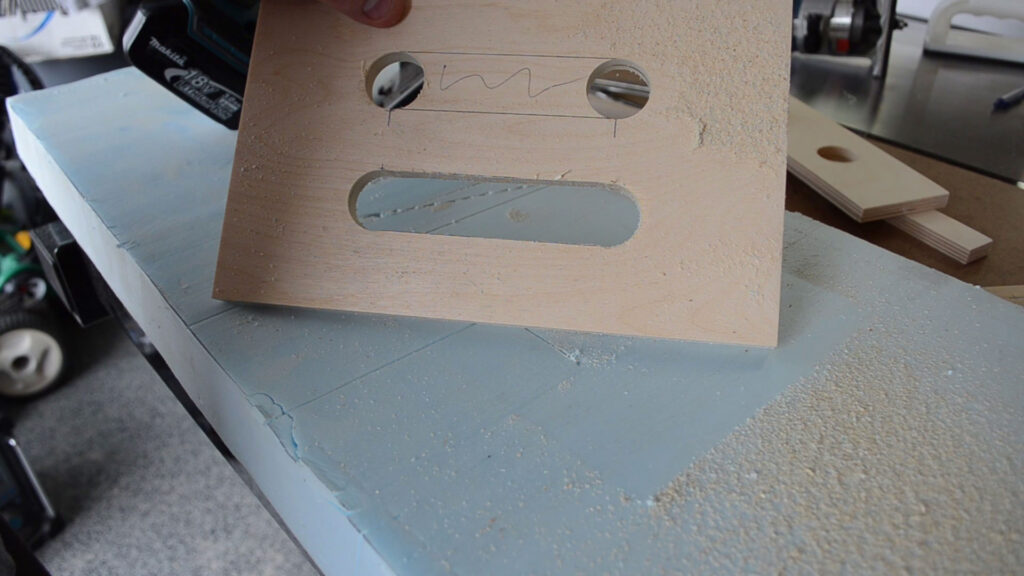
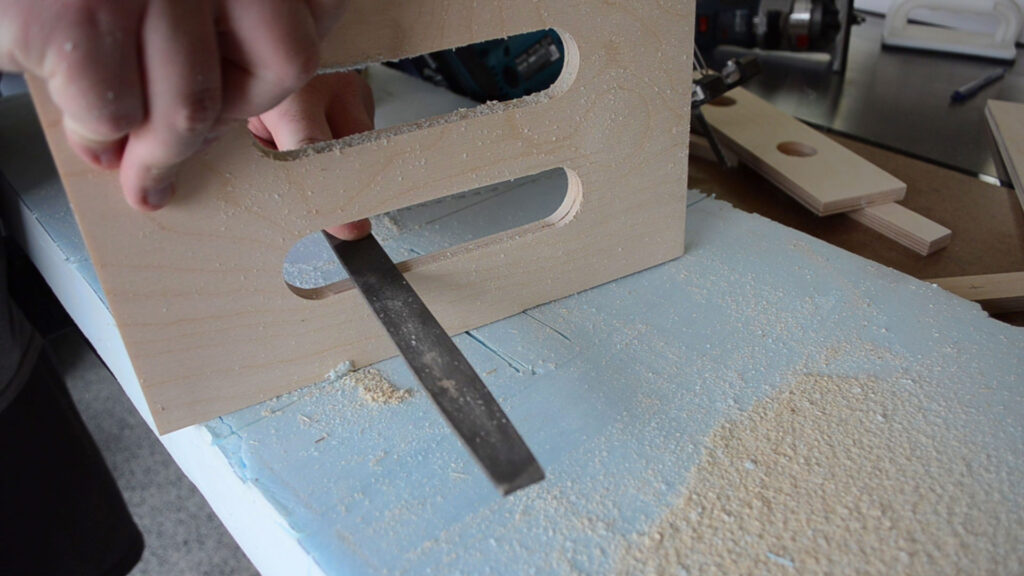
Using a file I cleaned up any rough areas and straightened out some of the cuts.
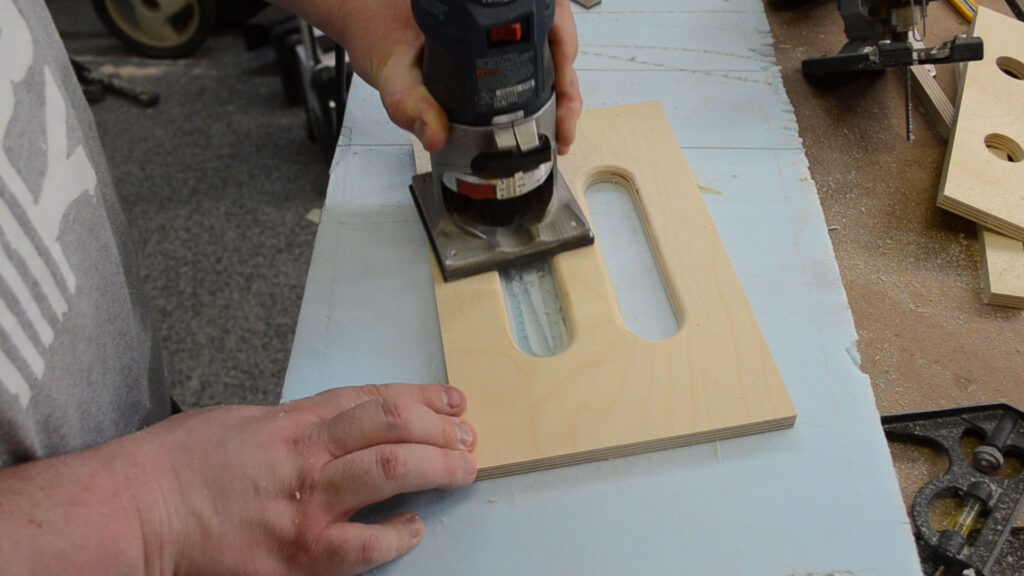
With a 1/4″ round-over bit in my hand held trim router, I eased all of the inside and outside edges of the holes. This size bit in conjunction with the 1/2″ plywood really makes for a comfortable gripping surface.
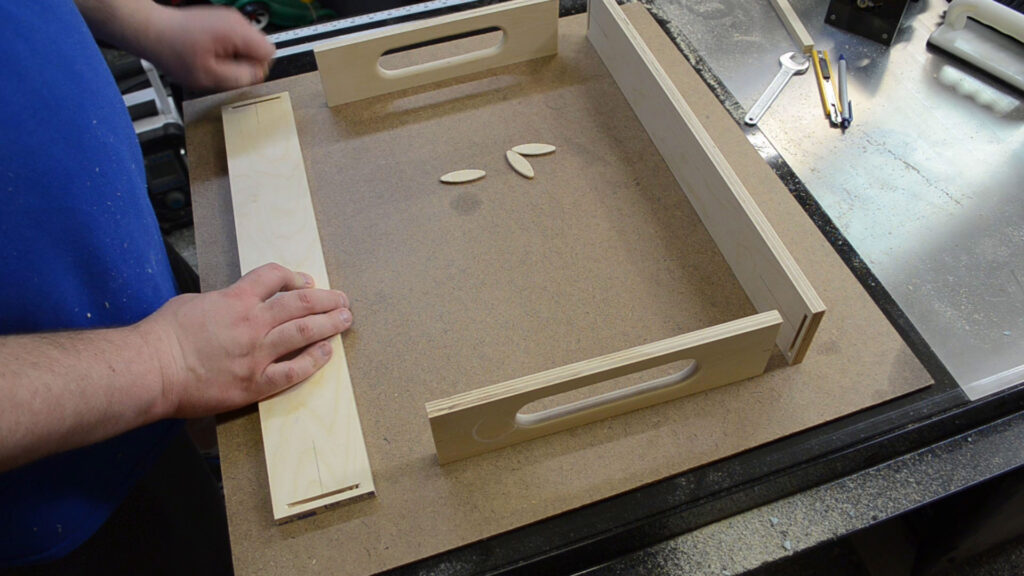
I really like to use biscuits for the joinery on my apple boxes. I dig the overall clean appearance it gives to the boxes.
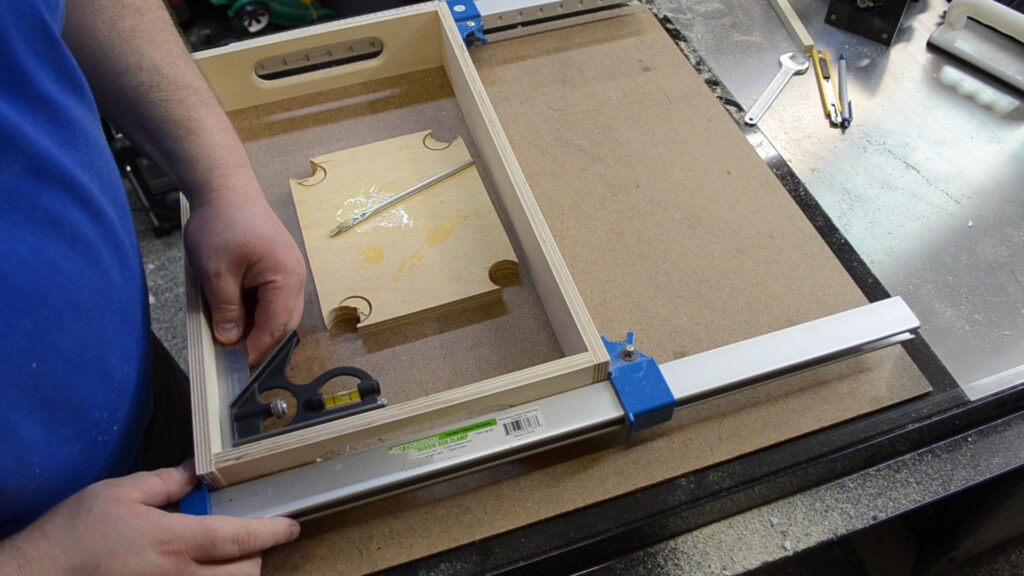
Once I had all of the glue in the slots and biscuits in my half apple box, I clamped everything together making sure it was nice and square.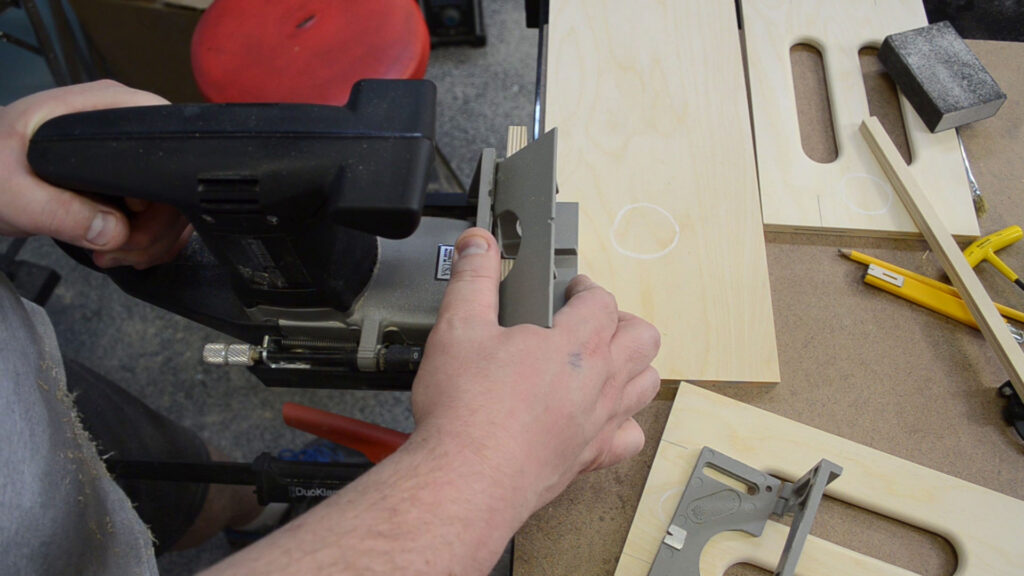
Here you can see my plate joiner or as some call it a biscuit joiner in action. It is worth noting if you go with the biscuits, to use a #0 biscuit when using 1/2″ plywood. Also make sure you biscuit joiner is set to the #0 so you don’t cut completely through the wood. If not using biscuits, pre-drill for some 1.25″ – 1.5″ screws and counter sink them so the heads are flush with the surface of the plywood.
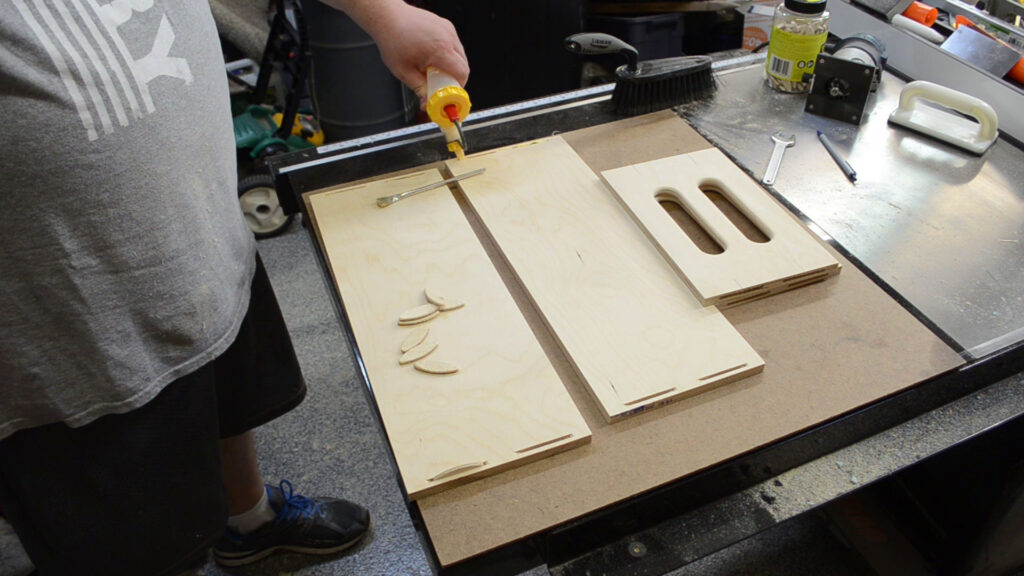
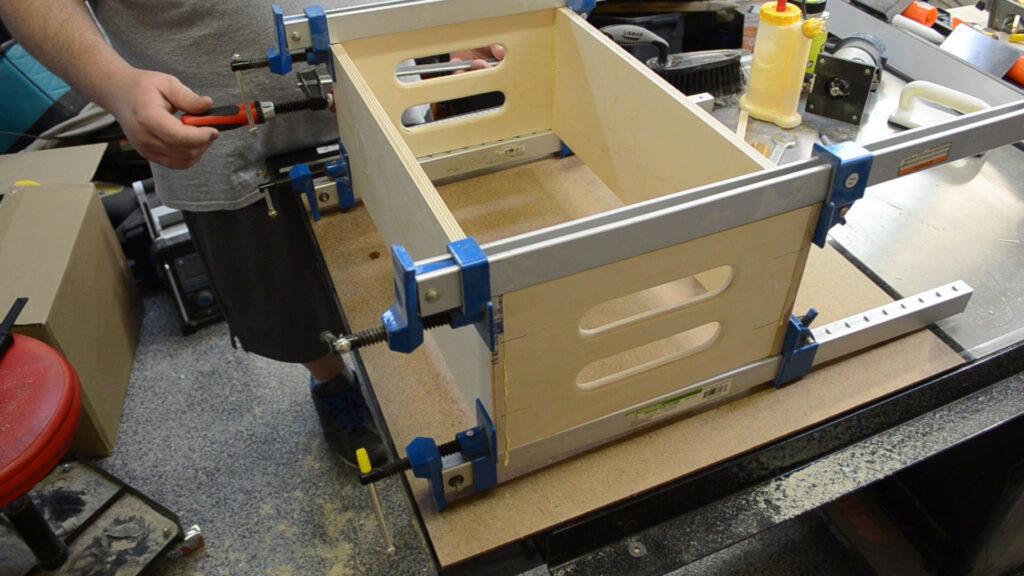
Pretty much the same process for the full apple, just some more biscuits and more clamps.
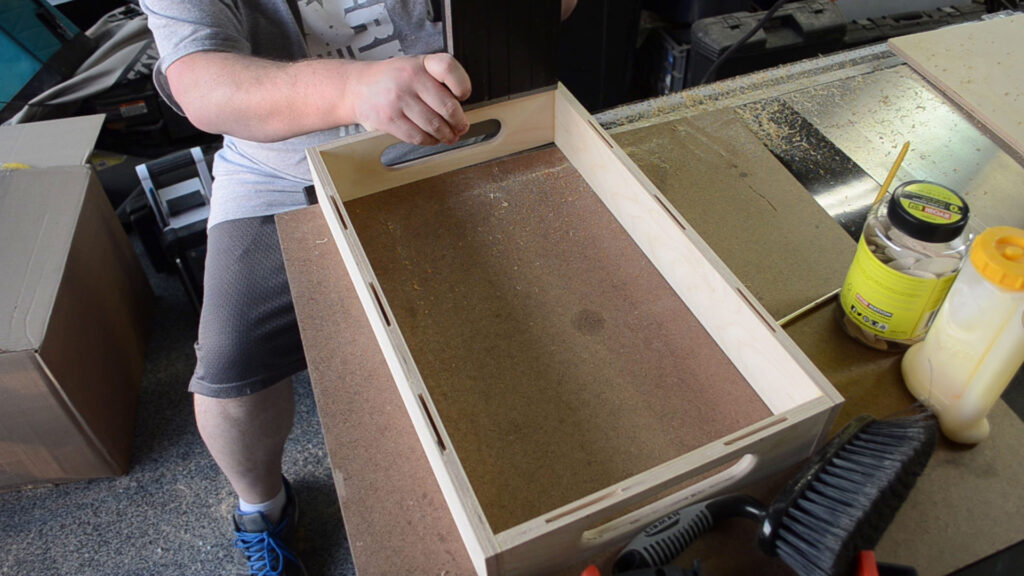
I can then make some biscuit slots on the edges to accept the top & bottom pieces.

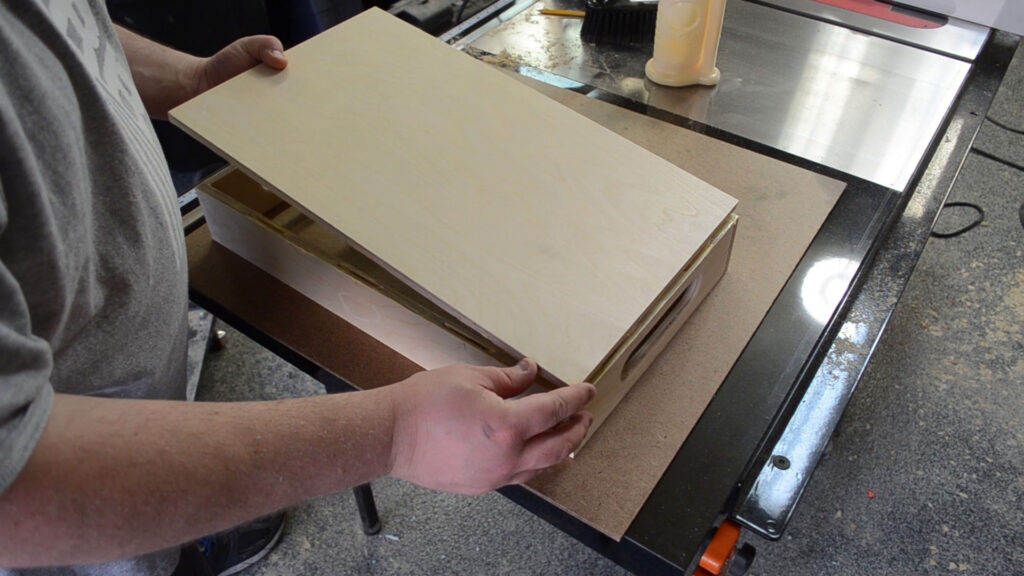
Gluing and clamping the top and bottoms in couldn’t be an easier.
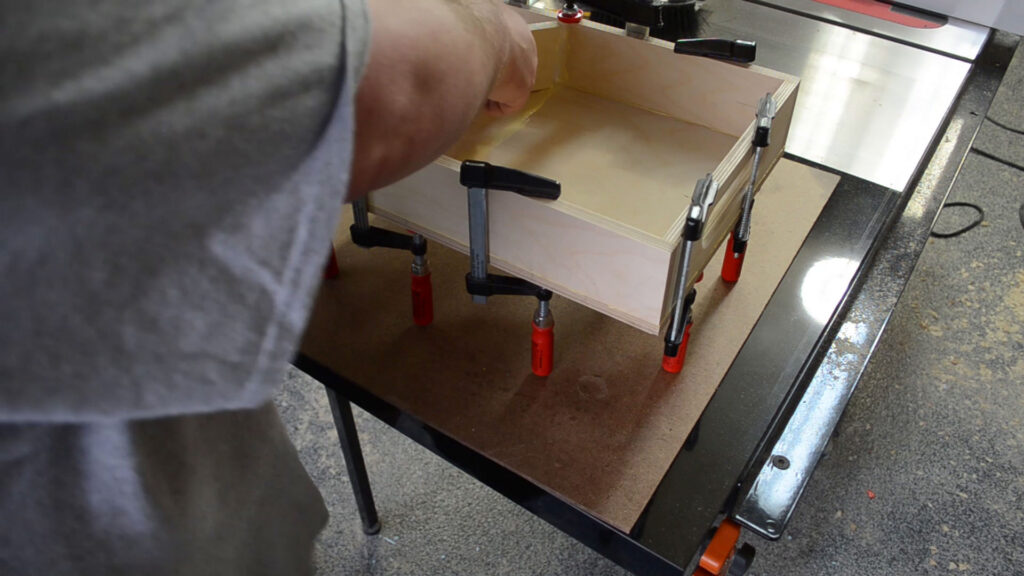
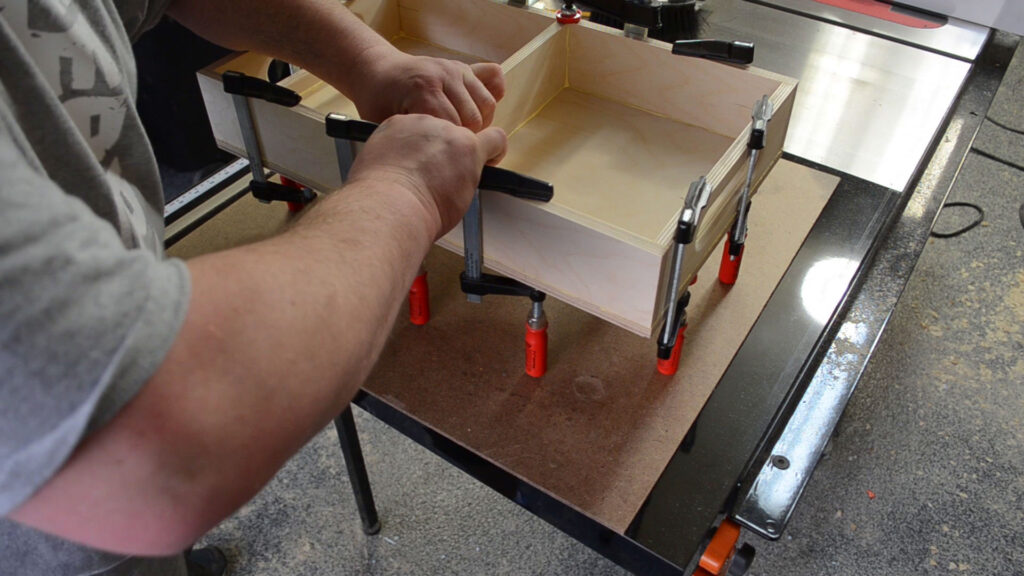
At this point I like to add a center brace to ward off any flexing in the top should someone stand on the face of the boxes. This is probably not necessary if you opted to use 3/4″ plywood. But like I mentioned earlier, those make for some really heavy boxes.
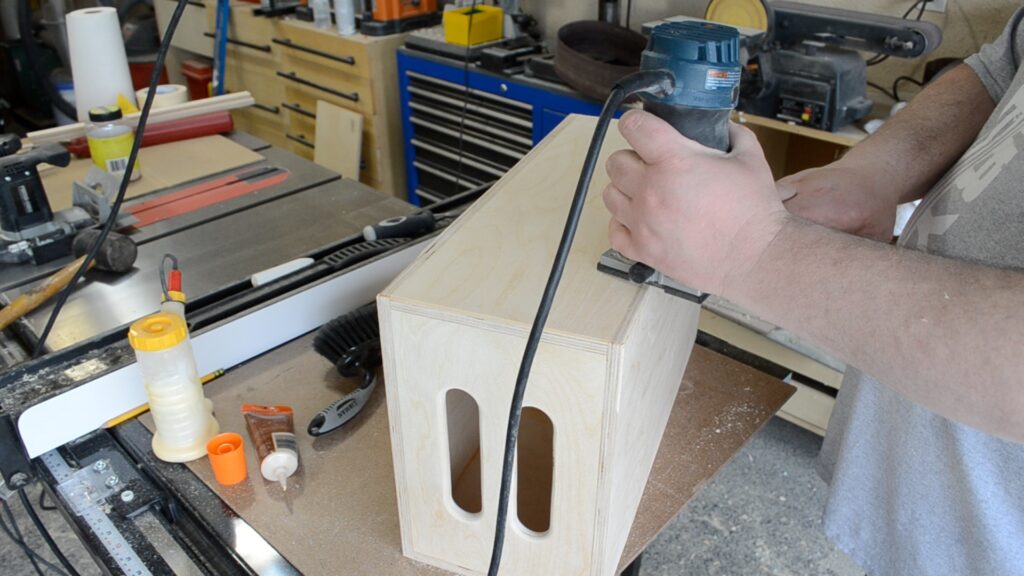
To keep everything nice and comfortable while handling the boxes I switched out the 1/4″ round over bit in my trim router for a 1/8″ round over and routed all of the exterior edges. I followed that up with a good sanding of all the boxes.
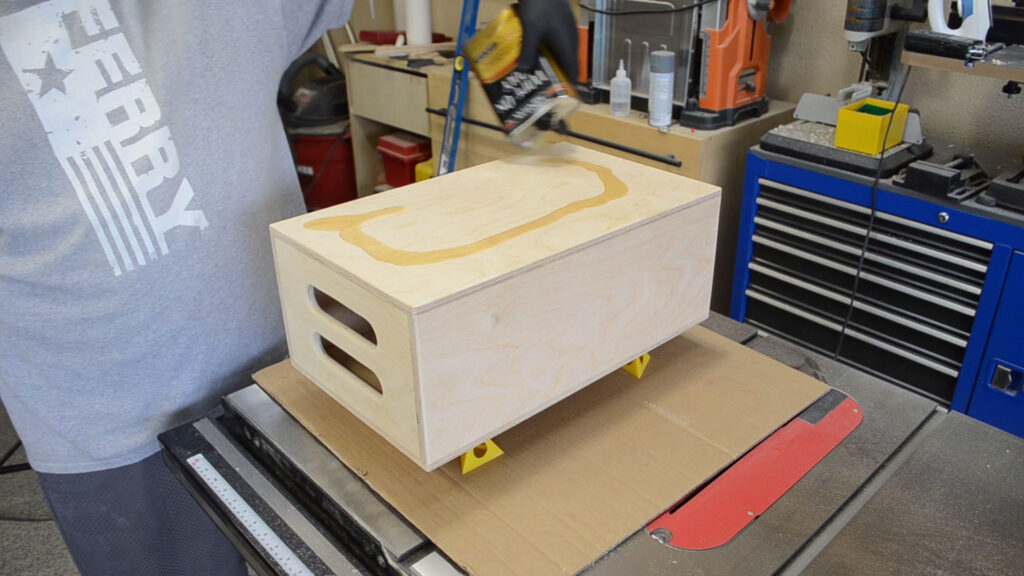
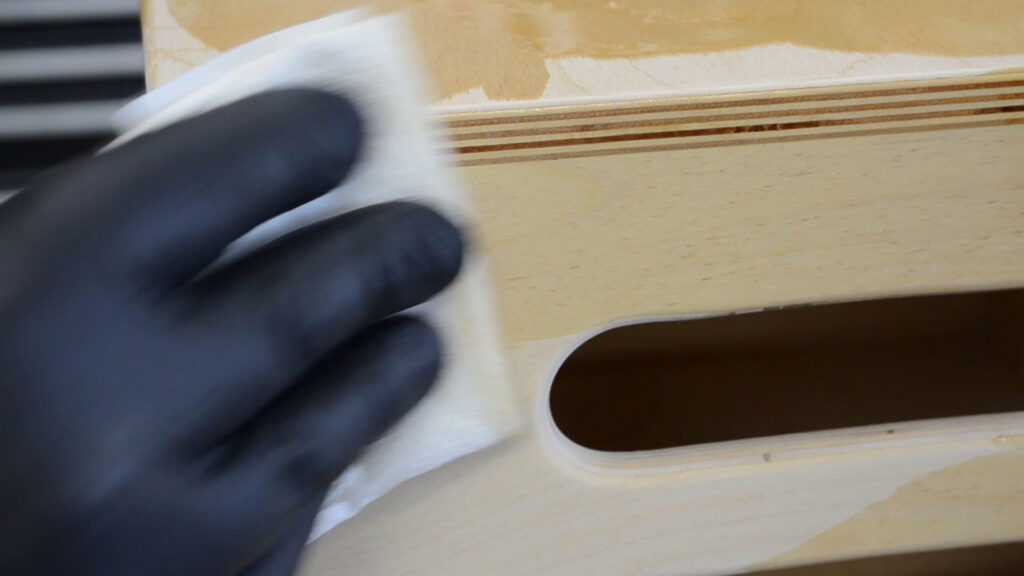
Wipe on polyurethane is a really easy finish to apply and is fairly durable for this application. I typically put on two coats of poly and then sand lightly and apply 1-2 more coats.
Below are some close-up shots of some of the joints and beautiful edges of baltic birch plywood.


 Thanks for checking it out!! If you have any questions or comments on the build let me know in the comments section below, I always love hearing from you guys!


28 Responses
Great vid Nick. Informative and entertaining. I can see where these, or modified versions of these boxes could be useful – even in the shop. Ever consider an apple fritter box? 🙂
now an apple fritter box is something I can get on board with!!
Interesting video..Build procedure and the thing the Apple Boxes are used for.Interesting.
Thanks – yeah I kind of figured most people wouldn’t have heard of them by name before but may have seen them – they are pretty darn useful
Great video Nick! Made some apple boxes last year out of 3/4″ and yeah they are a bit heavy to lug around. Will have to do it with the 1/2″ next time. I like the no fastener look too, but I did pocket screws for the corners and biscuits for the tops and bottoms. Probably over did it since these were first time using both, but it was a great project to learn on. Glad I found your site and channel.
thank you Ed, much appreciated! – glad to have you here!!
Hi from England. Awesome tutorial and very jealous of your workshop! I have misplaced my Dewalt biscuit joiner but i do have a biscuit joining router bit for my Dewalt plunge router. I can’t see anywhere your measurements for where you put your joints. What would be the best method for putting in biscuit joints with a plunge router and how best would I go about measuring it out on each face?
Thanks
Also, do you use a 35mm forstner bit for the handles? And did you make that drill press table? Would love a drill press table like that for accurate drilling each time. Did I mention I love your workshop?? 🙂
I mentioned in the article what size bit it was, I think it was a 1 1/4″ bit – but anything close would work just fine – I did not make the drill press table – in fact I was possibly going to do a review video on it – I got it from Harbor Freight and it is item number 96395 – for the price ($35 US) I really like it – glad to hear you dig the shop – it needs a good cleaning – that’s why I rarely zoom out, lol
the measurements I used for biscuit placement were completely arbitrary – I was just looking for somewhat equal spacing and a couple extra on the longer sides – I have no recommendations for using a slot cutter to do the biscuit slots as I have never done that before – I would imagine it could be taxing get then all lined up properly with that method
I really like the look of the boxes, thanks for the great how-to. Any ideas on how they could be made into storage boxes?
thanks – leave the top off or make it hinged – you could probably omit the center divider as well
This is great Nick! I’ve been told that biscuit joints aren’t structural. What’s your opinion on that / using these boxes for people to sit/stand on?
they really aren’t – more for alignment – but in the case of these apple boxes the forces of people sitting or standing on them aren’t working against the biscuited joint – I’d say biscuits are better than nothing in an end grain joint where tension forces are present – acting somewhat as a floating tenon but again I use them more for alignment and to help me sleep better at night
Do you ever use this method to build drawers? For those with limited tools, biscuit joined drawer boxes seem like a decent option.
I haven’t made “drawers” using biscuits but have made plenty of small boxes using biscuits – and that’s essentially what drawers are, is boxes without tops – I’m sure it would be a decent solution to make due with what you have available
Can you just make a set and let me buy them from you? These are so fantastic!
PS: Im a photographer.
possibly, it would be cheaper to but them from a manufacturer though – http://amzn.to/2h6GkbS
For your pancake box, did you ever consider using 1″ board and using a core box bit to take out the groove instead of router it out on 2 – 1/2″ piece and gluing them up? thoughts?
you can do that for sure but having the 1/2″ plywood all come from one sheet is a lot of times easier than sourcing 1″ thick additional material
good video – I need to build some of these and found your video very helpful
thanks much – good luck!
Love the plans Nick thank you so much! Do you know the measurements of the placement of your handle holes? Thanks!
thanks – the middle part of the handle is about an inch wide, maybe a hair wider and I just centered it on the height of the box – not a super critical measurement
Thank you Nick! I started making two sets of these today and they’re turning out great!
no problem – that’s awesome – snag a picture and tag me so I can see how they turned out!
Great video, as all of yours are. I just got a small gig with a company making these. So far I’ve delivered 48 full, 7 half’s, 10 1/4’s and 10 pancakes. I was able to find 1′ Baltic Birch for the pancakes. Your video gave me some good finishing touch pointers. Thanks!!!!
very cool – sounds like it has kept you pretty busy – always nice to have things to work on