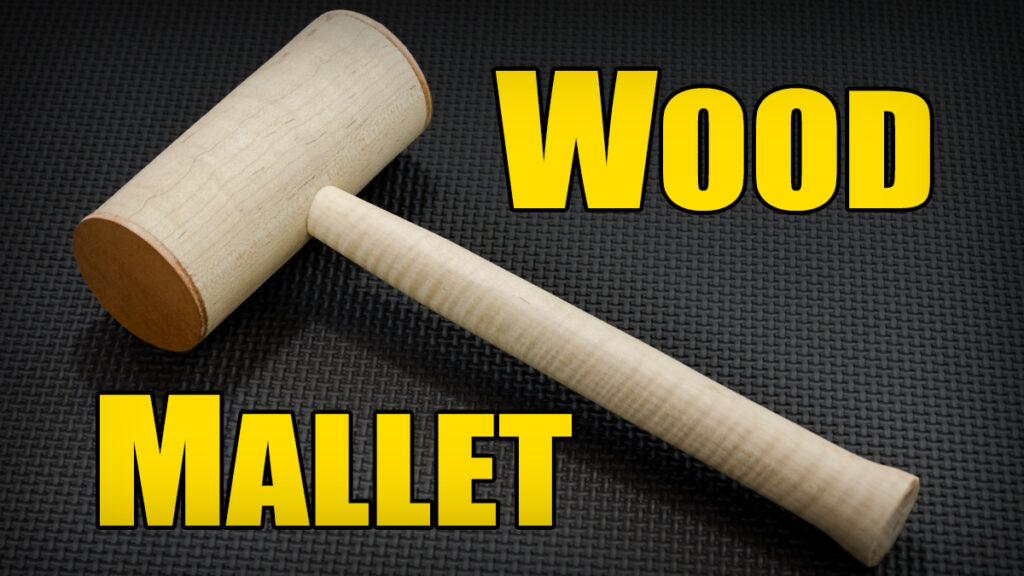
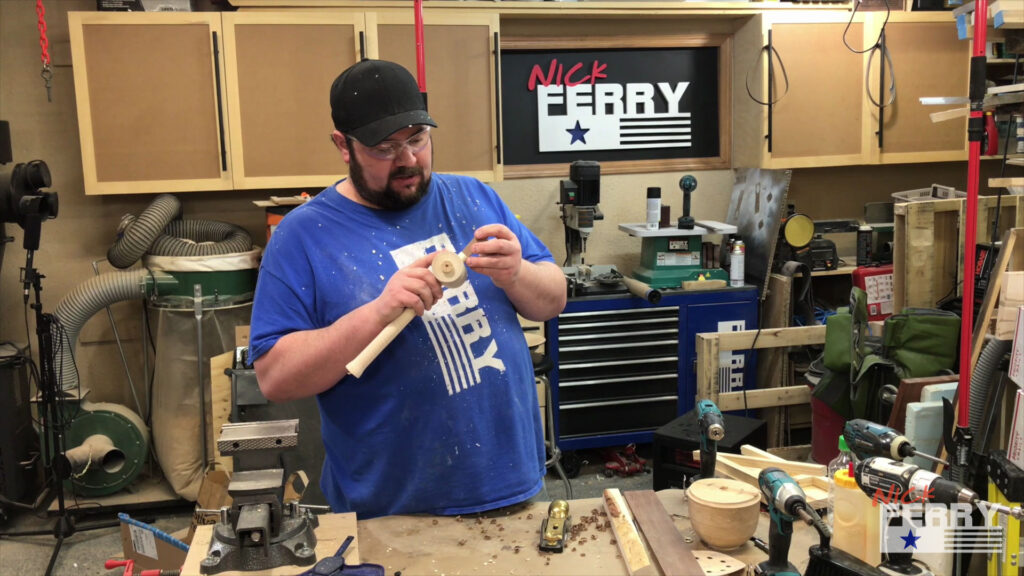
Sometimes it’s the simple projects that you can learn the most from. I’ve made a dozen or so mallets in the last 4-5 months as a way to relax and get more time on the lathe. For several of them I wanted to attach some leather to the ends to protect whatever the mallet is “adjusting”. After trying several methods I have finally come up with a way to get perfect leather circles for the mallet faces. It’s as simple as turning the leather on the lathe. And yes, it can be a relatively simple project, but you also have the opportunity to hone some skills and techniques. Although this is a smaller project not meant for showcase quality, it is a good way to build upon attention to detail, measuring and layout skills. Building on these skills in the smaller projects will only help you in the larger projects when you put these skills together. The size and taper of the through tenon can be given a fair amount of thought. The handle shape and dealing with its ergonomics can be fun as well. And a special thank you goes out to my wife for filming this entire video. It was her first time filming a project and I think she did an awesome job!
I started with some curly maple from my figured wood supplier.
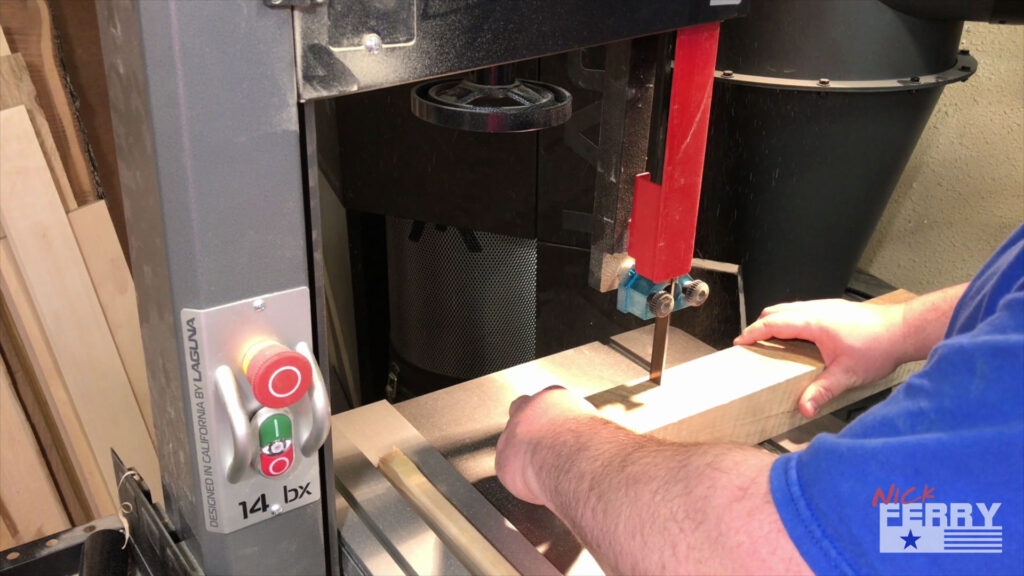
I didn’t even bother measuring for mallet head length when cutting it on the band saw. You can make your mallet pretty much any size you want. I’d say mine was 5-6″ long.
Using a 3/4″ forstner bit on my drill press I bored a hole almost all the way through the maple blank. In hindsight, I should have taken the extra time to accurately measure the hole for center and made sure to drill all the way through. It ended up working in the end but the time saved was lost in later steps. This is a new way of filming these videos for me and I was constantly looking for ways to cut time. Live and learn.
I centered and mounted my head blank between centers on the lathe.
Using a spindle gouge I could round out the head into a cylinder.
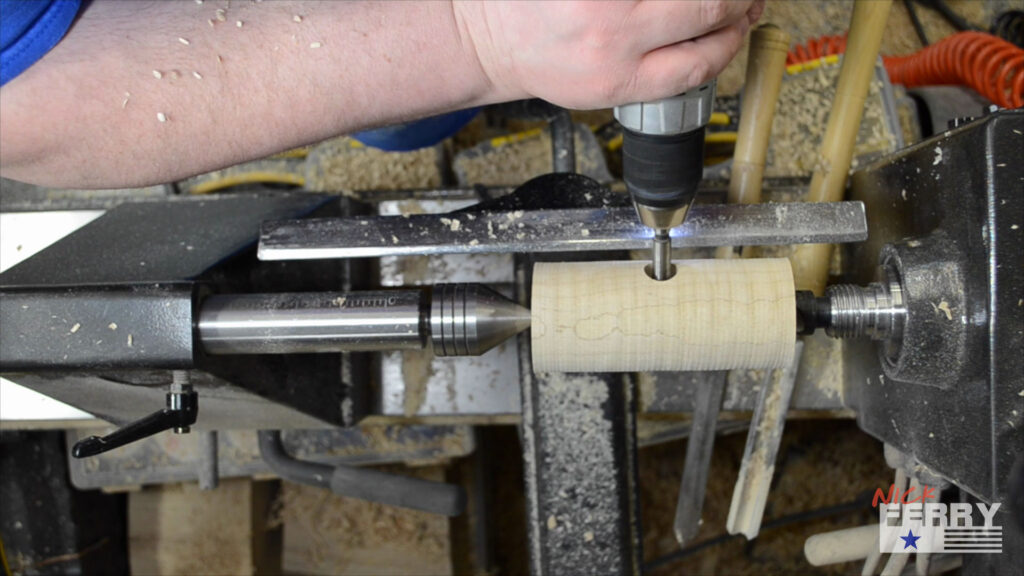
After the head was cylindrical the 3/4″ hole wasn’t going to poke through unless I made it a much smaller diameter, which I didn’t want to do. So I figured I would use my cordless drill to finish the through hole. That way in case I had any tear-out from drilling the hole, my last few finishing passes on the lathe would clean that up.
Tear-out is exactly what ended up happening. So I’m glad I finished drilling that hole before bringing it to finished size.
When I apply the leather ends later, the technique is going to be based on having each end of the mallet be the same diameter. Using a outside caliper I could ensure I had them both the same.
It was time to square the faces using a parting tool. I made some marks equidistant from the center hole to have a balanced mallet head.
After removing the mallet head, I mounted the spindle blank and began turning it into a cylinder.
I can best describe the finished handle shape as an elongated soda bottle. I checked the end tenon diameter using my digital calipers.
The handle fit into the head great so it was time to part off the handle.
On the bandsaw I made a kerf cut into the handle to accept a walnut wedge.
After cutting some 1/8″ thick walnut spline material to rough size, I used a hand plane to get to exact size while adding a slight taper to the width.
I gave it a slight wedge shape to the face on the belt sander.
With some glue on the handle and spline, I could fit the head to the handle and drive the spline into the kerf cut.
The bandsaw made quick work of cutting the through tenon and the mallet faces near flush to their respective surfaces.
After some time on the belt sander the mallet faces were good enough to receive their leather caps.
The taper to the walnut wedges width is very slight and only meant to ensure the edges of the wedge contact the side of the hole for a nice clean, finished look.
Above is 2 pictures of a mallet I made a few months back. You can see the possibilities are almost limitless. On this particular one, I added a more significant chamfer to the head and stitched on a buckskin leather grip.
To get the leather ends perfectly round, I mounted them between some scrap wood on the lathe. I could then turn them to the same diameter as the mallet head and sand them to give them a burnished edge.
Cutting the thick leather can be rather difficult. Results like these are hard to argue with.
Contact cement is the best way to attach the leather to the mallet head. I’ve tried various brands over the years and this one always seems to work out the best. They even make a special cement thinner for using it in various other applications.
Once the contact cement surface is tacky, you can mate the leather with the mallet. Make sure you have it lined up correctly before sticking it together as you only get one shot at this.
Apply a couple coats of spray lacquer to finish the mallet off and give it some protection.
The curly maple is quite stunning on the handle.
I little of the curl was lost in the head but some still remain. The contrasting walnut wedge is a great fit and looks nice too.
I’d say the biggest take away from this project is the leather ends. Whether or not you’re as anal retentive as I, it’s good practice to see how exact you can get things.
 And just like that, it’s done. Let me know what you think down below. Happy Woodworking!









10 Responses
Fantasitically Ferry! lol
lol, you know it Dave!
Simple is always the best. I liked what you did, and the ease of how you did it…
I also liked seeing you kick around a few boxes while getting from one place to another.
I have to do that all the time, when I am doing things in my garage/shop…
My girlfriend doesn’t think I should have to do that, too messy she says…
Keep up the good work…
thanks – and to make matters worse, that box I was kicking around was the start of a new “scrap bin” – like I need another of those
Thanks for posting Nick. just spent the afternoon making one. 🙂
awesome – you are welcome – how’d it turn out?
Nick, big fan here. I always try to catch whatever project you are working on next. I’m considering buying a lathe and learning the art of turning. I would like to get something that is novice friendly with the capabilities of possibly turning table legs as I progress. I hate buying tools and then needing to sell them due to upgrade needs. Any suggestions on a lathe that fits that category? Would like to keep the price somewhere around $500 and more than likely less than $1000 max. Thanks in advance.
it’s hard to say how you’ll progress with it and how much liking you’ll take to it – you can go the upgrade over time route or save you pennies – If possible, take a class locally or look into a turning club to get your feet wet – I think that would give you a much better idea of what you like and can take on – hope that helps – Nick
Amazing work! As a woodworker, I appreciate your work.
thank you!