There are a lot of woodworking tools that are sometimes easier or more fun to make, rather than buy. The marking knife is one of those tools because it is both fun and easy to make. A marking knife can be as simple as a store bought utility knife or as complex as a damascus steel blade between unicorn tusk handles with exotic wood inlays finished in angel tears.Depending on how far you want to take it (or on your supply of unicorn tusk) it is a fun project none the less. Whether you want to turn a knife handle on the lathe and use a store bought blade like I did here, or make the blade like I do in this project, The possibilities are pretty much limitless. This particular knife is pretty special to me. The figured walnut gun stock blank came from a trip I took to my friend Braxton’s shop in Las Vegas and the knife itself was being made as a thank you gift for my friend Anthony for letting me stay at his place while I was in San Francisco. They are both amazing at what they do and I highly suggest checking them out. Let’s get on with the build!
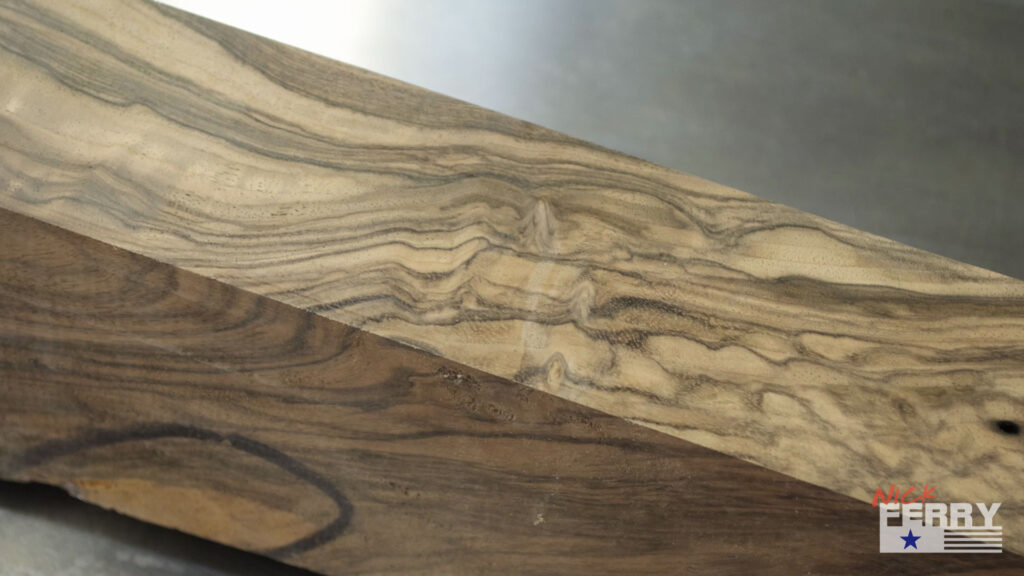
This is the walnut gun stock blank I was going to be working with. You can see I have already cut away and rounded a piece to be a lathe tool handle. This is technically a reject for making gunstocks. There were a couple knots and wormholes that didn’t make it worthy of being a gun stock.
The off-cut from the tool handle had some really nice figure to it and I decided to make the knife scales from it.
To clean up the sawn edge, I ran it past my jointer to give it a smooth surface.
For the blade I used O1 tool steel. It was 1/8″ thick and 1″ wide. I choose tool steel for it’s tight grain pattern. I didn’t bother hardening or heat treating it. It may dull a little quicker this way but will be really nice to sharpen or run across a leather strop. I wiped it down with some brake cleaner to remove any dirt or grease.
I marked the steel at approximately 35° for the cutting angle and it’s overall length was just over 6″.
Using my angle grinder and a cut-off wheel, I cut the steel on the line.
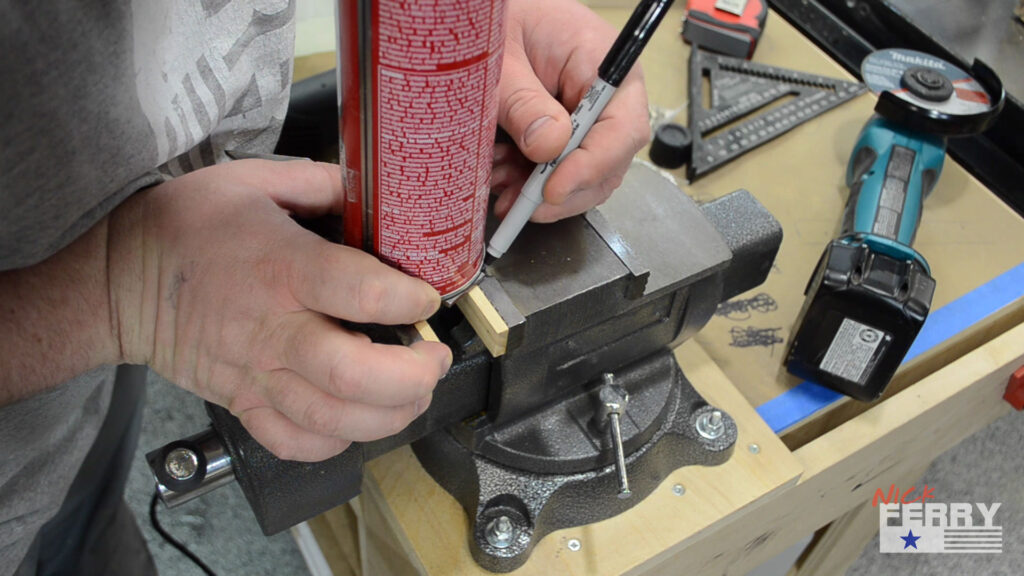
I could then mark out the locations to drill the holes for the rivets and I used the bottom of the brake cleaner can to add a radius to the end of the knife steel.
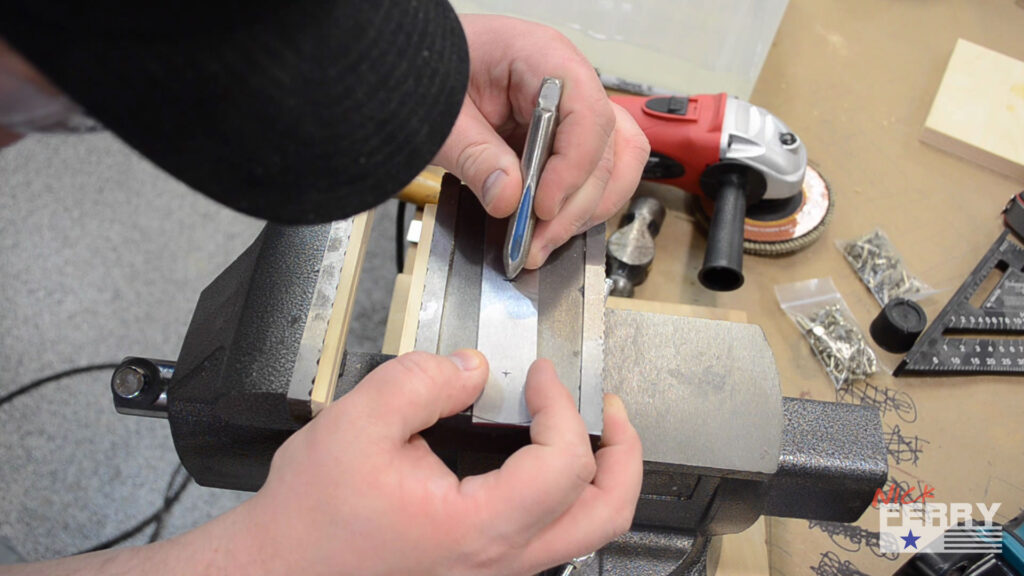
Center punching the holes ensures the drill bit won’t wonder. This is a home made center punch I made from an old metal tap.
A 1/8″ drill bit was used to make 2 through holes in the blade to accept the rivets.
To make sure the knife scales fit nice and flat against the steel, I ever so slightly de-burred the holes with a countersink bit.
A flap sander took away the bulk of the metal for what would be a 30° bevel on the cutting edge.
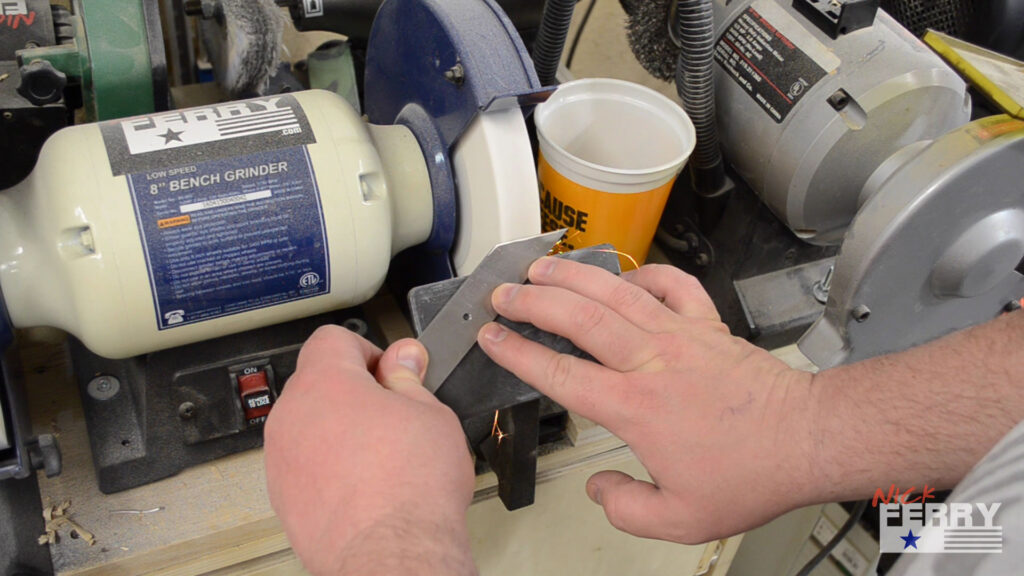
Taking it over to my slow speed grinder further refined the bevel.
I ground until there was a small burr along the entire length of the back of the bevel.
The bevel was further refined with wet stones, eventually bringing it to 8,000 grit.
Stropping it on a leather strop with some polishing compound brought it to razor sharp.
In this picture, I put the cut-off and the freshly polished piece side-by-side for comparison.
The slow speed grinder took care of the radius on the back as well.
I selected a certain part of the gun stock blank with the nicest looking grain purely for aesthetic reasons.
After marking the area I wanted, I cut it off on the bandsaw.
I brought the wood back to my jointer to clean up the marks left from the bandsaw.
I ended up with two book matched pieces that would most likely yield me 10 or more knife scale sets.
Then I cut two pairs to size on my table saw sled. My original plan was to make two knives, but time restrictions allowed me to only make one. So I decided on the set on the right because of the more unique grain pattern.
I could then use a 5/16″ brad point bit to counterbore the walnut to accept the head of the cutlers rivets.
A 5/32″ bit was used to make a through hole. You could substitute an 1/8″ bit as well.
Using the same countersink bit I had used earlier, I put a very small chamfer on the hole that was to mate against the steel blade. This was going to make certain there was no material to keep the wood and metal from sitting perfectly flat to one another.
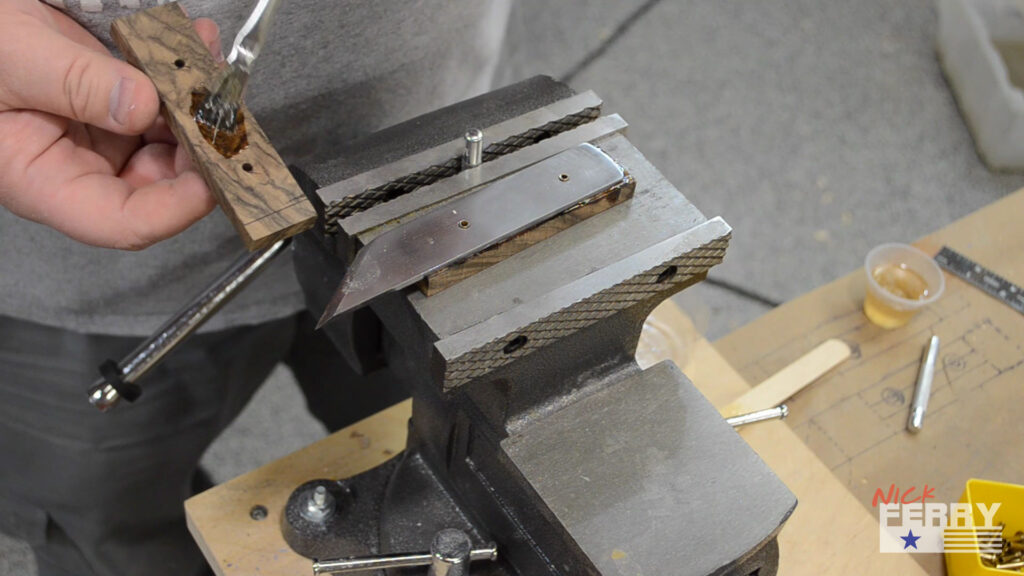
 After a quick test fit, I applied epoxy to the walnut knife scales and sandwiched the blade in between. A couple hammer blows set the rivet together permanently.
 I choose solid nickel cutlers rivets as opposed to nickel plated ones. This would allow me to sand the wood and metal flush later, and not worry about sanding through a thin layer of nickel plating. Sometimes called fiction rivets, or push rivets, theses fasteners consist of a female socket, a male post, and are to be pressed or hammered together. They do a really nice job keeping the knife together long term, as well as lining everything up and clamping things together while the epoxy cures. They are also available in brass and come in several sizes.
 Some sanding on the belt sander and spindle sander brought the wood surface flush to the metal blade.
 I rounded the face of the knife handle as well as added a recess for a finger hold.
 A little bit of hand sanding ensured every little spot was nice and smooth. I have been using this flexible backed sandpaper for a while know, and it does really well on these small projects with curves.
 A couple coats of danish oil brought out the beautiful figured grain and gave the finish a natural feel in the hand.
 When selecting the grain I was mindful of the edge grain as well. I chose to orient the pieces so the grain created a bit of a chevron and pointed it towards the tip of the knife. It seemed a lot more organic this way and had a nice flow to it.
Here it is sitting on my friend Anthony’s mill right after I gave it to him.
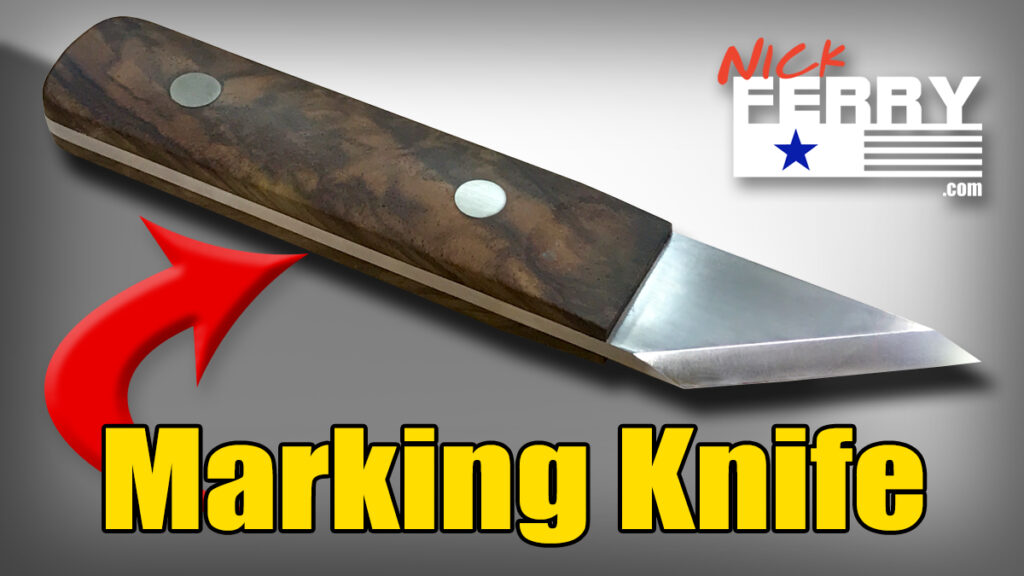
 And here is the finished knife. The figured walnut and satin tool steel give it a really nice look and I am extremely pleased with final results. Let me know what you think about it down below. Thanks for taking the time to check it out!












16 Responses
Great marking knife but I don’t know whether I would use that beautiful walnut gunstock
to each their own – the blank was a reject for guns and was like $20 – well worth it to me
Gorgeous work; you make knife making seem so simple. The grain in that walnut is intense!
thanks much Dave – this walnut was amazing – makes it that much more fun to imagine the finished project come together
Got to say it again Nick, beautiful work and you are just dripping with great ideas. Love your channel!!
Always appreciated buddy – I’m pretty happy on how it turned out as well – thanks!
hi Nick, I love the marking knife you should start selling them to your members, i’m sure they all want one.see you later Nick
thanks – I might make some more – was fun enough to make
I would have preferred to see the unicorn horns and angel tears but still a fantastic job Nick. Keep up the good work!
hahaha – thanks, me too!
Nice work Nick.
That came out great.
I really like making some of my tools, and I enjoy them all the more when I use them.
Really enjoy your stuff man.
Your videos, articles and the way you explain how you do some of your processes help the newer woodworkers to gain in confidence and experience.
Thanks and keep it up.
Eric
thanks Eric – I appreciate you saying so – glad I can help out and get people wanting to be in the shop!
Hey Nick… there is something about a really nice piece of walnot that can’t be beat. Rockler had some rustic and then some figured for awhile and i have a good amount in my shop. The depth and color are fantastic.
I agree – the richness and figure make a an awesome looking wood to work with
I know you know I made a Chisel a year or so ago out of a Sawdust Handle I made. I am still working with Sawdust and have perfected my Recipe nowadays. It is no longer a mixture of sawdust and bread and or other things….lol….now I just use sawdust and a Homemade glue that feels very rubbery and is perfect mixed with sawdust. I hope to re visit making some tools soon and Shane already bought me a cheap grinder. If I like making tools he will upgrade me. I think someday it would be fun to make some Steak Knives..lol…but I know that is down the road. Anyhoo, enjoyed your video very much! I have not been on youtube for about 6 months now but I am back making videos again. A good assortment of items I make with Sawdust…lol…in the literal sense.
Talk to you later!!
Shelly
that’s very cool – I look forward to seeing it – I get behind on videos too, it’s easy to do