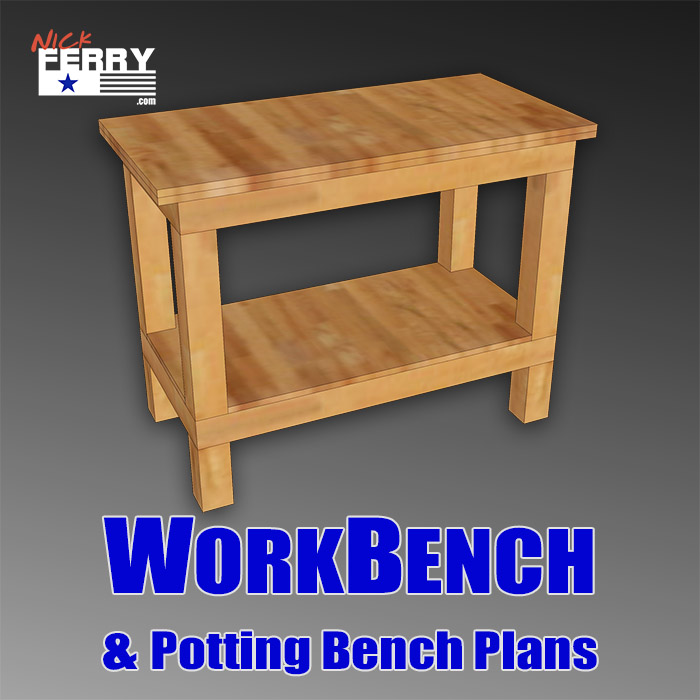
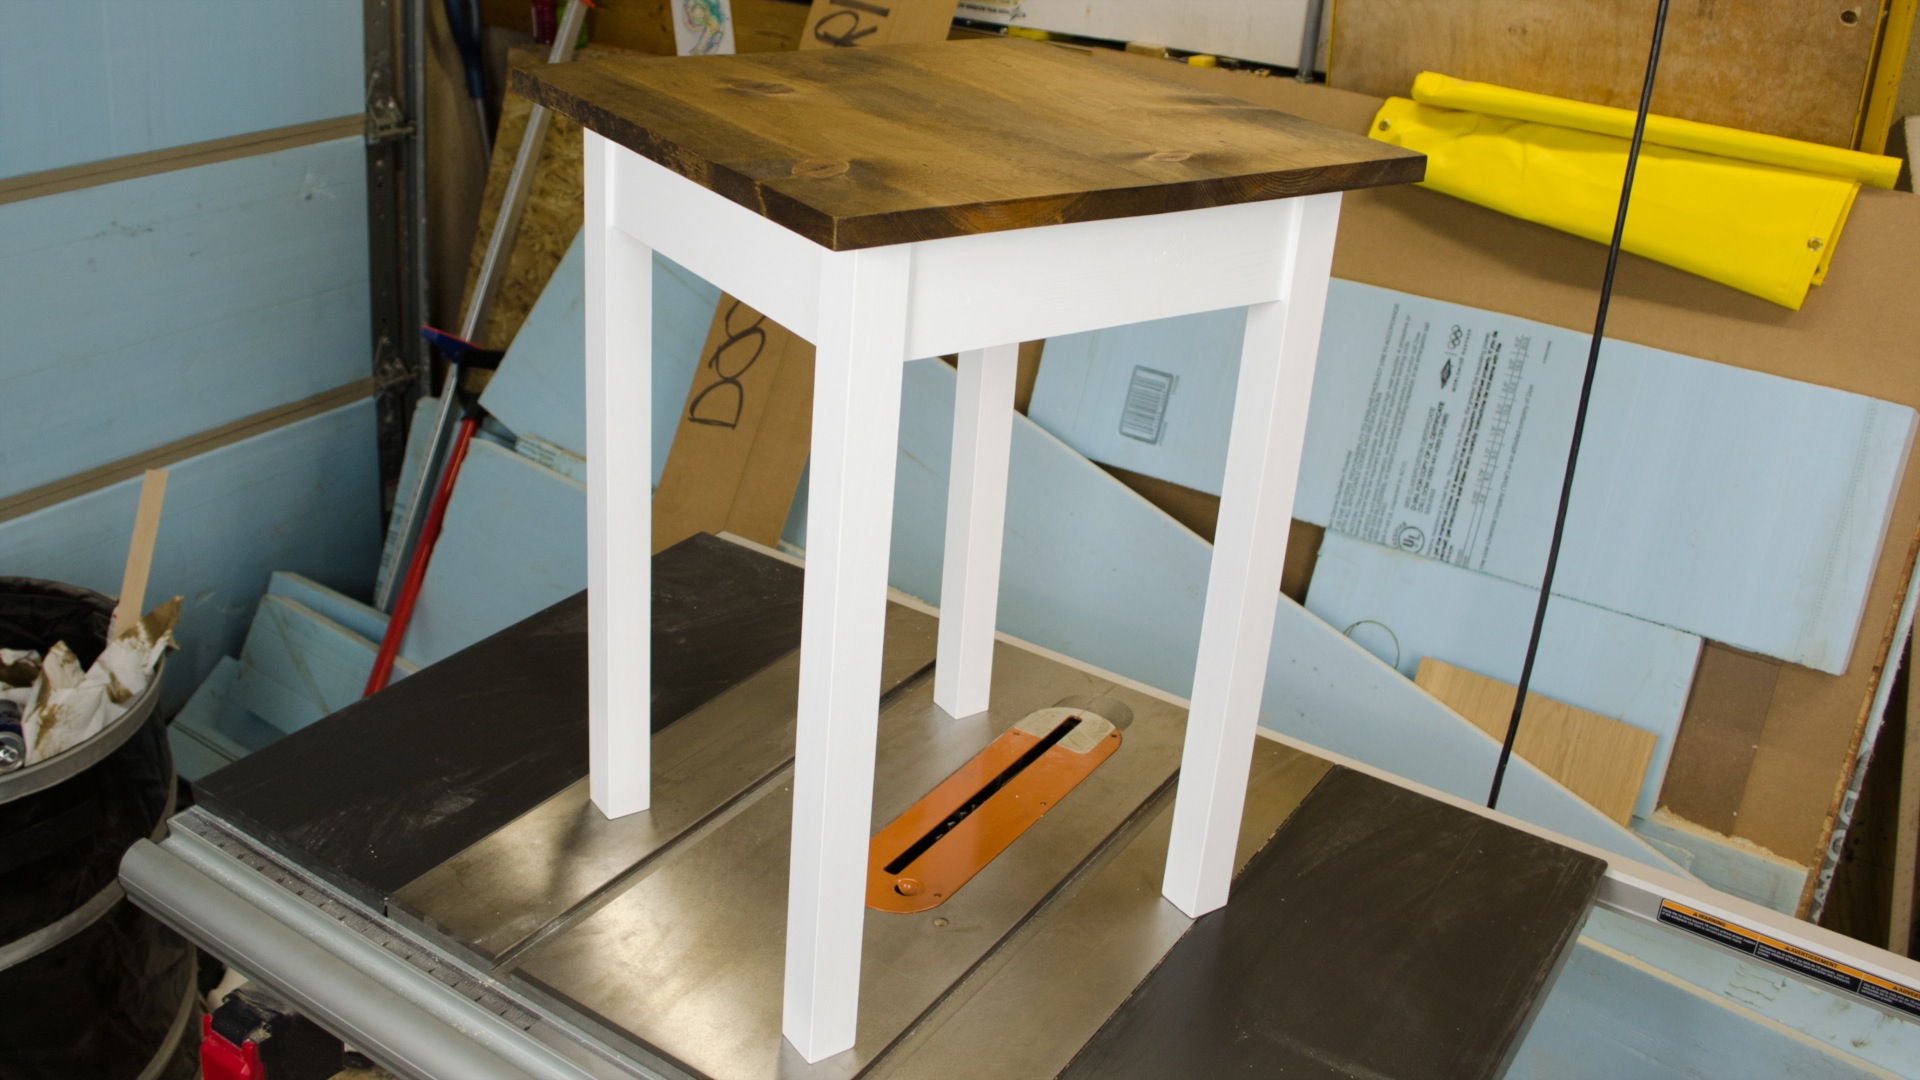
Not too long ago I had Jay Bates and April Wilkerson in my shop to work on some projects together. They made me an assembly/out-feed table while they were here. I have been getting a ton of use out of it so far but the bottom shelf had just been collecting random tools. I decided to make a storage organizer to better utilize the space underneath. Something to try and keep me from creating the mess I normally work with. Okay this is at least a step in the right direction. If you want to see how the assembly table itself was constructed, check out Jay’s video for the details. April had a different take on it. Being her shop wouldn’t allow for a dedicated assembly table, she had to come up with a fold-down version. It’s worth checking out for sure.
I built this organizer from 3/4″ plywood. I had to use 2’x4′ sheets as that was what was available to me at the time. It had a fair amount of voids and it’s not what I prefer to work with but I think it served this shop project well.

After ripping the sheet roughly in half I moved the rip fence over slightly and trimmed the remaining edge so it was nice and straight and both halves were the same width.


Using my crosscut sled I trimmed one end of each of the boards.
With both boards clamped together, I cut them to final length.
I repeated the same for the vertical dividers as well.
I installed a stop block to my fence so I could make repetitive cuts.
That allows for accurate repeatable cuts where the wood being cut won’t get trapped between the fence and the blade.
I used a 1/4″ spacer to initiate the first dado using my dado router jig.
I decided to not put a dado in the center because I didn’t think I’d ever use it. it was reallt the center two dados I was after.
Using a spiral down-cut bit may lead to sawdust buildup in the dado while routing, but the tearout free cut is worth it to me on these smaller length dados. If you want a quicker cut and don’t want to brush out the dados, use an up-cut bit.
I took the time to properly layout the placement for the ends and vertical dividers.
Once that was done, I could pre-drill the holes for the screw locations. I did this while having the top and bottom clamped together. When I drilled the top board I also drilled halfway through the bottom piece.
This located the hole placement for the other piece as well. After that, I could drill through holes and countersink those holes as well.
A little bit of glue for insurance and then some brad nails made sure nothing was going to move.
Then you can finish the joint with a couple screws.
It was the same procedure for the center dividers as well. Glue, brads, and then screws.
Brad nails really help in keeping things from shifting around.
Double checking everything with a combination square helps in keeping everything straight and aligned.
It was a snug fit installing it into the bottom of the assembly table which I saw as a good sign.
I know it really wasn’t going to go anywhere, but a few screws put my mind at ease.
I needed 8 shelves for dividers. Once cut to size, they could be inserted into the dados.
Being they were a bit smaller in thickness than the dados cut, I added a drop of CA Glue to each side of the 1/4″ thick MDF shelves. If the need arises in the future, a quick cut with a utility knife would free the dividers.
All that was left was the storage bins. You can find them here but if you have a local department store, often times you can find them for much less.
 Thanks for checking it out! Make sure to take a look at April and Jay’s video as well.


6 Responses
Can’t wait to see what you do with the rest of the space.
thanks Fred – should be pretty cool – I’m excited to get them done!
Great idea thanks for making it
thanks – here’s to hoping it keeps my shop a bit cleaner!
Another outstanding project! Keep them coming!
thanks a lot Keith!